FIGURE 19
FIGURE 20
43. Locate the supplied NAV Harness.
44. Remove red terminal retaining plug (GM service part
number 13579578) from the brown radio connector.
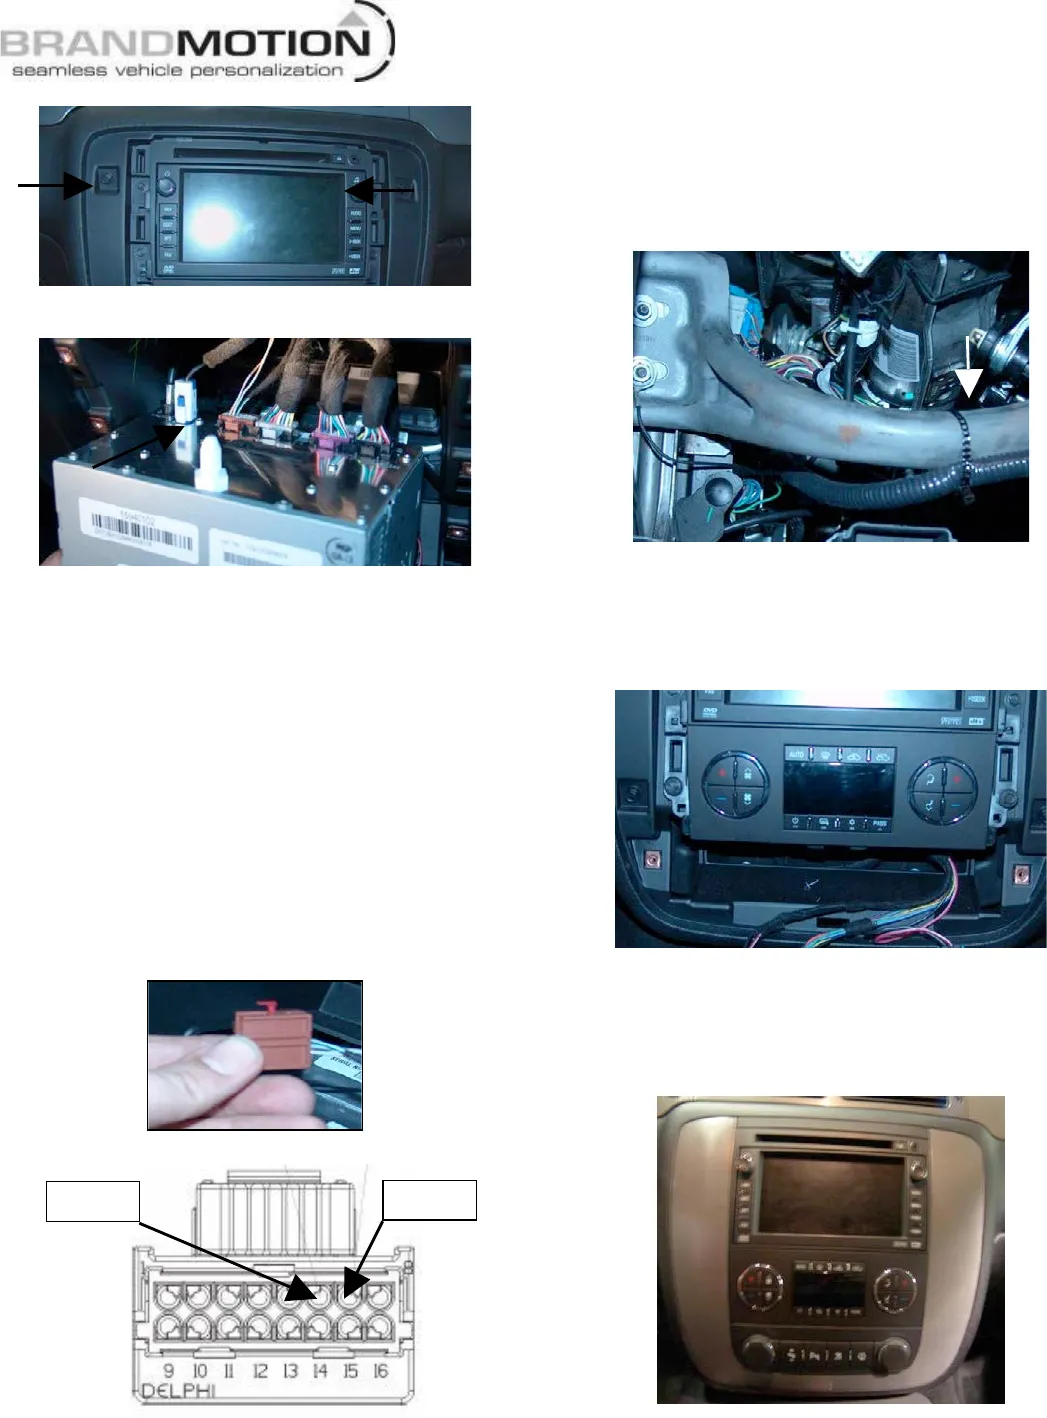
Figure 21. Insert gray with blue stripe wire terminal
into cavity 6 and gray with orange stripe wire
terminal into cavity 7 (see Figure 21A). NOTE: Some
older vehicles may require round terminals. In these
cases, splice the provided 3” gray with blue stripe
wire to the NAV Harness gray with blue stripe wire
and splice the provided 3” gray with orange strip
wire to the NAV Harness gray with orange stripe
wire before inserting into cavities 6 and 7. Note: If
wires exist in these cavities, remove and isolate with
electrical tape.
FIGURE 21
FIGURE 21A
45. Reinstall red terminal retaining tab into connector
and reinsert connector into radio.
46. Route the NAV radio harness through the opening
and down to the M-BEC. Secure the NAV harness to
the knee bolster support with supplied Wire Ties.
Figure 22.
FIGURE 22
47. Reinstall the radio, HVAC control head, and the
accessory panel using a 7mm socket. Tighten all
fasteners to 2.0 N·m (18 lb in). Figure 23.
FIGURE 23
48. Reinstall radio/accessory trim bezel. Assure that all
clips are fully seated and that bezel sits flush with
dash panel. Figure 24.
FIGURE 24