9. Gently slide the drive into place until the tabs securely click into position.
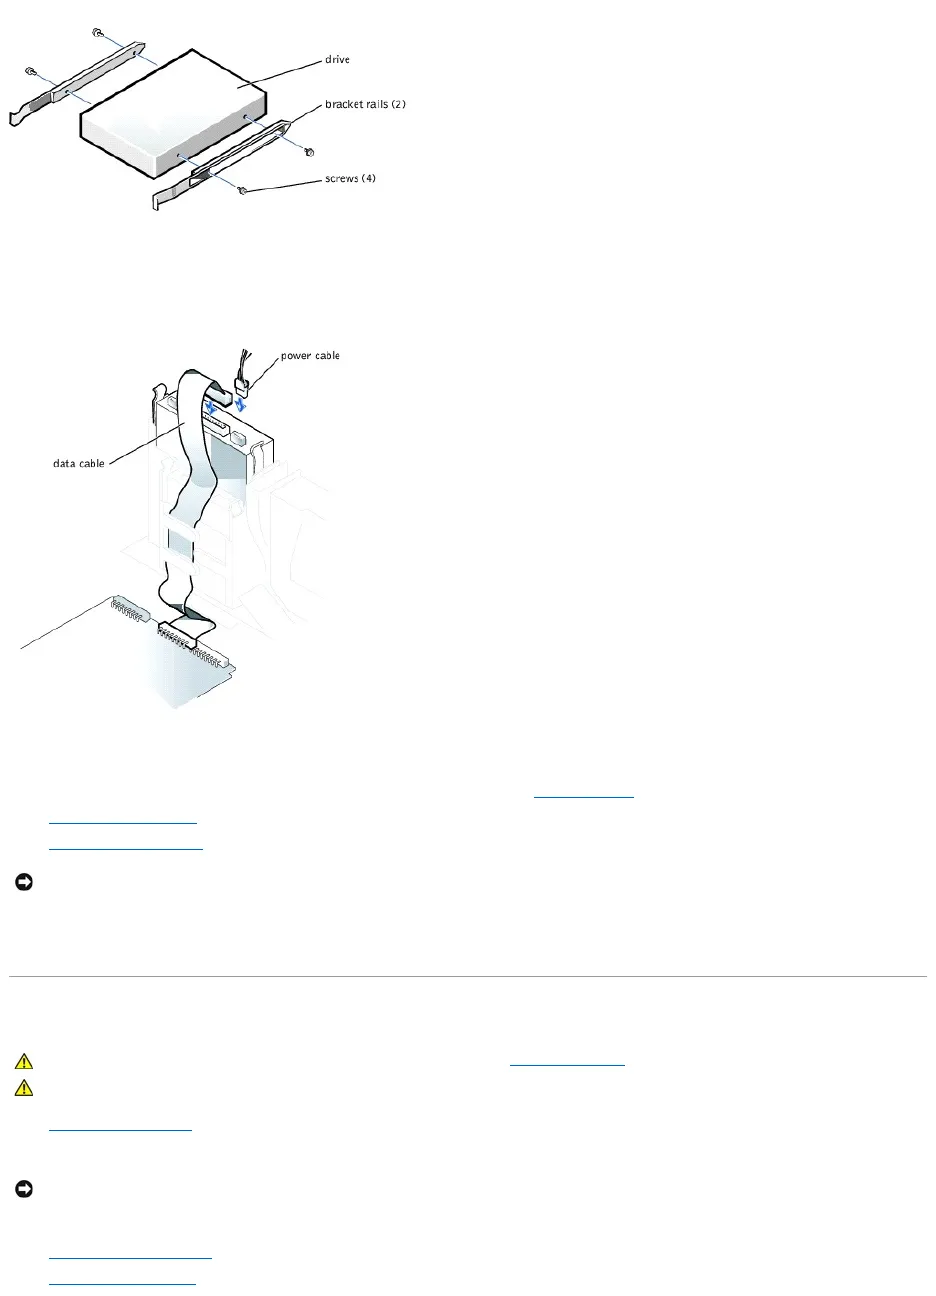
10. Connect the power and data cables to the drive.
11. If you are installing a drive that has its own controller card, install the controller card in a card slot.
12. Check all cable connections, and fold cables out of the way to provide airflow for the fan and cooling vents.
13. If the drive uses removable media and drive bay was previously empty, remove the front-panel insert.
14. Close the computer cover.
15. Attach the computer stand (optional).
16. Connect your computer and devices to electrical outlets, and turn them on.
17. See the documentation that came with the drive for instructions on installing any software required for drive operation.
Replacing the Microprocessor
1. Shut down the computer.
2. Turn off any attached devices and disconnect them from their electrical outlets.
3. Disconnect the computer power cable from the wall outlet, and then press the power button to ground the system board.
4. Remove the computer stand, if it is attached.
5. Open the computer cover.