CD/DVD Drive
1. Shut down the computer.
2. Turn off any attached devices and disconnect them from their electrical outlets.
3. Disconnect the computer power cable from the wall outlet, and then press the power button to ground the system board.
4. Remove the computer stand, if it is attached.
5. Open the computer cover.
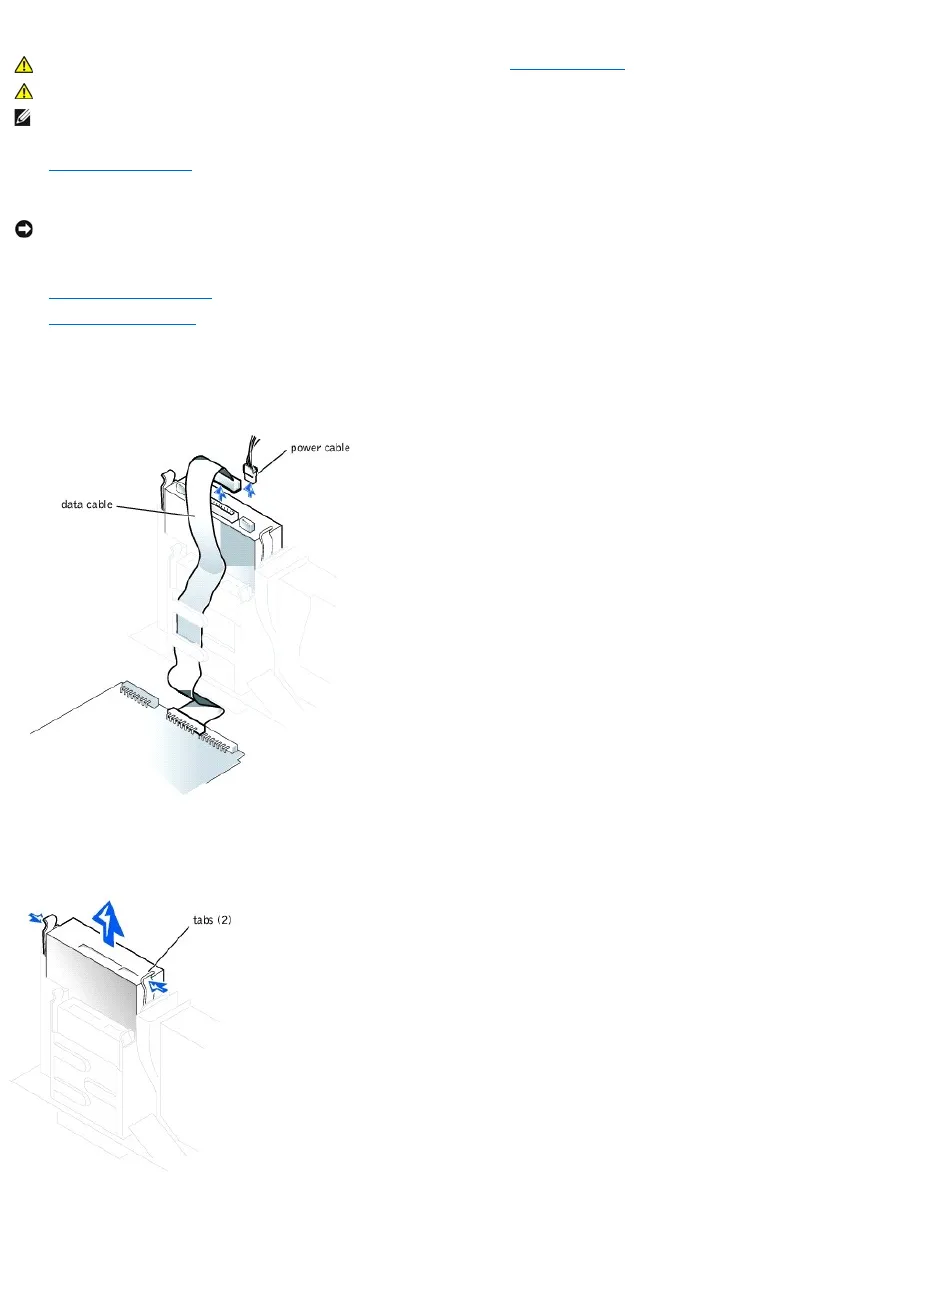
6. If you are replacing a drive, disconnect the power and data cables from the back of the drive before you remove the drive.
7. Press inward on the two tabs on the sides of the drive, and then slide the drive upward and remove it from the drive bay.
8. If the replacement drive does not have the bracket rails attached, remove the rails from the old drive by removing the two screws that secure each rail
to the drive. Attach the bracket to the new drive by aligning the screw holes on the drive with the screw holes on the bracket rails and then inserting
and tightening all four screws (two screws on each rail).
HINT: Drives sold by Dell come with their own operating software and documentation. After you install a drive, refer to the documentation that came
with the drive for instructions on installing and using the drive software.