24. Connect your computer and devices to electrical outlets, and turn them on.
If you are installing a microprocessor replacement kit from Dell, return the original heat sink assembly and microprocessor package to Dell in the same package
in which your replacement kit was sent. Your microprocessor replacement kit should include a replacement microprocessor heat sink and one replacement
securing clip.
Replacing the System Board
Removing the System Board
1. Shut down the computer.
2. Turn off any attached devices and disconnect them from their electrical outlets.
3. Disconnect the computer power cable from the wall outlet, and then press the power button to ground the system board.
4. Remove the computer stand, if it is attached.
5. Open the computer cover.
6. Remove the card cage.
7. Remove or move any components that restrict access to the system board.
8. Disconnect all cables from the system board.
Before you remove the existing system board, visually compare the replacement system board to the existing system board to make sure that you have
the correct part.
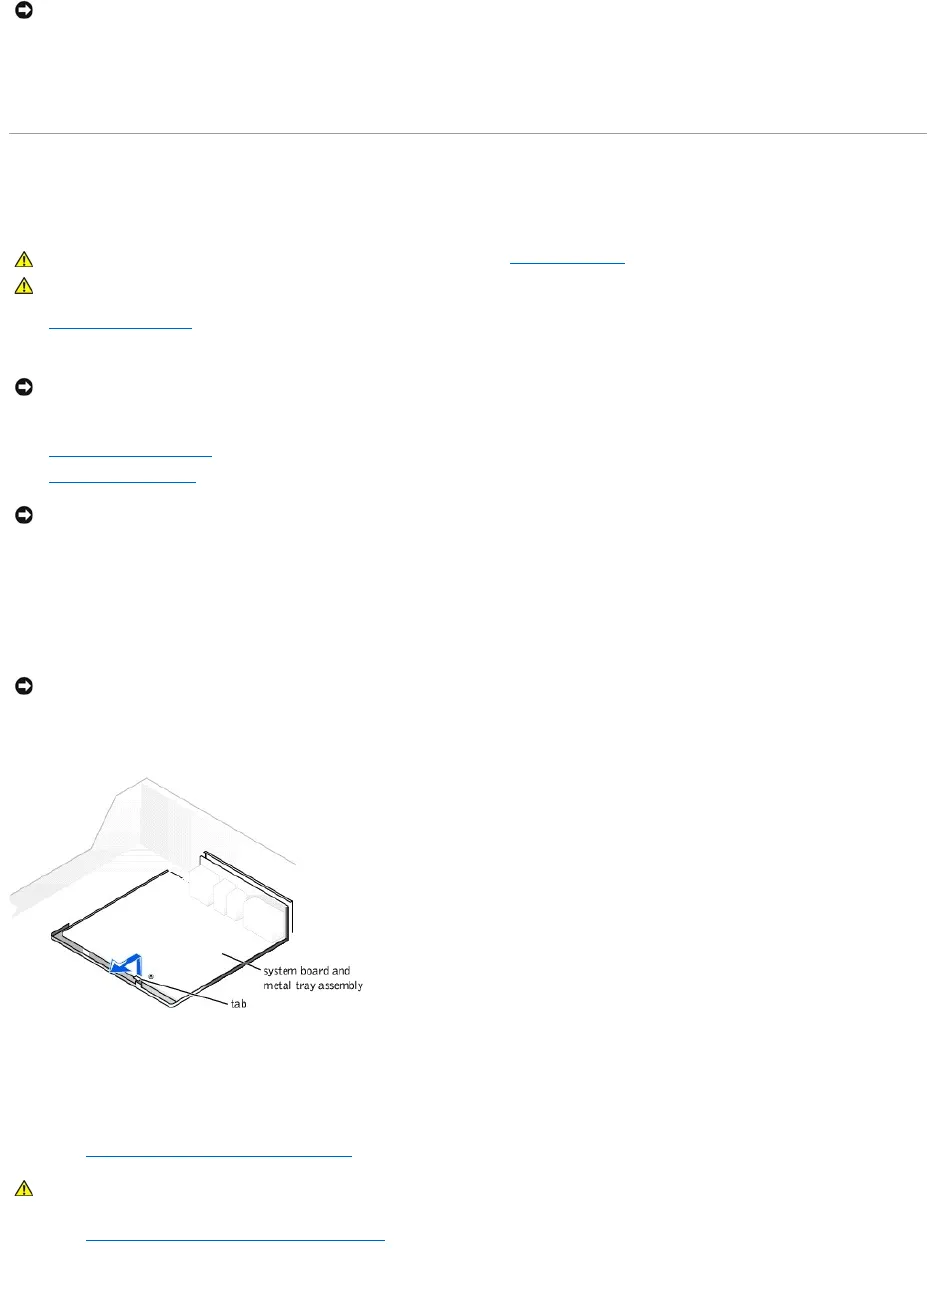
9. Pull up on the tab and slide the system board toward the front of the computer; lift it up and away.
10. Place the system board that you just removed next to the replacement system board.
Replacing the System Board
1. Transfer components from the existing system board to the replacement system board.
a. Remove the memory modules and install them on the replacement board.
b. Remove the heat sink assembly and microprocessor from the existing system board and transfer it to the replacement system board.
2. Configure the settings of the replacement system board.