VoloAccess™ User Manual
Copyright © Vololink Pty Ltd 2006-2010 V1.43 July 2010 Page 13 of 78
Connecting the VoloAccess to a Computer
The VoloAccess is connected to a computer using one of the four Ethernet (LAN) ports on the back of the
unit and the Ethernet port on the computer. Use an Ethernet cable for this purpose.
If you are connecting a computer to the VoloAccess wirelessly, refer to the WiFi section for details
If the computer that you are connecting to the VoloAccess is already configured to obtain an IP Address and
DNS server address automatically, skip this section and move to Checking the Connection. If this is not the
case, continue with the following instructions.
Preparation
To prepare the computer for connection to the VoloAccess do the following:
In Windows XP:
● Load the Windows Control Panel and double-click Network Connections.
● Under the heading LAN or High-Speed Internet right-click Local Area Connection and select
Properties.
● Select Internet Protocol (TCP/IP) and click the Properties button.
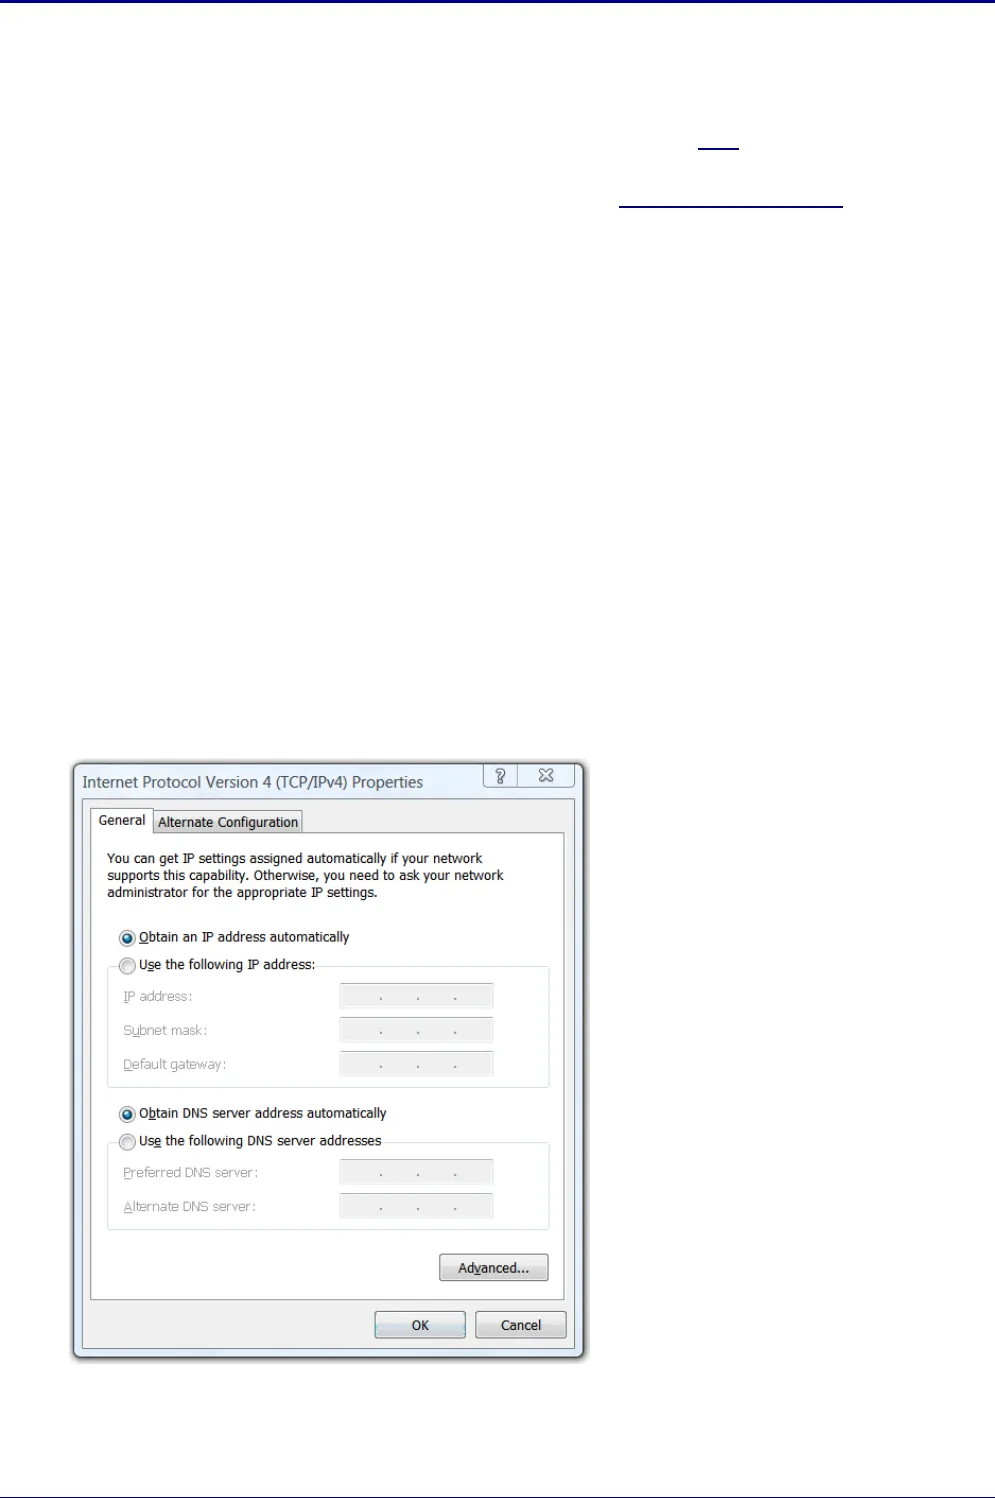
A dialog box similar to the one below appears.
In Windows Vista:
● Load the Windows Control Panel and double-click Network and Sharing Center.
● Click View status; located next to Local Area Connection.
● The Local Area Connection Status window is displayed. Click the Properties button.
● The Local Area Connection Properties window is displayed. Select Internet Protocol Version 4
(TCP/IPv4) and click the Properties button.
A dialog box similar to the one below appears.
● Ensure that Obtain an IP address and Obtain DNS Server address are both set to automatic.
The VoloAccess is a DHCP server and will provide both of these addresses.


