23
Automatically selects a window or object to be cropped by clicking and dragging the
crosshair button onto the desired window/object to be cropped.
Notice how the mouse cursor has become a crosshair. Continue to hold the mouse
button and move around the screen, 4 green corners and a violet rectangle will
surround the edge of the selected window/object. When the desired window has
been selected, release the left mouse button.
To do another screen crop, perform these steps once again.
To discard the area selected, click the Disable Crop button.
Step 3. Click the Disconnect button or close the ScreenCrop utility to disconnect the computer from the
Pacific C-A.
1. Upon quitting ScreenCrop utility, the parameters (Left/Top/Width/Height) from the last crop were
stored through the Saved to Flash button or the Send Crop button, and will be automatically shown
upon the utility's next start-up.
2. If the current screen resolution is different than the last resolution, then the parameters for cropping will
need to be re-adjusted based on the new resolution upon restarting the ScreenCrop utility.
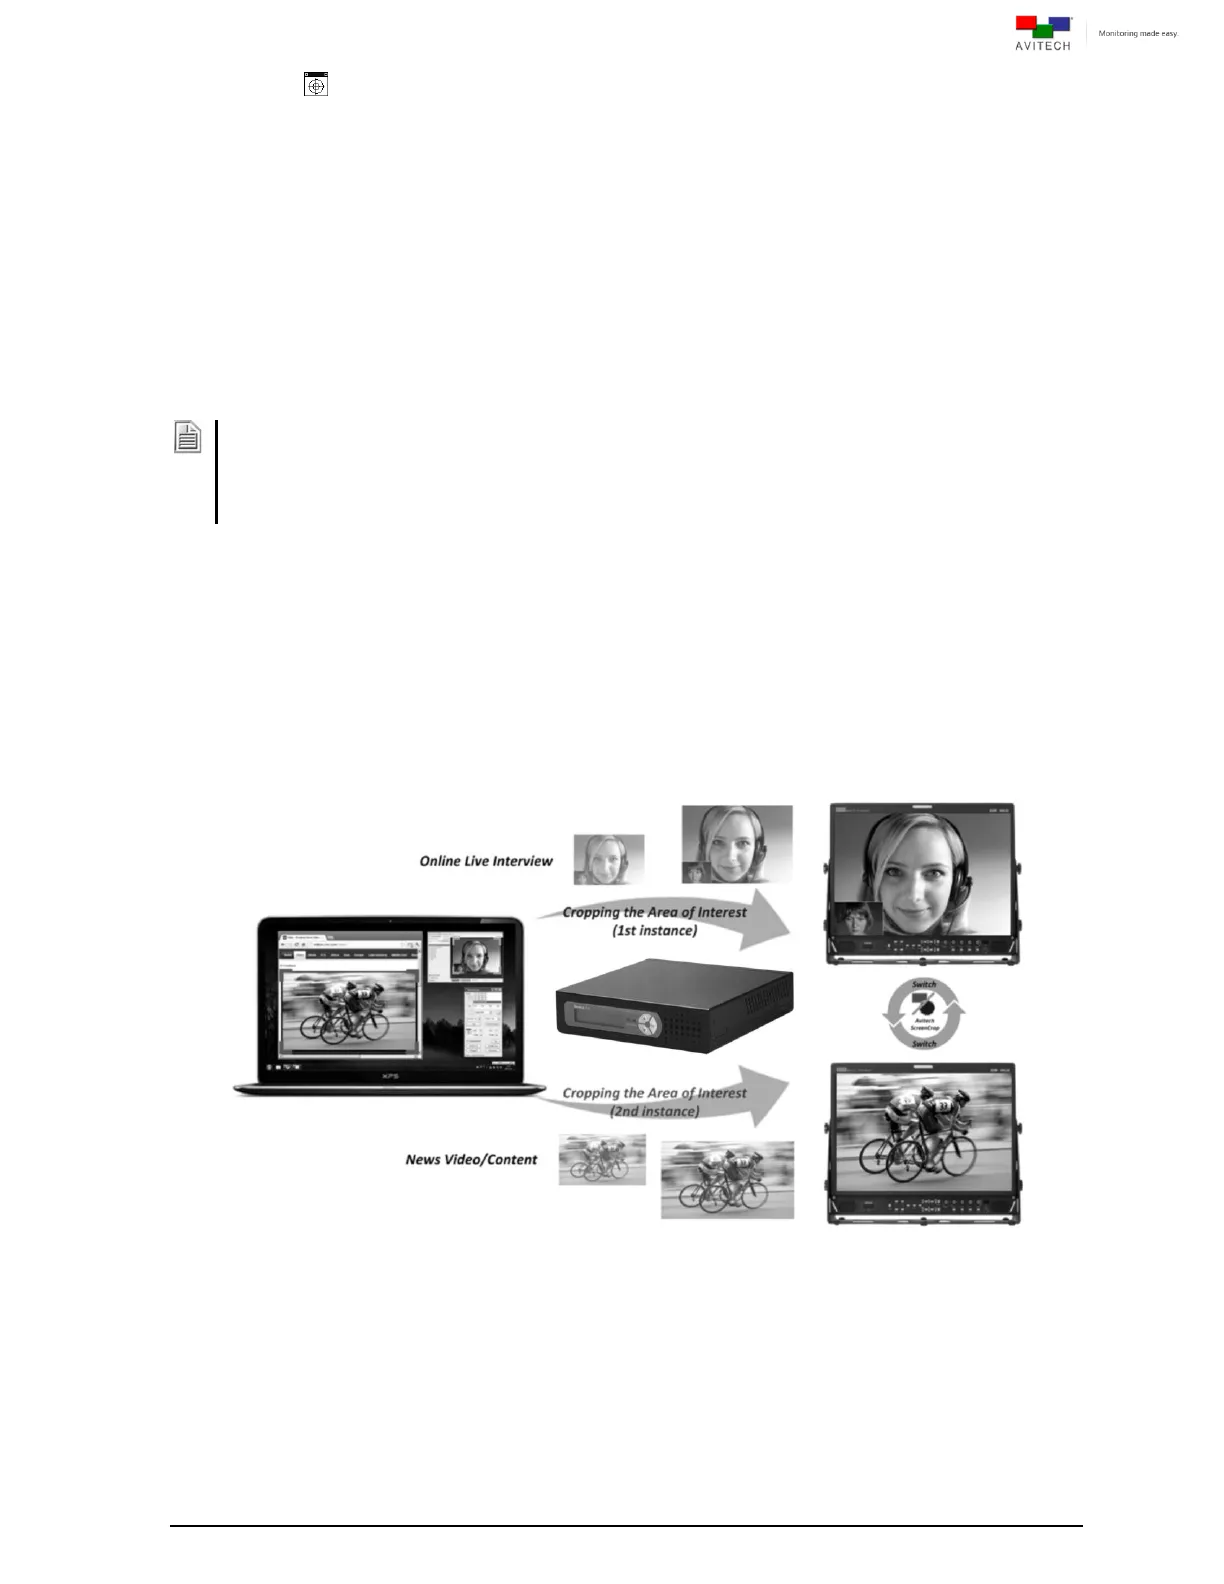
2.3.5 Cropped Instances Switching
ScreenCrop utility not only crops areas of interest, but it also allows for the selection of 2 separate
instances that can be switched accordingly. Perform the following steps to switch between 2 cropped
instances.
Step 1. Use the drop-down menu to select Instance One or Two, and then set cropping parameters.
Step 2. Switch between the 2 “Instances” by clicking the Switch Instance button.
Figure 2-9 Area of Interest (First/Second Instance)


