21
2.3.2 Using the ScreenCrop Utility
Before using the ScreenCrop utility to control the Pacific C-A, set it in the same network mask with the
connected computer. Refer to the “Appendix A” for further details on setting up the network mask.
To use the ScreenCrop utility, perform the following steps:
Step 1. Copy the 3 ScreenCrop utility system files to the computer.
Step 2. Double-click ScreenCrop.exe.
A Windows Security Alert screen may appear upon using ScreenCrop utility for the first time on a computer.
Click Unblock, and the Windows Alert will not appear on subsequent uses of ScreenCrop.
2.3.3 Status Information
ScreenCrop utility allows for easy monitoring of all networked Pacific devices. With 2 clicks of the
mouse, fully operate any Pacific converters that are on the network.
Step 1. Click to select the desired IP address from the “Device on Network” window. This will connect to
that particular Pacific device.
The “Status” button will be enabled and the radio button for the selected Pacific device
will be faintly highlighted.
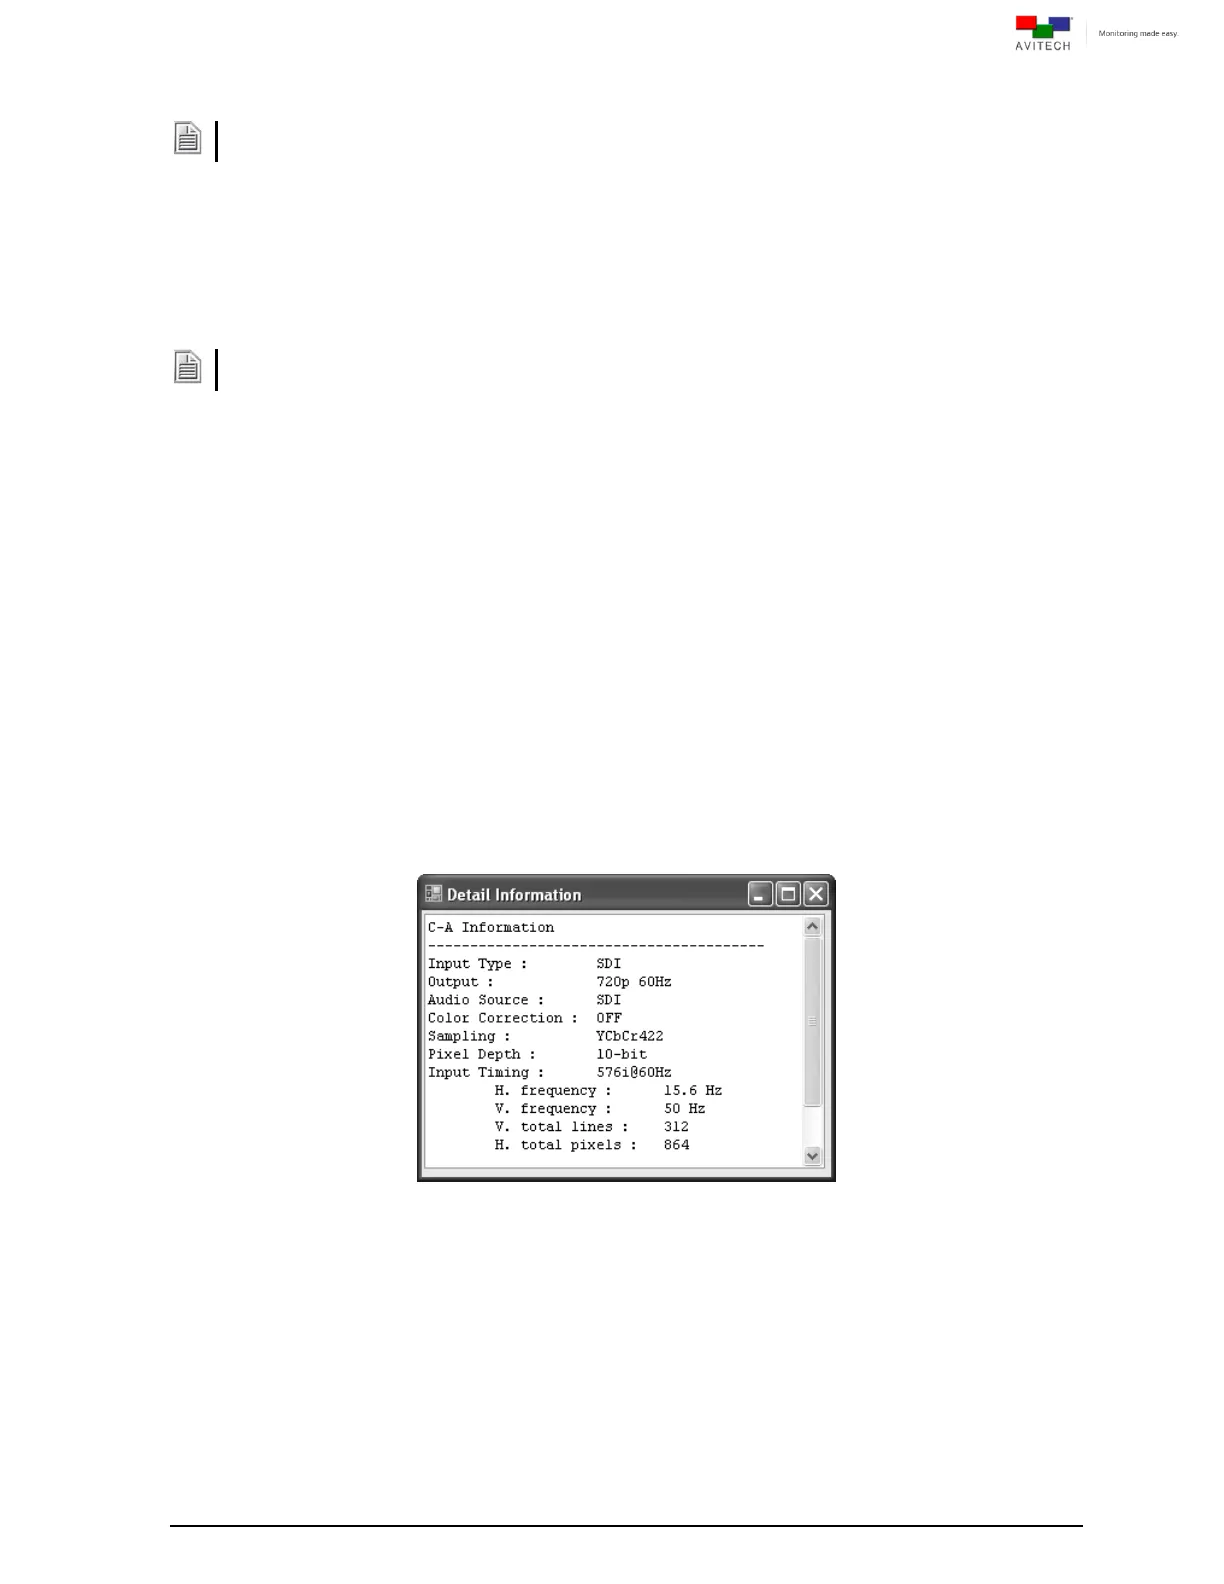
Step 2. Clicking the “Status” button will display a pop-up window that shows detailed information about
the device’s operational status and broadcast output.
It gives a status report on the Pacific converter, which includes input signal type, output
resolution and related frame rate, audio source, color correction (on/off), sampling, pixel
depth, genlock (on/off – for Pacific C-AG model), and input timing (horizontal/vertical
frequency, vertical total lines, horizontal total/start pixel, and vertical start line).
Figure 2-7 Detailed Information on the Connected Pacific C-A


