DELTA2 Owner's Manual 9 RSF Woodburning Fireplaces
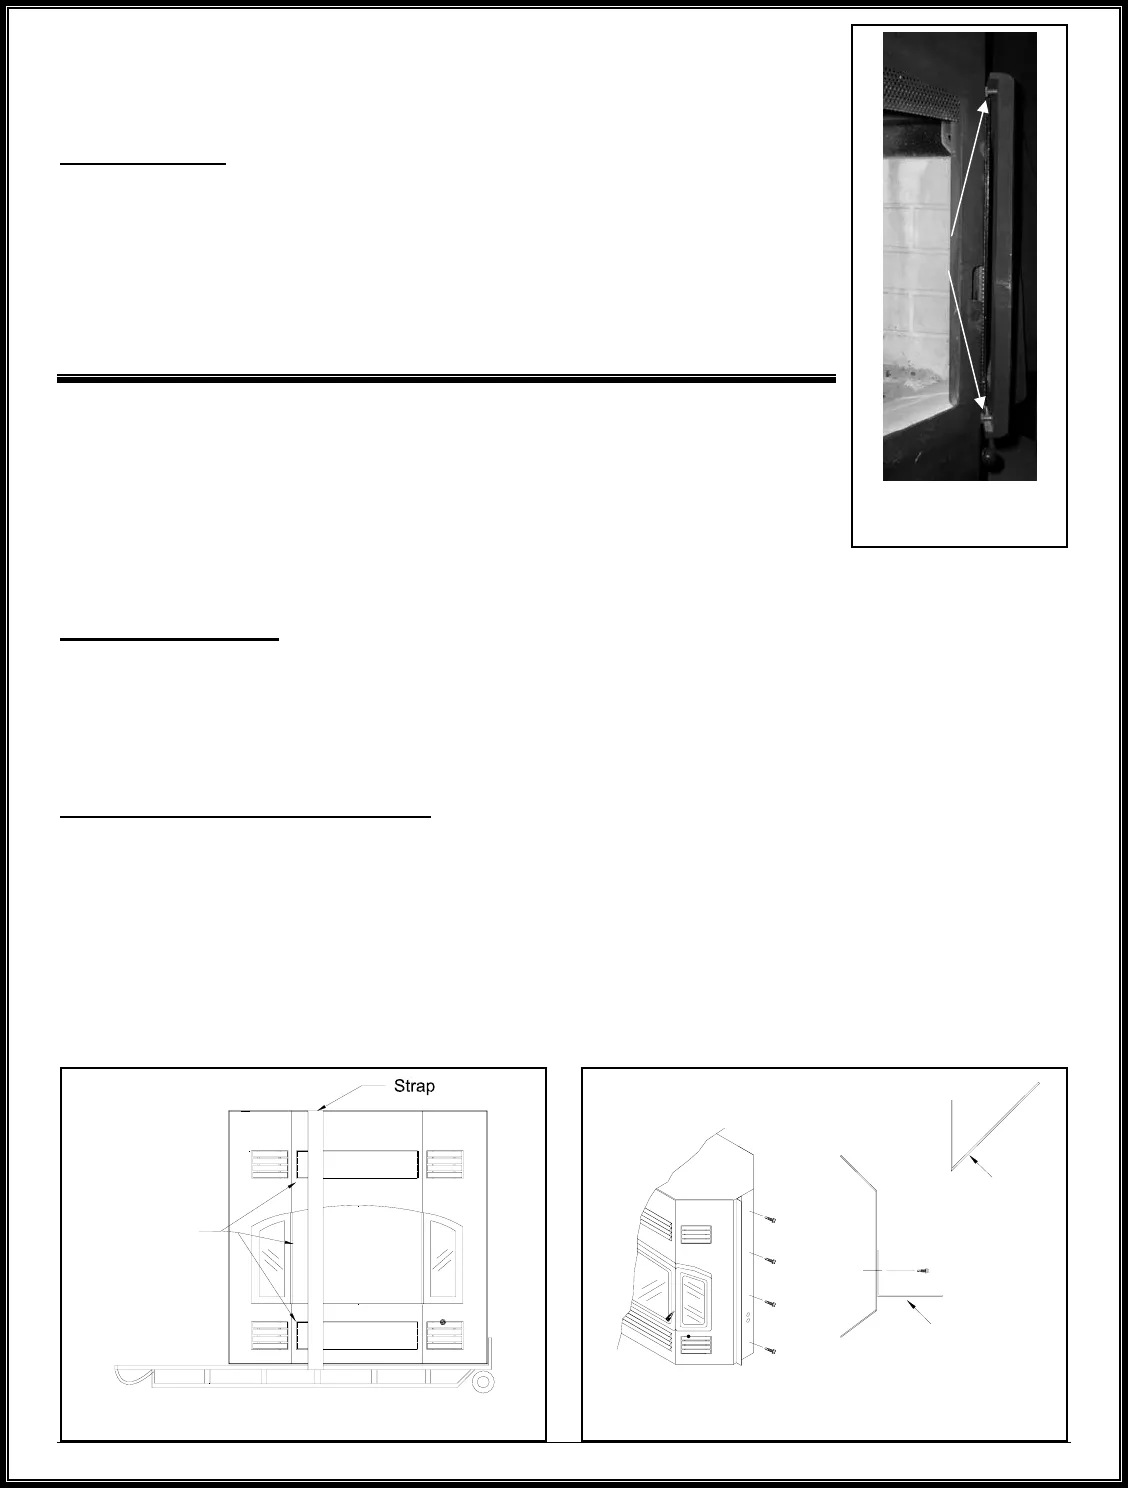
To bring the inner side of a window frame out, simply loosen both "A" nuts and then
unscrew both "B" bolts to the level desired and finish by tightening back the "A" nuts.
To bring the inner side of a window frame in, simply screw both "B" bolts and then
tighten both "A" nuts.
GOLD PLATING
If you have gold doors, gold window frames or gold louvers, you will be happy to know
that they will not tarnish. However, they are not scratch resistant. Use only mild soap
and warm water to clean the gold when the surface is cool. The use of any household
cleaner, such as Windex, abrasive cleaners, or any form of acid, may permanently etch
or remove some of the gold plating. Before the first fire, make sure to clean all
fingerprints and other deposits on the gold plating. Since the plating cures during the
first fire, fingerprints and other deposits will permanently etch the gold plating.
INSTALLATION
Check with your local authority having jurisdiction (such as municipal building
department, fire department, fire prevention bureau, etc.) regarding restrictions and
installation requirements, and the need to obtain a permit.
Remove the fireplace door. Store it in a safe place until the installation and finishing
work is finished. Side windows must be adequately protected. Be aware that heavy
duty cleaning products or acid solutions will permanently damage the gold plating.
MOVING THE DELTA
Due to the weight of the DELTA2, we recommend you use a furniture dolly and place the DELTA2 as shown in
Figure 5. The DELTA2 weighs 620 lbs. complete and 450 lbs. stripped of all firebricks and baffle. The DELTA2
should be stripped before moving it if possible. Elevate the fireplace and dolly to a 45° angle to move.
NOTE: If using an Eskelera a 2 x 4 will have to be placed between the two forks before using.
NAILING BRACKET INSTALLATION
Before installing your DELTA2, the side nailing brackets need to be assembled as follows:
1. Take the nailing brackets provided with the unit.
2. Remove the four (4) metal screws on each side of the DELTA2 facing.
3. Attach the nailing bracket to the side of the DELTA2 using the metal screws that you removed in Step 2 (see
Figure 6).
NOTE: When using the optional 45° nailing bracket (FO-FDS45) make sure to line up the 45° nailing bracket
with the fireplace to ensure facing will be flush.
Remove
door and
central
louvers
Figure 5 Moving the Delta
Fi
ure 6 Nailin
Bracket Installation
90° nailing strip
Optional 45°
nailing bracket
(FO-FDS45)
Figure 4 Right Side
Window "B" Bolts
"B" Bolts


