DELTA2 Owner's Manual 8 RSF Woodburning Fireplaces
slide the tube toward the right until the left end drops out of its hole. Slide the tube back towards the left to get the
right end out of its hole. To remove the baffle, push up and slide it off the brackets. Replace both the baffle and
the secondary air tube as you removed them and be sure to have the holes on the secondary air tube facing
toward the front.
DISPOSAL OF ASHES
Remove the ashes before they become too deep, before you have a spillage problem when you open the door.
The ashes should be placed in a metal container with a tight-fitting lid. The closed container of ashes should be
placed on a non-combustible floor or on the ground, well away from all combustible materials pending final
disposal. If the ashes are disposed of by burial, or otherwise locally dispersed, they should be retained in the
closed container until all cinders have thoroughly cooled.
DOOR SEAL ADJUSTMENT
The door hinges on the fireplace can be adjusted for easy installation/removal of the door, and for proper sealing
of the door.
To check for a proper door seal, insert a thin sheet of paper between the door and the front of the fireplace and
latch the door. Pull gently but firmly on the sheet of paper. If the paper either tears or is hard to retrieve, the
adjustment is correct. Repeat this procedure along all sides of the door.
The most important factor for controlling the burning rate of the DELTA2 is a good seal on the door gasket. If the
door gasket is worn or damaged to the point where the seal is not adequate as described above, then remove
and replace the gasket. Replacement kits are available from your RSF dealer.
To insure a proper seal, you need to adjust the tightness of the door against the front of the fireplace as follows:
1. Slightly loosen the four bolts that hold in place the two door hinges to the door, just enough so that the hinges
can be moved when force is applied. You can remove the left side window frame to have an easier access to
the door hinge bolts (refer to the Door and Windows Adjustment section).
2. Close the door and engage the handle while making sure the door is straight.
3. Push the door against the fireplace where the hinges are to seal the gasket.
4. Carefully open the door and tighten all four hinge bolts.
5. Verify the seal with the sheet of paper as described above.
6. Once adjusted for a proper seal, verify that the door can be easily removed and put back on the hinges. You
may have to slightly twist one of the hinges to correct the alignment between the hinges and ease the
installation/removal of the door. You can also lightly grease the hinges pins with the high temperature grease
provided to make the hinges easier to move.
NOTE: An improperly adjusted door seal can have a significant effect on the performance and durability of the
fireplace. A poorly adjusted door can result in reduced efficiency, over firing, excessive wood consumption and
fireplace failure.
DOOR AND WINDOWS POSITION ADJUSTMENT
The door and side window frames can be adjusted to fit nicely together.
To adjust the position of the door, loosen the four bolts that hold in place the hinges to
the fireplace, just enough so that the hinges can be moved when force is applied. Move
the door in the desired direction (left or right, up or down). Retighten all bolts.
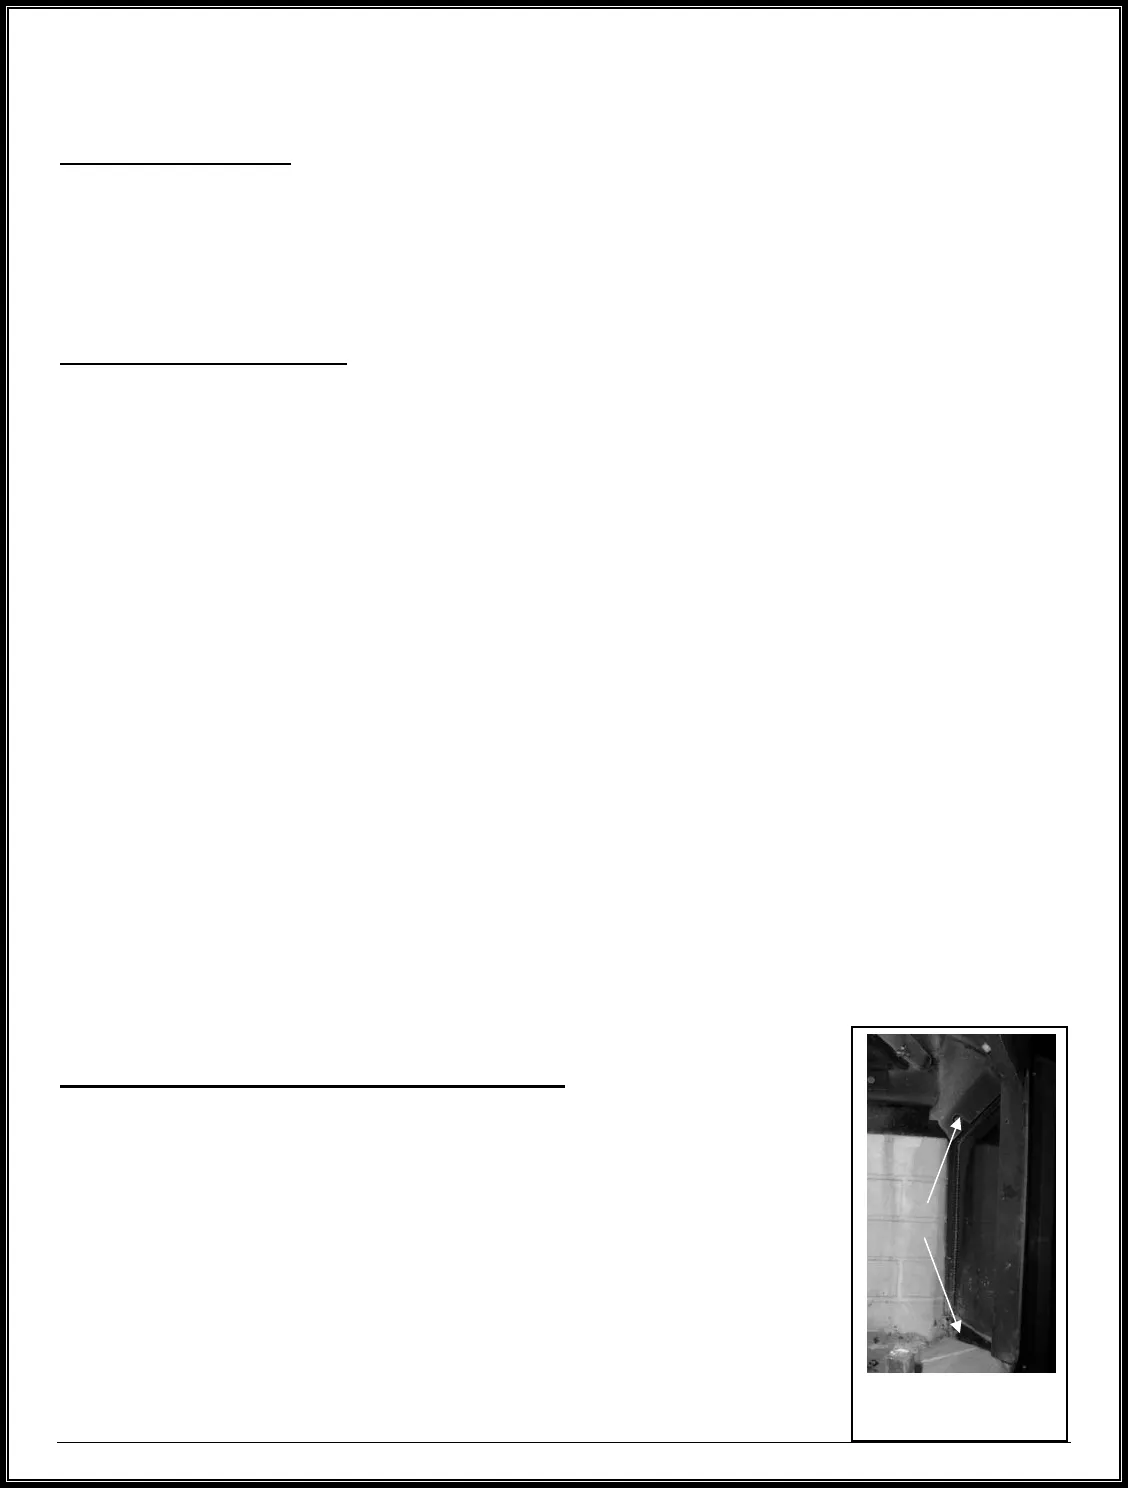
Each window frame is held in place by two nuts ("A") (see Figure 3) each on a
threaded rod, one at the top and one at the bottom. Both nuts can be accessed through
the firebox. The depth of each window frame is determined by two bolts ("B") (see
Figure 4), one at the top and one at the bottom on the inner side of the window frame
(i.e. towards the door).
To adjust the position of a window frame, loosen both "A" nuts (you may need to
loosen the "B" bolts also), move the window frame, retighten the nuts and bolts.
Figure 3 Right Side
Window "A" Nuts
"A" Nuts


