SCION xD/xB 2008- LEATHER STEERING WHEEL
Procedure
Page 2 of 12 pages
Issue: B 04/18/07
DIO only
Care must be taken when installing this accessory to ensure damage does not occur to the vehicle. The installation of this
accessory should follow approved guidelines to ensure a quality installation.
These guidelines can be found in the "Accessory Installation Practices" document.
This document covers such items as:-
• Vehicle Protection (use of covers and blankets, cleaning chemicals, etc.).
• Safety (eye protection, rechecking torque procedure, etc.).
• Vehicle Disassembly/Reassembly (panel removal, part storage, etc.).
• Electrical Component Disassembly/Reassembly (battery disconnection, connector removal, etc.).
Please see your Toyota dealer for a copy of this document.
.
Note: Images are shown for reference only.
1. Steering Wheel Alignment.
(a) When parking vehicle to install leather
steering wheel, position vehicle so the front
wheels are straight and the steering wheel is
centered.
(1) Turn the steering wheel to its straight
position.
(2) Apply masking tape on the top center of
the steering wheel and steering column
upper cover. (Fig. 1-1)
(3) Draw a line on the masking tape as
shown in the illustration. (Fig. 1-1)
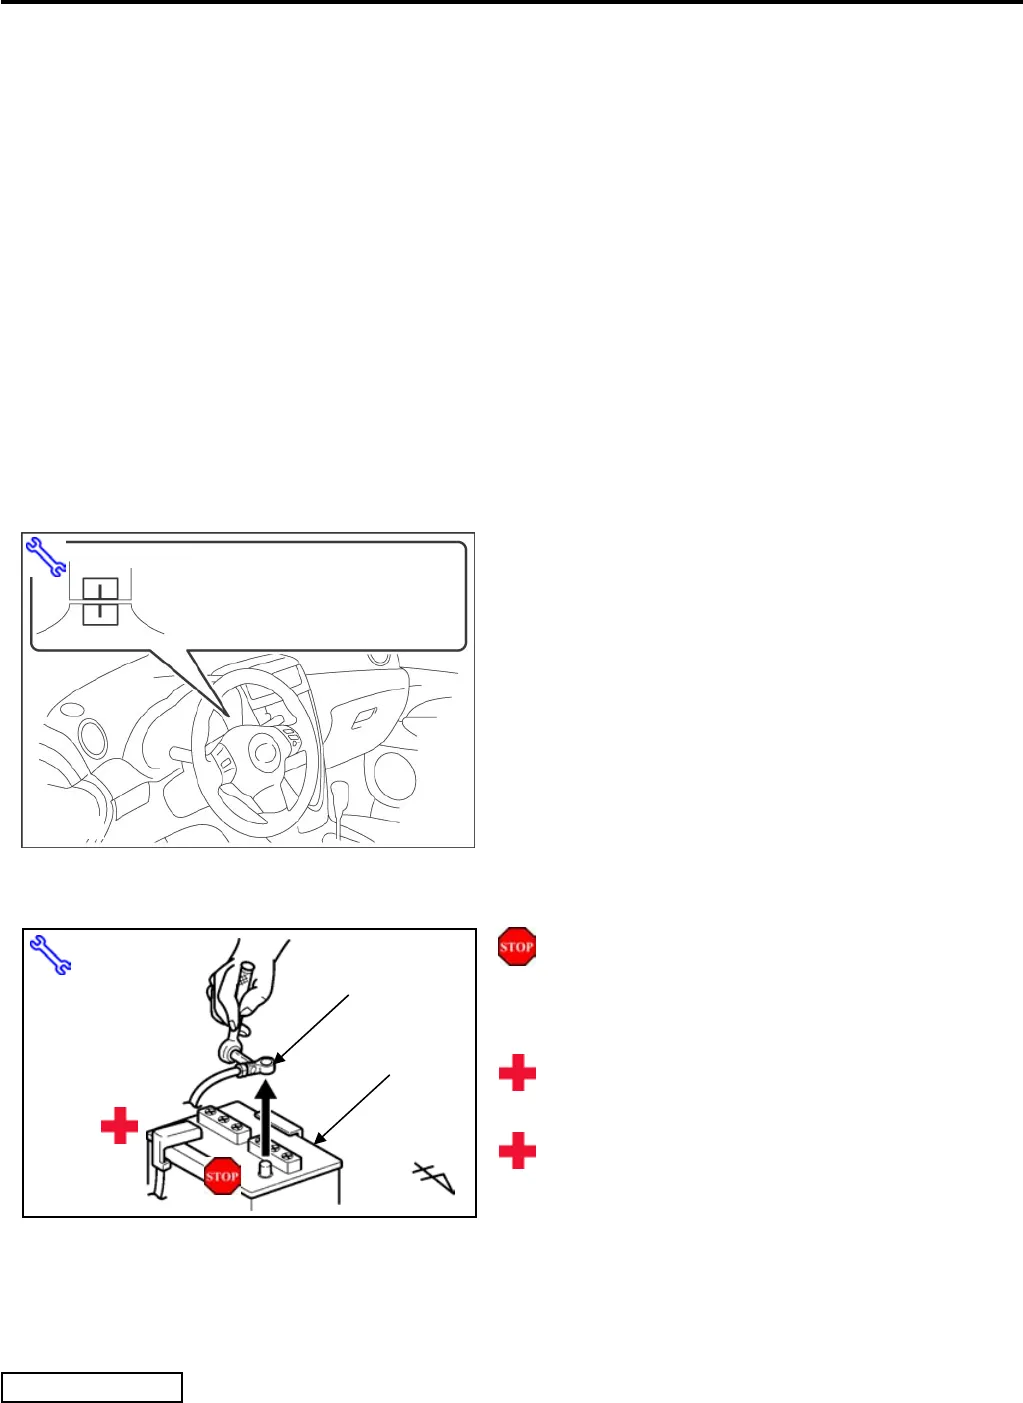
2. Remove Battery Cable.
(a) Remove the negative battery cable.
(Fig. 2-1)
(1) Protect the fender before starting.
(2) Do not touch the positive terminal with
any tool when removing cable.
(b) SRS Airbag System backup power is active
for 90 seconds after the negative cable is
disconnected from terminal.
Wait a minimum of 90 seconds after the
vehicle battery is disconnected before
beginning Step 3. (for air bag safety).
Steering Column (Upper cover
Steering Wheel (Lower Cover)
Fi
. 1-1
Masking Tape
Fig. 2-1
10 mm Wrench
Negative Battery Cable
Battery


