( yeti Ôperatlori )
Recording
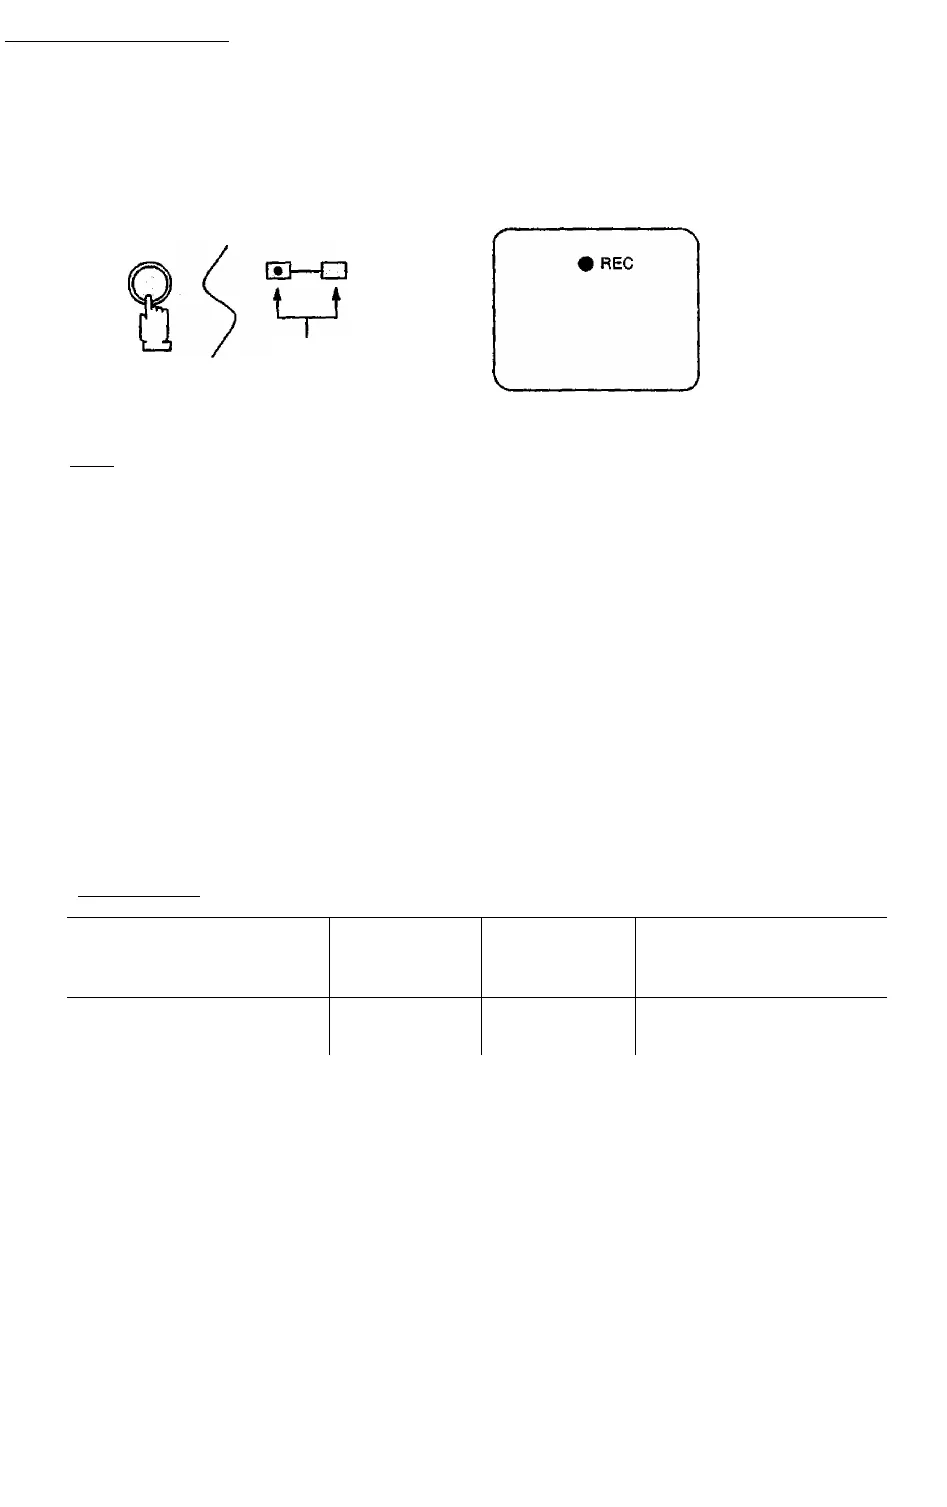
1. Press the "REC.” (Record) buttons to record a current programme (TV or AV Input).
2. Recording is started by pressing the "REC." (Record) button.
REC
press at
the
same time
- When recording starts, VCR indicator lights up (Red)
- When a tape without erasure prevention tab is inserted, the tape is automatically ejected. Insert a tape
with the exasure prevention tab still in place.
“ The "ll2d" mark is displayed when there is no recording tape.
3. Recording may be stopped by pushing the STOP button.
Helpful Hint
1. To avoid inadvertent erasure of an important recorded tape, break the erasure prevention tab of the cassette
tape, By doing so, recording becomes impossible and erroneous erasure is prevented.
Use cassette tape (two layers preferably) a cross the broken erasure prevention tab, to make re-recording
possible again.
2. During recording, if another programme is to be recorded, push the "PAUSE" button, switch to another
channel if desired, push the "PAUSE" button again, and recording will re-start.
(The red VCR Indicator blinks during pause)
3. Recording in "S-VHS" format is not possible with this unit.
4. When the "REC." button is pressed at the starting of recording or during recording, an index signal is
recorded. This index signal enables indexing of recorded programmes, for use with indexing function.
Recording tape
index signal ■ - ■■■■
1 st programme
2nd programme
3rd programme ^
1
1 i
1
The lime when The time when the The time when the next
recorefing started. "REC." button is recording is started,
pressed again.
To prevent mis operation, leave minimum of approximately 5 min of tape between each recorded index signal.
Note ;
1. The top of the picture may becoma distorted in the Cue, Review mode. This is not an indication of a mulfunction.
2. In the special playback modes, the Blue Back-ground function does not work, even if the screen becomes noisy.
3. The sound may be muted when playing back a tape with blurred picture.
17


