Page 1
AA
AA
A
UTUT
UTUT
UT
OMAOMA
OMAOMA
OMA
TIC HIGH LTIC HIGH L
TIC HIGH LTIC HIGH L
TIC HIGH L
OOPOOP
OOPOOP
OOP
TT
TT
T
he drhe dr
he drhe dr
he dr
ain hose is fain hose is f
ain hose is fain hose is f
ain hose is f
astened to theastened to the
astened to theastened to the
astened to the
back of the machine at the bestback of the machine at the best
back of the machine at the bestback of the machine at the best
back of the machine at the best
high loop height.high loop height.
high loop height.high loop height.
high loop height.
TT
TT
T
o eliminao elimina
o eliminao elimina
o elimina
tete
tete
te
potential drpotential dr
potential drpotential dr
potential dr
ain prain pr
ain prain pr
ain pr
obob
obob
ob
lemslems
lemslems
lems
,,
,,
,
lea lea
lea lea
lea
vv
vv
v
ee
ee
e
this hose in place.this hose in place.
this hose in place.this hose in place.
this hose in place.
IMPORTANT!
Read all of these instructions
before installing the dishwasher.
SAVE THESE INSTRUCTIONS FOR FUTURE REFERENCE
Introduction 2
What You Need 2
Dimensions 3
Preparing the Location 3
Hot Water Supply 4
Drain Supply 5
Electrical Connections 6
Preparing the Dishwasher for Installation 6
Moving the Machine into Place 7
Connecting the Electric Cable 7
Connecting the Water Supply 8
Adjusting the Leveling Legs 8
Fastening the Dishwasher to the Cabinet 8
Replacing the Toe Kick Brackets 9
Installing the Toe Kick 9
Changing the Front Panels 9
Fitting the 1805FI Custom Door Panel 10
Fitting the Semi-integrated Custom Door Panel on Model 1895 12
CONTENTSCONTENTS
CONTENTSCONTENTS
CONTENTS
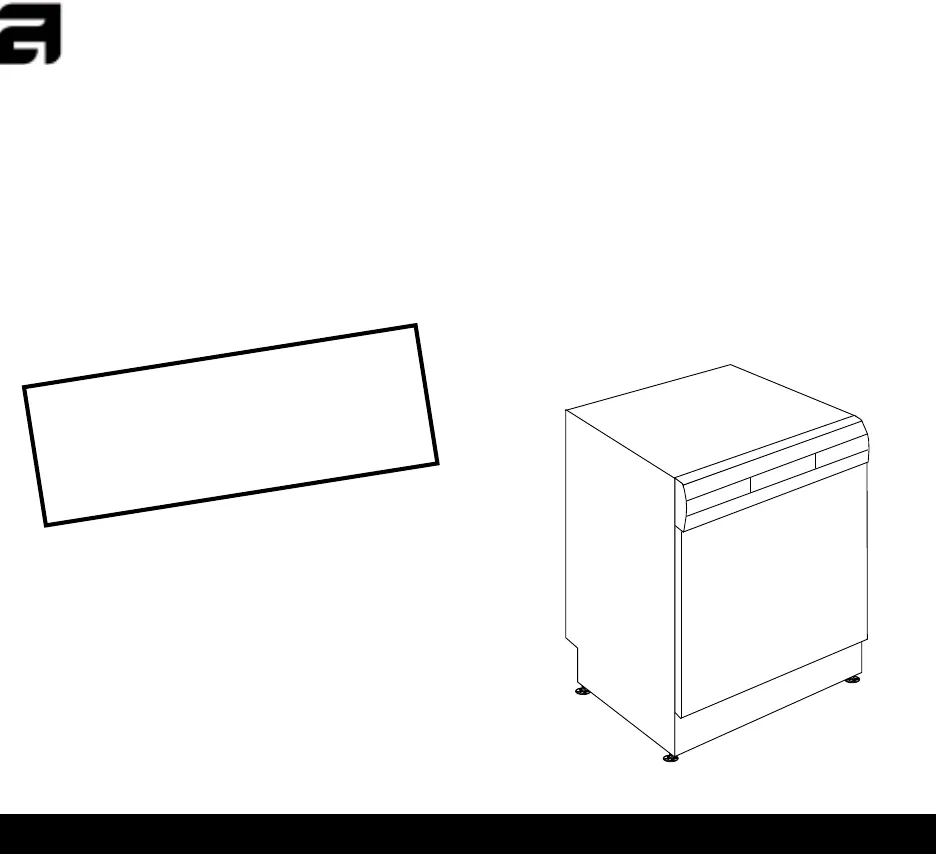
ASKO
DISHWASHER
INSTALLATION
INSTRUCTIONS


