134 user’s guide
5 Remove the side panel (see
”removing the side panel” on
page 123).
6 Remove the fan duct (see
”removing the fan duct” on
page 124).
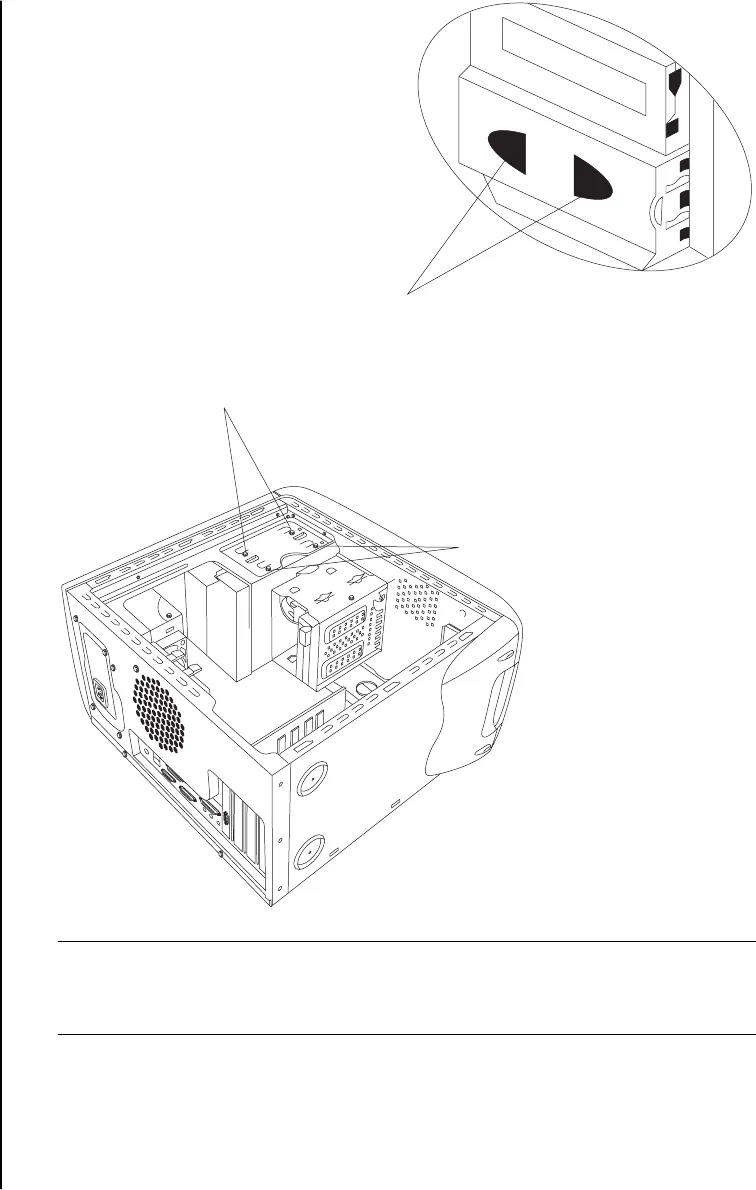
7 If you are adding a drive to an
empty lower bay, remove the bay
insert by putting your fingers in
the holes (B) and pulling the insert
toward you and out of the
computer. Skip to the next section,
”To install a new optical drive”.
8 Locate the screws (C and D) on the optical drive.
C
D
NOTE: The location of the screws varies, depending on the computer chassis
you have. Make sure to identify your chassis on page 97, and refer to the
appropriate optical drive drawings.
B


