Second-Generation Channel Interface Processor (CIP2) Installation and Configuration 41
Checking the CIP2 Installation
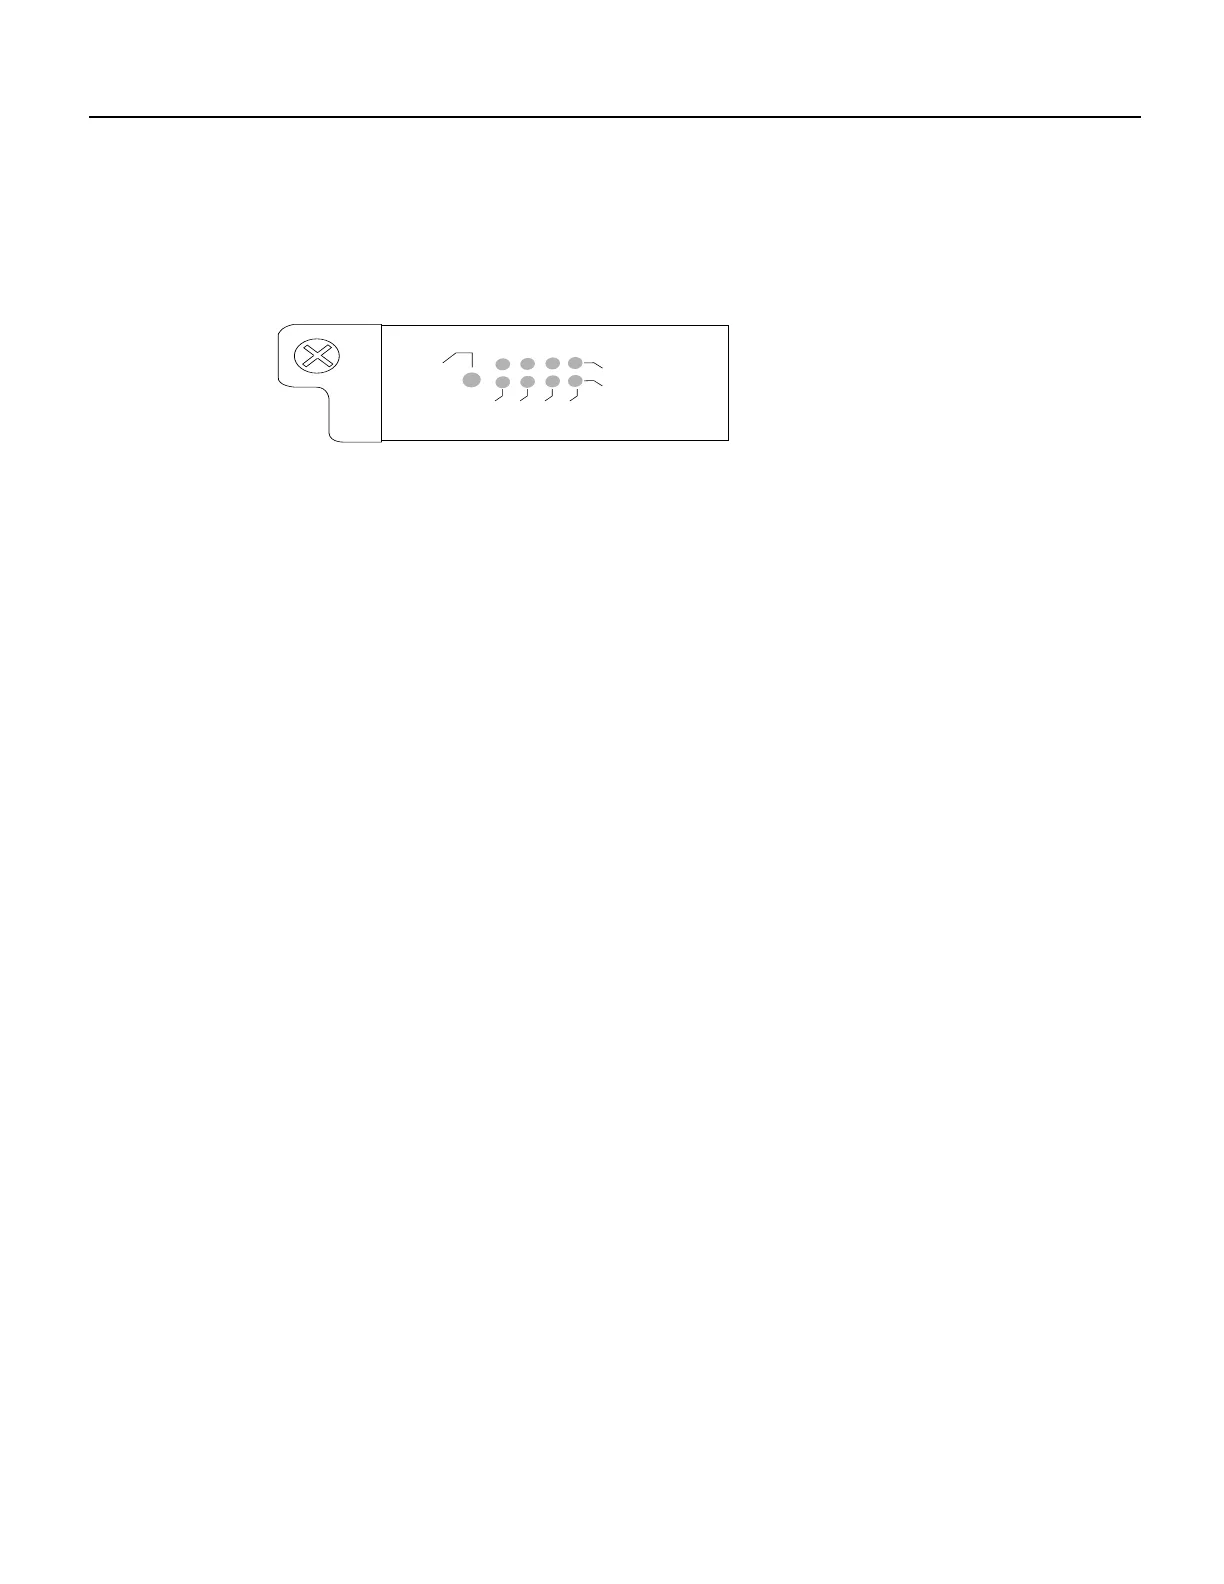
Step 3 When the reinitialization is complete, verify that the enabled LED on the CIP2 goes on
and remains on. (See Figure 25.)
Figure 25 CIP2 LED Indicators
If the enabled LED does go on, the installation check is complete.
If the enabled LED on the CIP2 fails to go on, the CIP2 card connector might not be fully
seated in the backplane or the correct version of CIP2 microcode was not available for
download. To check the CIP2 card’s connections, proceed to Step 4. To check the
microcode, use the show microcode command, the show controllers cbus command, or
the dir slot0 command.
Step 4 Proceed as follows:
• Loosen the captive installation screws, then firmly push the ejector levers inward
(toward the interface port) until both are parallel to the CIP2 faceplate.
• Tighten the captive installation screws.
• After the system reinitializes the interfaces, the enabled LED on the CIP2 should go
on.
If it does go on, the installation check is complete. If it does not go on, proceed to
Step 5.
Step 5 If the enabled LED still fails to go on, remove the CIP2 and try installing it in another
available interface processor slot.
• If the enabled LED goes on when the CIP2 is installed in the new slot, there could be
a failed backplane port in the original interface processor slot.
• If the enabled LED still fails to go on, but other LEDs on the CIP2 are on and indicate
activity, the enabled LED on the CIP2 has probably failed. Proceed to Step to resume
the installation check.
• If the enabled LED still does not go on, do not proceed with the installation. Contact
a service representative to report the faulty equipment and obtain further instructions.
(Instructions for obtaining technical assistance are provided at the end of this
document.)
If the present LED fails to go on, the connection between the ECA or PCA and the motherboard
might be faulty; however, do not attempt to disassemble the CIP2 in order to check this connection.
Instead, contact a service representative.
If the interface is new, refer to the publications listed in the section “If You Need More Information,”
on page 2, to configure the new interface. (This does not have to be done immediately, but an
interface will not be available until you configure it.)
If this installation was to replace a CIP2, use the show interfaces or show controllers cxbus EXEC
commands to verify the status of the interface. (For complete descriptions of the show commands,
refer to the publications listed in the section “If You Need More Information,” on page 2.)
PRESENT
LOADED
SIGNAL
ONLINE
PORT 0
PORT 1
H2433
ENABLED


