E-23
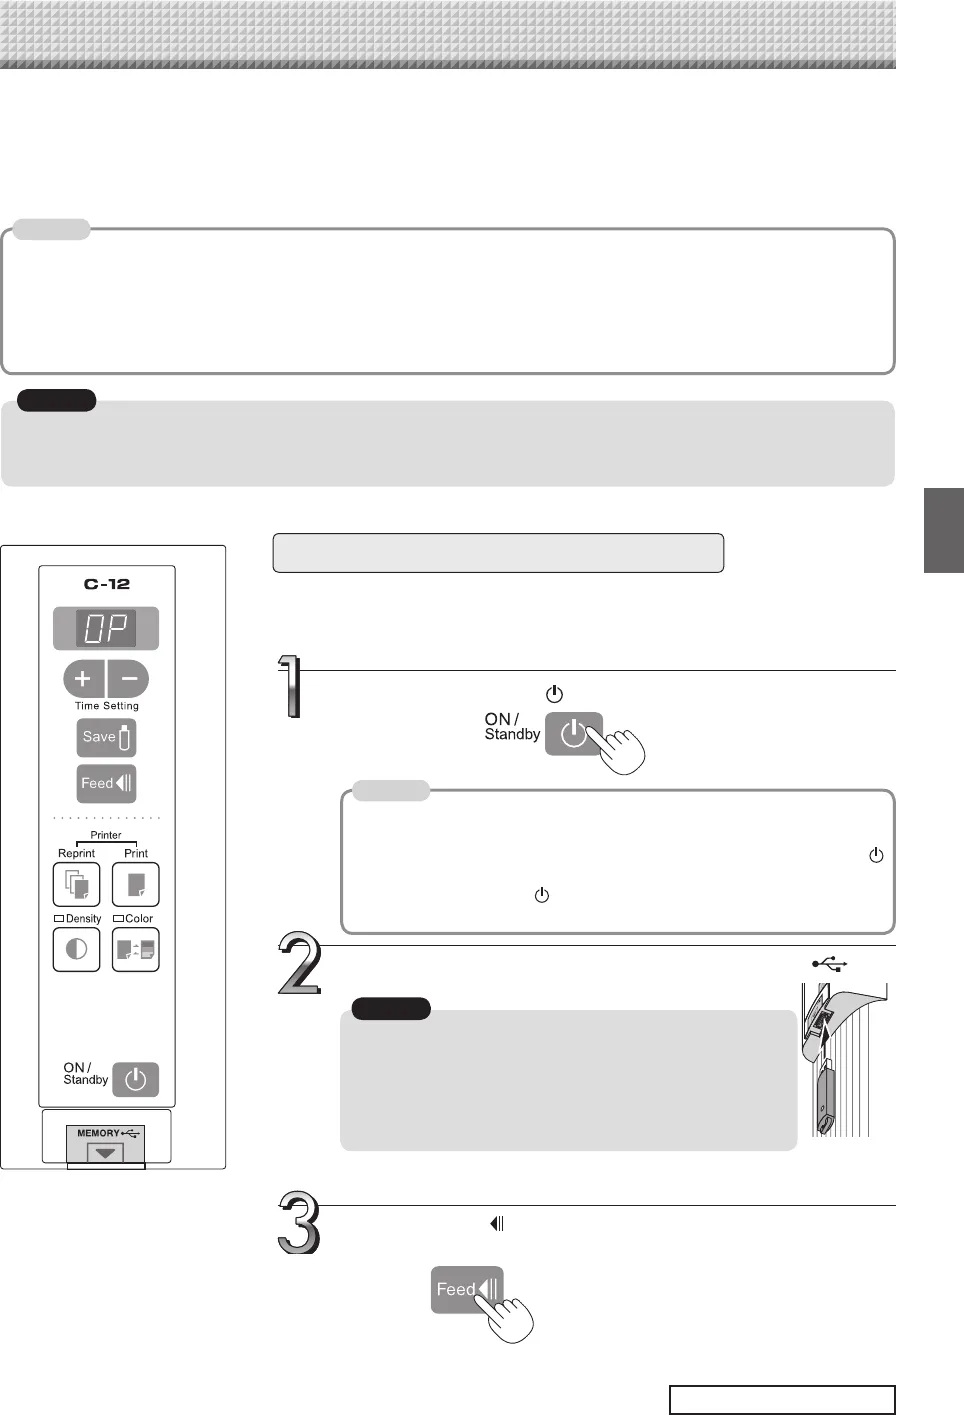
Press the ON/Standby button and switch on the power.
• When turning on the power, wait about 5 seconds after connecting the
captureboard's AC power plug to the wall power outlet or after turn-
ing off the power (standby mode) before pressing the ON/Standby
button.
• Press the ON/Standby button to switch on the power. The LED of the
display window will light.
Insert the USB memory device into the Memory port
(USB port) of the Captureboard
Using USB Memory
• The captureboard supports the USB memory formats of FAT and FAT 32.
• The factory default for the resolution of images when storing them on USB memory devices is "Standard". There
are two ways to switch this to a high resolution: by changing the captureboard's function Settings (see page E-
28), or by setting "Resolution" in TOOLBOX to "High Resolution". (For instructions on operating TOOLBOX, see
the separate "Software Operation Manual".)
• More time is required for storing images when the resolution is set to high.
USB Memory Storage Procedure
Preparation:
Check that the captureboard's AC power plug is connected to a wall power outlet.
See page E-15.
• Check the side (polarity) of the USB memory device
before inserting it. Forcing it in the reverse orientation will
damage the USB port or USB memory device.
• Be careful not to bump into the USB memory device with
hand or body while it is mounted. Doing so could dam-
age the USB memory device or USB port.
Press the Feed button and display the sheet surface you
want to store.
ON/
Standby
M
E
M
O
R
Y
Continued on next page
Pressing the Feed button scrolls the sheet
one screen portion to the left and it stops
automatically.
The content of what has been drawn on the sheet surface of the captureboard can be saved in USB memory.
Later, the saved image can be read into a personal computer and made into a document of the proceedings of
the meeting, or affixed to a document.
• What is needed to use the USB memory function
USB memory: Commercially-available product
Personal computer: The connector is a USB port (type A), and the interface supports USB 1.1
• Images projected with a projector cannot be saved in USB memory.
• For the specification of the USB memory devices compatible with this Captureboard, please go to our website at:
http://www.plus-vision.com
Note
Notice
Note
Notice


