Replacing the System Board: Dell XPS 430 Service Manual
sysboard.htm[4/15/2014 11:28:34 AM]
Back to Contents Page
Replacing the System Board
Dell™ XPS™ 430 Service Manual
CAUTION: Before working inside your computer, read the safety information that shipped with your
computer. For additional safety best practices information, see the Regulatory Compliance Homepage at
www.dell.com/regulatory_compliance.
NOTICE: Do not perform the following steps unless you are familiar with hardware removal and replacement.
Performing these steps incorrectly could damage your system board. For technical service, see the Quick Reference
Guide.
NOTICE: The system board and metal tray are connected and are removed or installed as one piece.
1. Follow the procedures in Before You Begin
.
2. Remove the computer cover (see Removing the Computer Cover).
3. Remove any full-length expansion cards (see Replacing PCI and PCI Express Cards).
4. Remove the processor airflow shroud (see Replacing the Processor Airflow Shroud Assembly) and the processor fan
assembly (see Replacing the
Processor Fan Cage and Replacing the Processor Fan).
5. Remove the card fan assembly (see Replacing the Card Fan).
6. Remove any additional components that may restrict access to the system board.
7. Disconnect all cables from the system board.
NOTICE: If you are replacing the system board, visually compare the replacement system board to the existing system
board to ensure that you have the correct part.
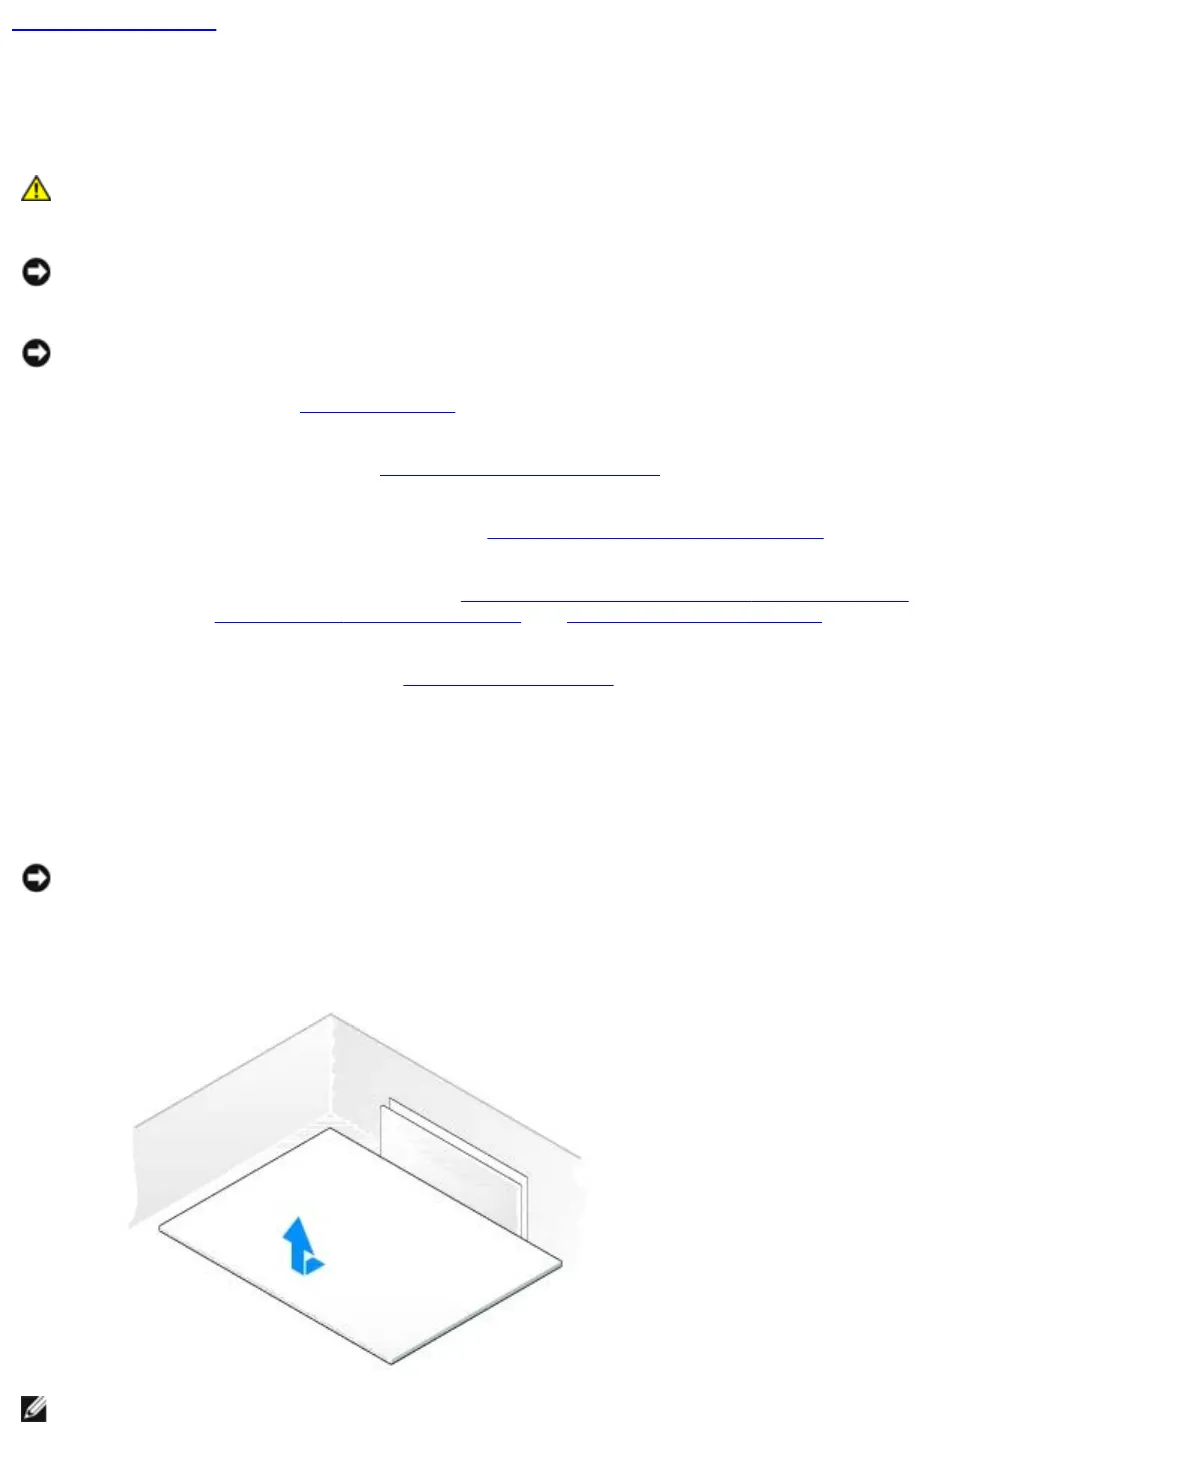
8. Remove the eight screws securing the system board assembly to the chassis, slide the system board assembly towards
the front of the computer and lift it up and out.
NOTE: Some components and connectors on replacement system boards may be in different locations than
corresponding connectors on the existing system board.


