11. Install the secondary hard drive:
a. Place the secondary hard drive in the bracket so that all three screw-hole tabs insert into the three screw holes on the hard drive.
b. Secure the drive to the bracket with the screws that you removed in step6.
c. Install the bracket into the computer with the two bracket-securing screws that you removed in step6.
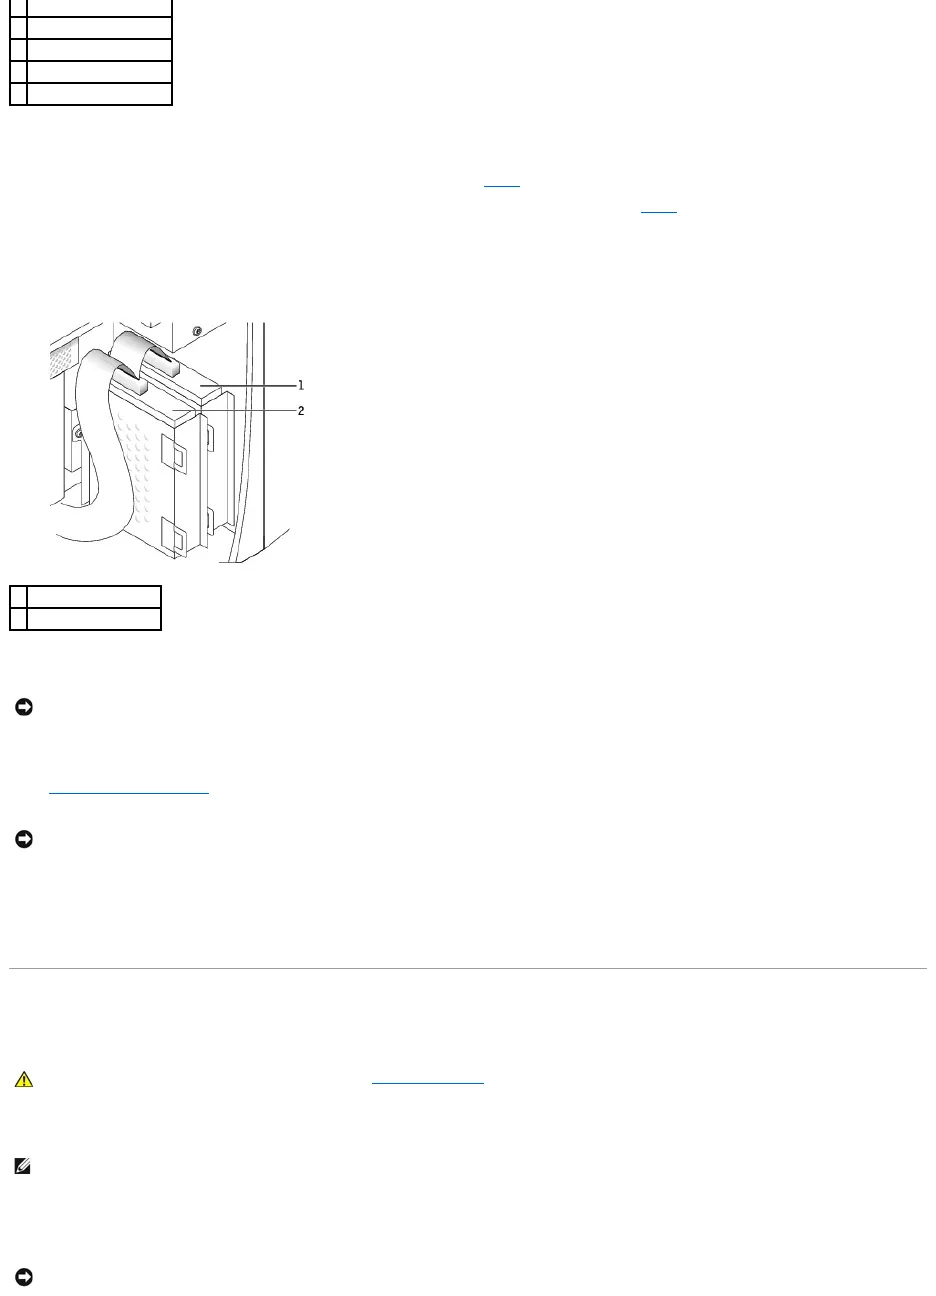
12. Connect the power and data cables to the back of the drives.
Match the colored strip on the cable with pin 1 on the drive (pin 1 is marked as "1").
13. Replace the computer cover.
14. Connect your computer and devices to electrical outlets, and turn them on.
See the documentation that came with the drive for instructions on installing any software required for drive operation.
CD/DVD Drive
1. Shut down the computer through the Start menu.
2. Ensure that your computer and attached devices are turned off. If your computer and attached devices did not automatically turn off when you shut
down your computer, turn them off now.
NOTE: Drives sold by Dell come with their own operating software and documentation. After you install a drive, see the documentation that came with
the drive for instructions on installing and using the drive software.