Replacing the Front Stand
1. Follow the instructions in Before You Begin.
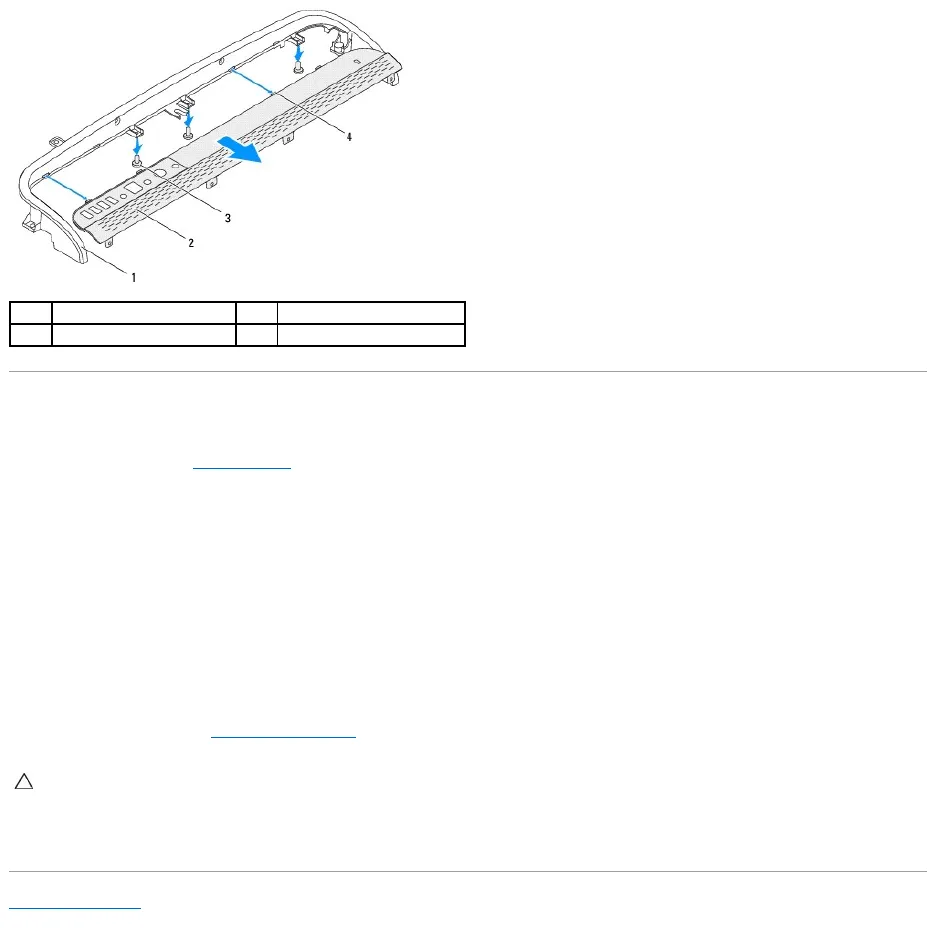
2. Slide the four tabs on the I/O bracket into the slots on the front stand.
3. Replace the three screws that secure the I/O bracket to the front stand.
4. Slide the tabs on the I/O bracket into the slots on the middle frame.
5. Ensure that the tab on the front-stand assembly is secured on the middle frame.
6. Align the screw holes on the front-stand assembly with the screw holes on the computer.
7. Replace the three screws that secure the front-stand assembly to the computer.
8. Replace the back cover (see Replacing the Back Cover).
9. Connect your computer and all attached devices to electrical outlets, and turn them on.
Back to Contents Page
CAUTION: Before turning on the computer, replace all screws and ensure that no stray screws remain inside the computer. Failure to do so may
result in damage to the computer.