4 January 2014
The 2014 Cadillac ELR with its Extended Range Electric Vehicle
(EREV) technology provides an EV range of approximately 37
miles (60 km) and a full driving range of approximately 340 miles
(547 km), by combining pure electric driving and its range-extend-
ing 1.4L gas powered generator.
The lithium-ion high voltage battery pack holds its charge
efficiently and has no memory effect, so it doesn’t have to be run
down completely before recharging. Keeping the vehicle plugged
in, even when fully charged, will keep the battery temperature
ready for the next drive.
Charging Time
The ELR can be programmed for three charging modes: Immedi-
ately upon plug-in; Delayed based on departure time; and Delayed
based on electric rate and departure time.
Using a 120-volt standard outlet will take approximately 12.5
hours to charge the ELR at the 12-amp setting, or 18 hours at
the 8-amp default setting. Using a 240-volt charging station will
take approximately 5 hours. Charge times will vary with outside
temperature.
TIP: Before
plugging in to any
electrical outlet,
have a qualified
electrician in-
spect and verify
the electrical
system (electri-
cal outlet, wiring,
junctions and
protection de-
vices) for heavy-
duty service at a
12-amp continu-
ous load.
Touch the green leaf Energy icon on the infotainment touch screen
and then touch the Charging icon to view the current Charge
Level and Charge Mode status.
• Touch the green Charge Level text to select a different
charge level.
• Touch the green Charge Mode text to select a different
charge mode.
Charging Status
Charging Status Indicators are located on the instrument panel
near the windshield and in the side mirrors (if activated in the Ve-
hicle Personalization menu).
On the instrument panel, the light indicators are:
• Solid green with single horn chirp – Vehicle is plugged
in; battery is charging
• Slow (long pulse) flashing green with double horn
chirp – Vehicle is plugged in; battery charging is delayed
• Fast (short pulse) flashing green – Vehicle is plugged in;
battery is fully charged
• Solid yellow – Vehicle is plugged in; not charging
• No light – Vehicle is not plugged in or there is an issue with
the charger or outlet
• No light and repetitive horn chirps – Electricity was
interrupted before charging was completed
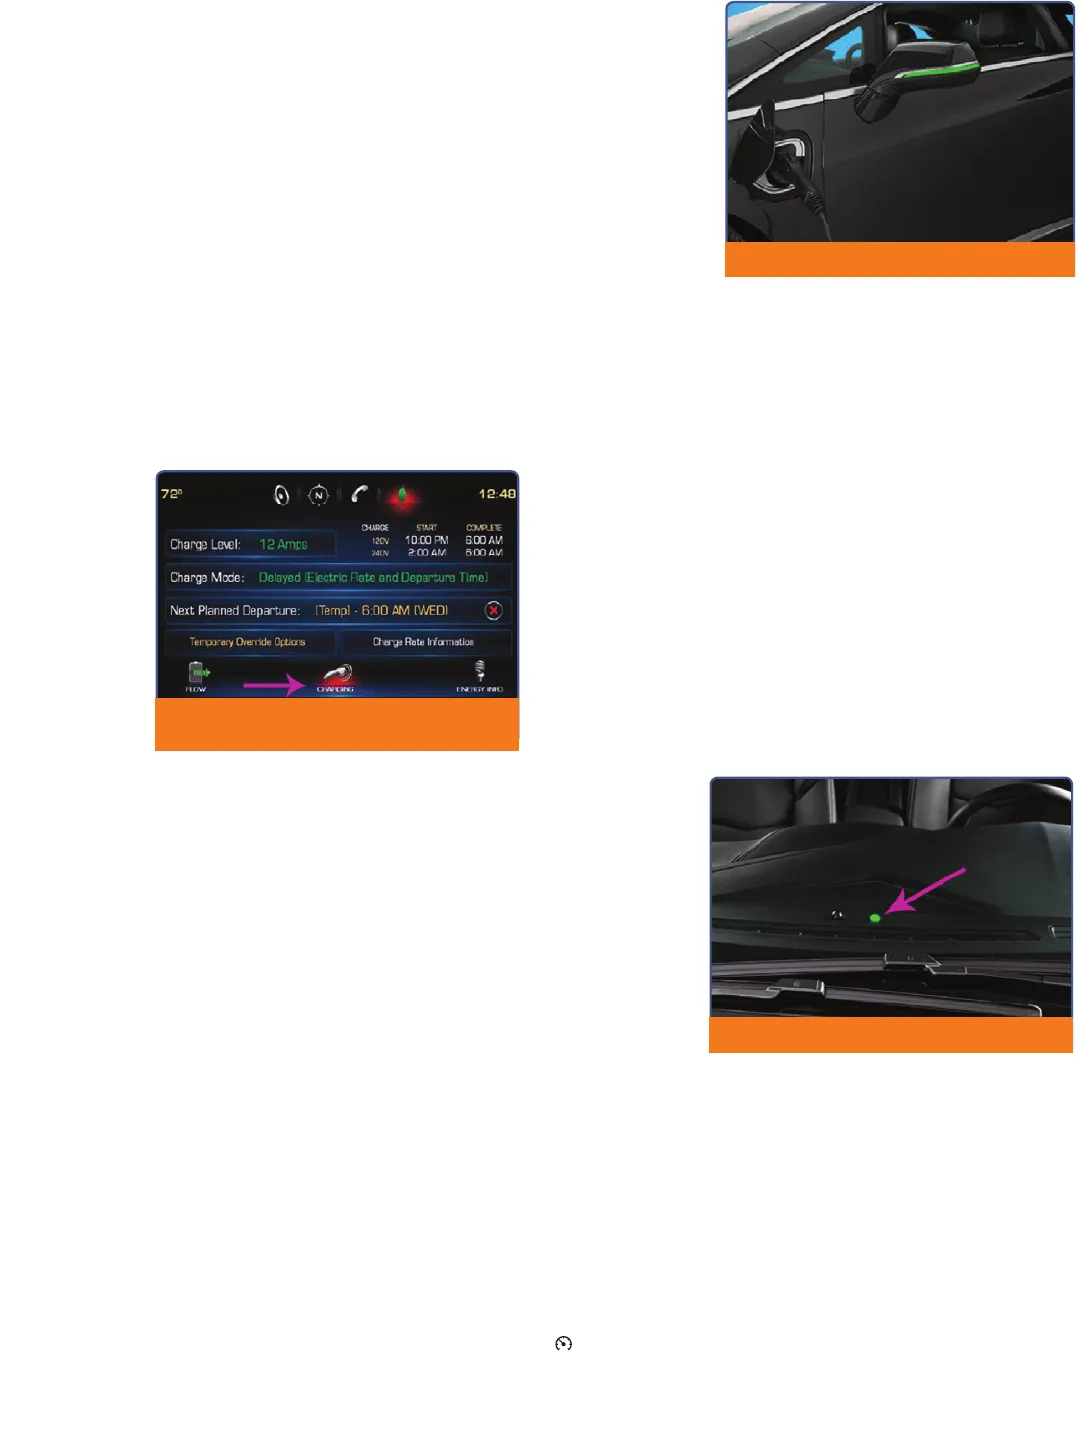
On the side mirror,
the light indicators
show the progress
of the charging
event. They are:
Solid green –
Battery is charg-
ing; charging is
less than half
complete
Fast flashing
green – Charging
is more than half
complete
Slow flashing green – Charging is nearly complete
No light – Charge is complete or not charging
Charging
1. Place the vehicle in Park.
2. Select the Charging icon at the bottom of the Energy screen on
the touch screen.
3. Review the selected Charge Level and Charge Mode. Touch
the green text if an increased Charge Level or different Charge
Mode is desired. The Charge Level selection automatically
returns to the reduced level each time the vehicle is driven.
4. Once the Charge Level and Charge Mode are selected, turn off
the vehicle.
5. Remove the charge cord from the trunk and plug it into an elec-
trical outlet. DO NOT PLUG INTO AN EXTENSION CORD.
The charge cord indicator on the base of the charge card should
be green.
TIP:
• Always prop-
erly support
the charge
cord at all
times and do
not let it hang
from the plug
or outlet.
• Electrical
outlets may
wear out with
normal usage
or be damaged
over time,
making them
unsuitable for electric vehicle charging.
• Check the electrical outlet/plug while charging and discontinue
use if the electrical outlet/plug is hot; have the electrical outlet
serviced by a qualified electrician.
6. Press and release the rear edge of the charge port door,
located just in front of the driver’s door, to open the door. Plug
the charge cord into the charge port.
Once charging is complete, unplug the charge cord by pressing
the plug release button on the cord, unplug the cord from the
electrical outlet and properly stow the charge cord.
Thanks to Keith Newbury and Sherman Dixon
Touch the green text to change the
Charge Level or Charge Mode.
Instrument panel charging status indicator
Side mirror charging status indicator
Charging the ELR


