GB 17
Water stop anti-flooding system
(depending on model)
•
Screw the hose to the water supply tap. Turn the tap fully on and
check the water-tightness of the connection.
•
The appliance must not be connected to the mixing tap of a non-
pressurized water heater!
•
The inlet hose and the plastic enclosure contain electrical
components:
Do not cut the hose and do not immerse the enclosure in water.
•
If the flexible hose is damaged, unplug the appliance from the
mains immediately and replace it.
If the flexible hose is too short, replace it with a 3 m Water Stop
hose (available from After-Sales Service or from your dealer). This
operation must be carried out exclusively by a qualified technician.
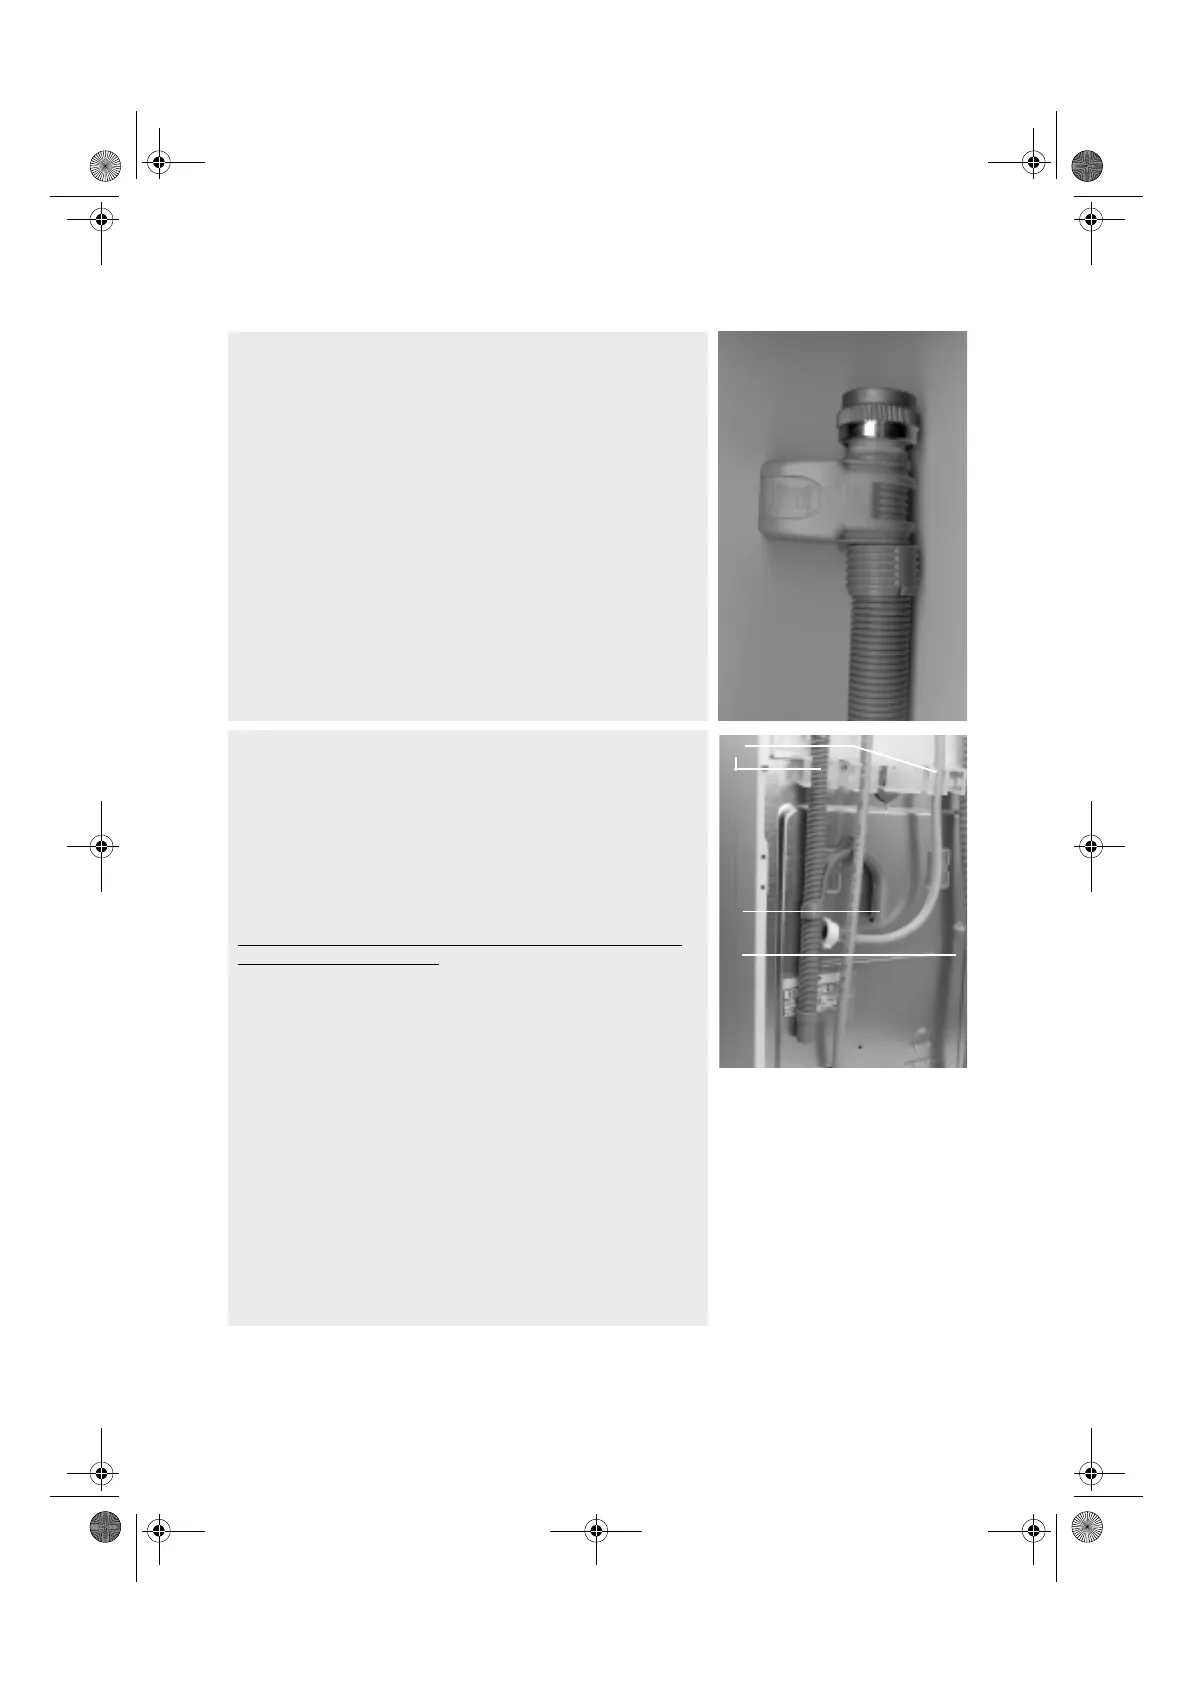
Connect the water drain hose
1.
Unhook the drain hose from the left and right hose connections,
see arrow
A
in figure.
Minimum drain height: 55 cm.
If you fix the drain hose to a drainage stand pipe, the internal
diameter of the drain pipe should be 3 cm minimum. To avoid a
syphon effect, the end of the drain hose should be 55 cm min.
from the floor.
Important:
Do NOT loosen the drain hose connection from the right
side, see arrow B in figure.
Otherwise, there is the risk of
leakage and of scalding with hot water.
2.
Fix the “U” bend (
C
) to the free end of the drain hose.
3.
Connect the drain hose to the siphon or hook it over the edge of
a sink with the “U” bend.
Small hand basins are not suitable.
The edge of the sink must be no more than 100 cm from the
floor.
If you need to add an extension, use a flexible hose of the same
size and secure the unions with screw-on hose clips.
Maximum overall drain hose length: 2.50 m.
Maximum drain height
(“U” bend): 100 cm.
Minimum drain height: 55 cm.
Important:
Make sure there are no kinks in the drain hose and take precautions
against it falling while the appliance is running.
A
B
C
4gb10037.fm Page 17 Thursday, August 5, 2004 6:55 PM


