Fax Driver 2-13
Installing the fax driver
2
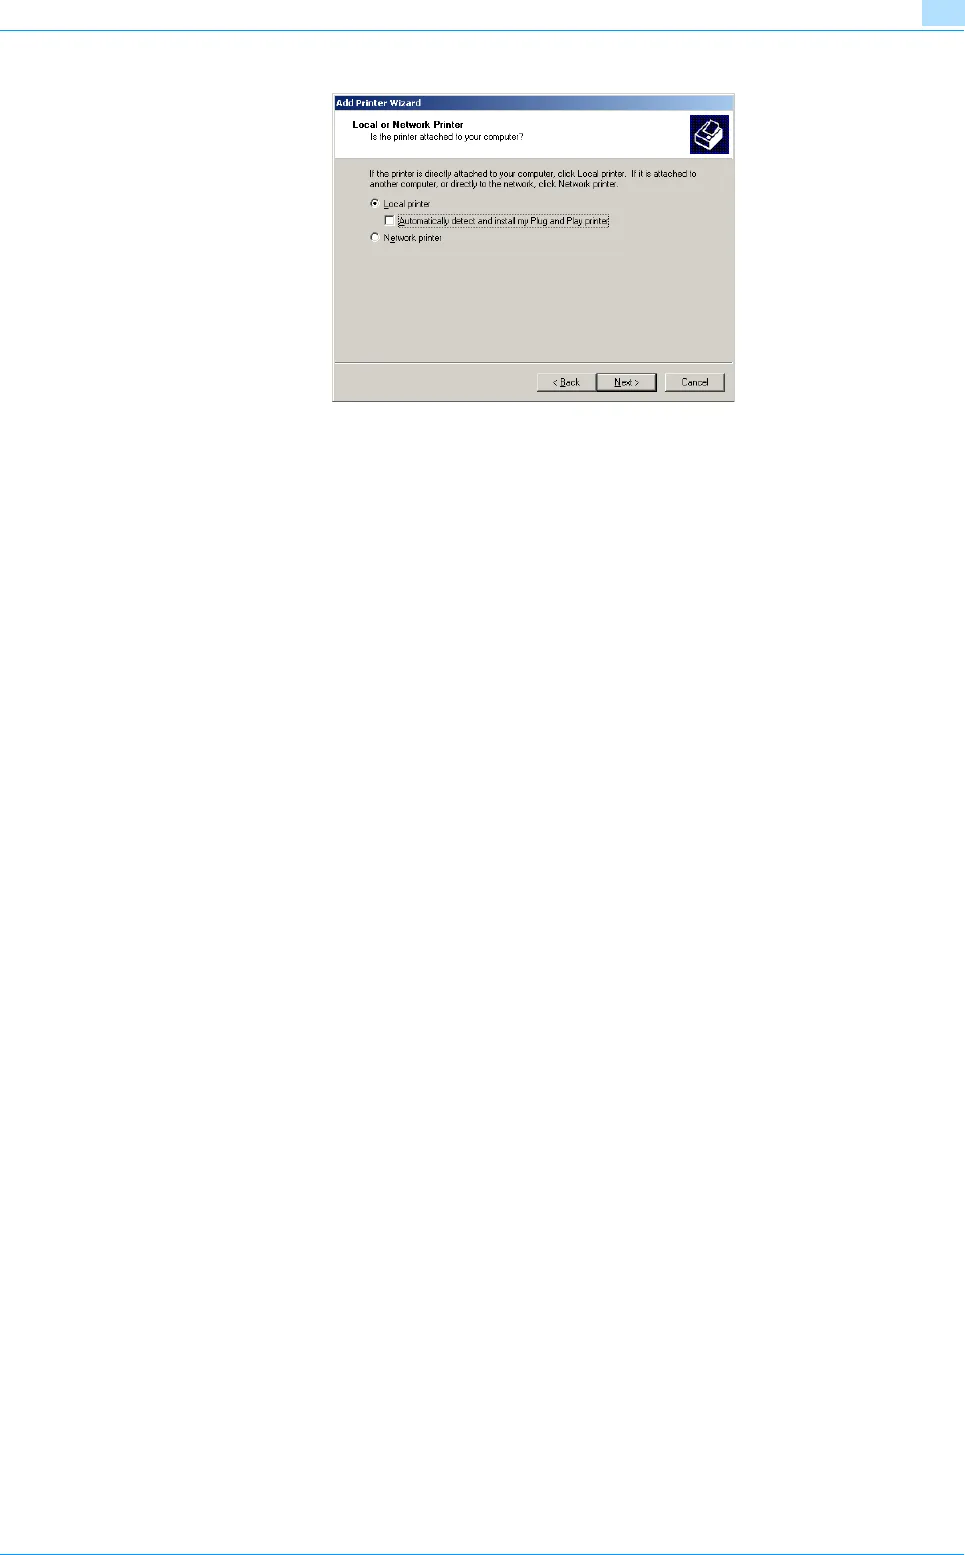
5 In the screen for selecting the printer connection, select "Local Printer".
6 Click the [Next] button.
A screen for specifying ports appears.
7 Click "Create a new port", and then select "Standard TCP/IP Port" for the type of port.
– For Windows NT 4.0, select "LPR Port" in the "Available Printer Ports" list, and then click the [New
Port] button. For details, refer to the User’s Guide [Print Operations (IC-207)].
8 Click the [Next] button.
The Add Standard TCP/IP Printer Port Wizard starts.
9 Click the [Next] button.
10 In the "Printer Name or IP Address" box, enter the IP address for this machine, and then click the [Next]
button.
– If the Additional Port Information Required dialog box appears, go to step 11.
– If the Finish screen appears, go to step 14.
11 Select "Custom", and then click the [Settings] button.
12 Change the settings according to the port, and then click the [OK] button.
– For an LPR connection, Select "LPR", and then enter "Print" in the "Queue name" box.
– For a Port9100 connection, select "RAW", and then enter the RAW port number (9100 at default) in
the "Port Number" box.
– The information entered here is case-sensitive.
13 Click the [Next] button.
14 Click the [Finish] button.
The Add Printer Wizard appears.
15 Click the [Have Disk] button.
16 Click the [Browse] button.
17 Specify the desired folder on the CD-ROM that contains the fax driver, and then click the [Open] button.
– Select the specified folder according to the printer driver to be used, the operating system, and the
language.
18 Click the [OK] button.
The "Printers" list appears.


