Delay, Phaser and Flanger Custom Settings
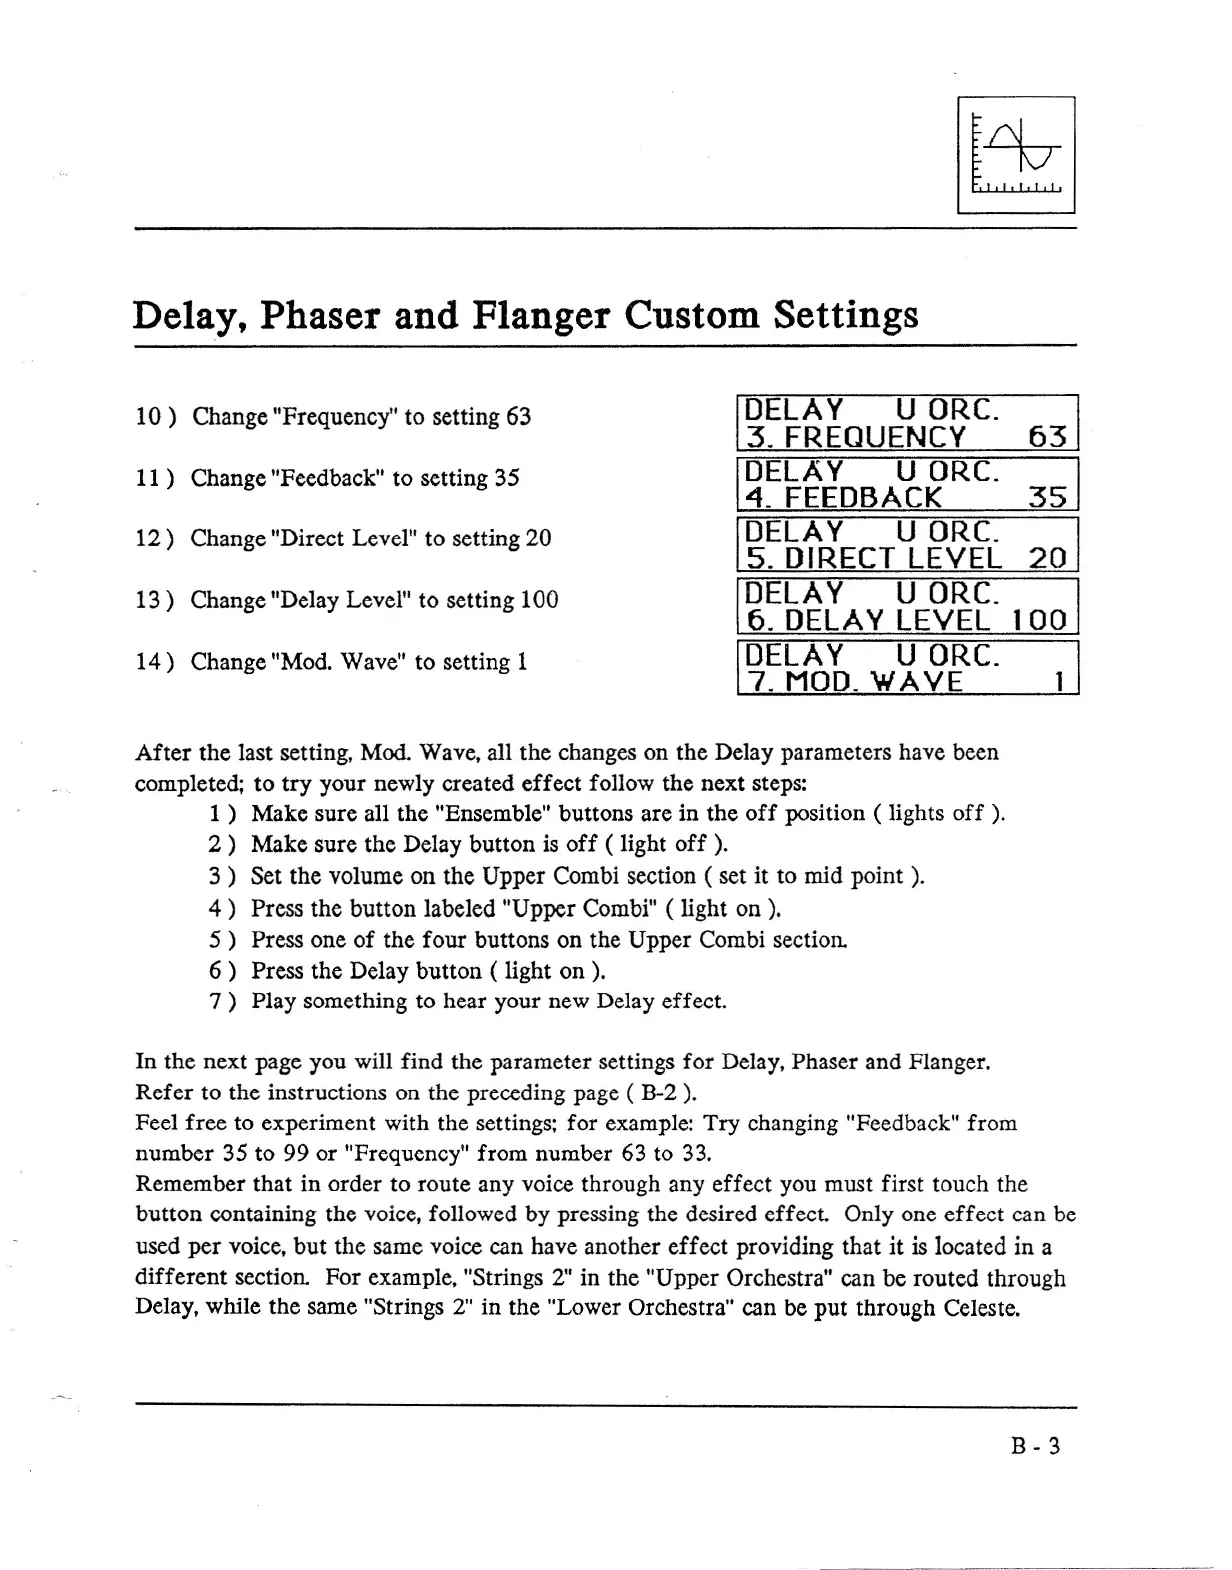
10 ) Change "Frequency" to setting 63
I
DELA Y U ORC.
63
3. FREQUENCY
11)
Change "Feedback" to setting 35
I
DELA Y U ORC.
35
4. FEEDBACK
12 )
Change "Direct Lever' to setting 20
I
DELA Y U ORC.
20
5. DIRECT LEVEL
13) Change "Delay Level" to setting 100
I
DELA Y U ORC.
6. DELAY LEVEL 100
14)
Change "Mod. Wave" to setting 1
I
DELA Y U ORC.
1
7. MOD. WAVE
After the last setting, Mod. Wave, all the changes on the Delay parameters have been
completed; to try your newly created effect follow the next steps:
1) Make sure all the "Ensemble" buttons are in the off position ( lights off ).
2) Make sure the Delay button is off ( light off ).
3) Set the volume on the Upper Combi section ( set it to mid point ).
4) Press the button labeled "Upper Combi" ( light on ).
5) Press one of the four buttons on the Upper Combi section.
6) Press the Delay button ( light on ).
7) Play something to hear your new Delay effect.
In the next page you will find the parameter settings for Delay, Phaser and Flanger.
Refer to the instructions on the preceding page ( B-2 ).
Feel free to experiment with the settings; for example: Try changing "Feedback" from
number 35 to 99 or "Frequency" from number 63 to 33.
Remember that in order to route any voice through any effect you must first touch the
button containing the voice, followed by pressing the desired effect Only one effect can be
used per voice, but the same voice can have another effect providing that it is located in a
different section. For example. "Strings 2" in the "Upper Orchestra" can be routed through
Delay, while the same "Strings 2" in the "Lower Orchestra" can be put through Celeste.
B-3


