ARISTON DISHWASHER - Instructions for installation and use
19
D
ISHWASHER
If the power
socket to which
the appliance is
connected is not
compatible with
the plug, replace
it with a suitable
plug rather than
using adapters or
multiple plugs as
these could cause
overheating or
burns.
Installation and moving
After having bought or moved your dishwasher to another home, a
correct installation ensures that your dishwasher will operate
smoothly and efficiently.
to screw it tightly onto the tap.
If the water pipes are new or have
not been used for an extended
period of time, let the water run to
make sure that the water is clear
and free of impurities. If this
precaution is not taken, there is a
risk that the water inlet can get
blocked and damage the appliance.
Hot water connection.
Your dishwasher can be supplied
with hot water from the mains
supply (if you have a central heating
system with radiators) at a tempe-
rature of no more than 60°C.
In this case, the wash cycle time
will be about 15 minutes shorter
and the wash will be slightly less
effective.
The connection must be made to
hot water supply following the
same procedures as those indicated
for the cold water connection.
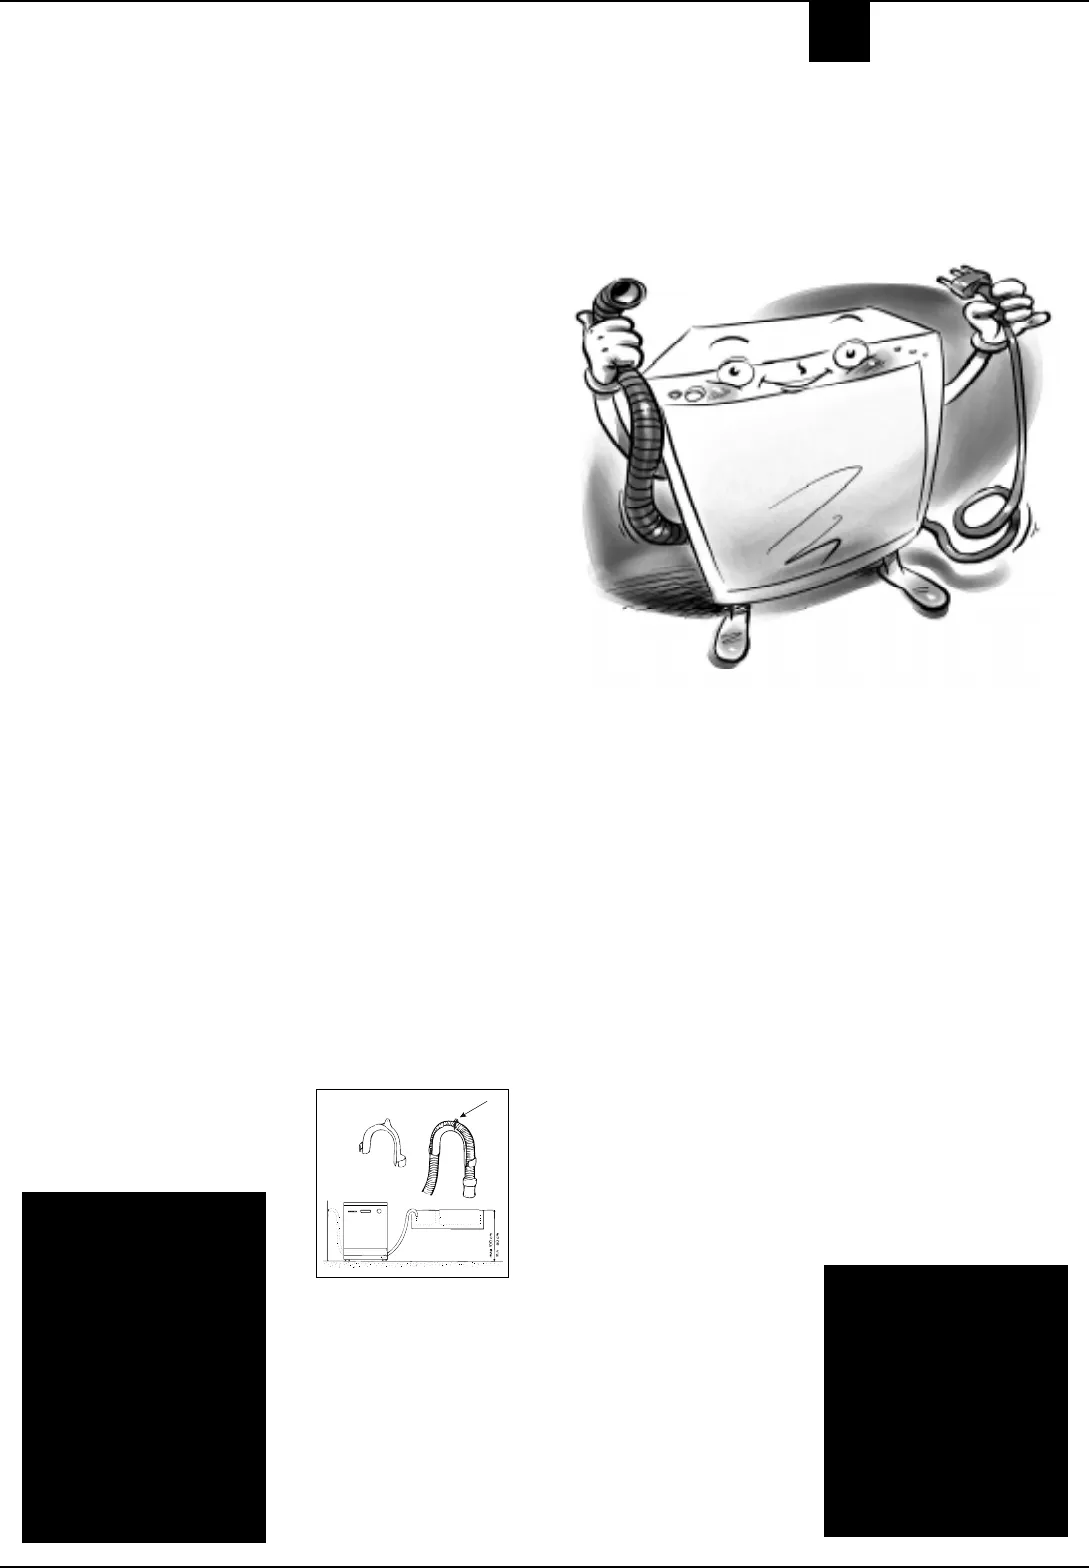
Drain hose connection.
Fit the drain pipe into a drain line
with a minimum diameter of 4 cm
or place it over the sink. Avoid
restricting or bending it. Use the
special plastic elbow provided (see
figure) to position it in the best
possible way. The part of the pipe
marked with the letter A should be
between 40 and 100 cm above the
ground.
The pipe should not be immersed
in water.
Electrical connection.
First of all, check that the mains
voltage and frequency values
correspond to those stated on the
rating plate located on the stainless
steel inner door of the appliance
and that the electrical system to
which the dishwasher is connected
is sized for the maximum current
indicated on said rating plate.
Earth: indispensable
safety.
Only now can you plug the
appliance into a socket provided
with an efficient earth connection
(the system's earthing is a
guarantee of safety provided for by
law, make sure your system has
it).
Choose where you want to install
your dishwasher, you can even
place it so that its sides or back
panel are side by side with furniture
or up against the wall. The
dishwasher is provided with water
supply and drain hoses, which can
be directed towards the left or right
to facilitate appropriate
installation.
This dishwasher model can be built
under a single worktop (please read
the relevant instruction sheet).
Levelling.
Once the appliance is positioned,
adjust the feet by screwing them
in or out depending on how high
you want it and to level it so that it
is horizontal. Make sure that it is
not inclined more than 2 degrees.
If the appliance is level, it will help
ensure its correct operation.
Anti-flooding protection
Your dishwasher is provided with a
special system which blocks the
water supply in the event of leaks
inside the appliance.
Cold water connection.
This electric household appliance
should be connected to the water
mains using the cold water supply
hose provided with the appliance
only. Do not use a different hose. In
the event of replacements, use
original spare parts only.
Connect the cold water supply
hose to a 3/4 gas threaded connec-
tion, and connection, taking care
Your dishwasher has arrived
A
Fig.2
Power supply wire.
Check the power supply wire on a
regular basis; if it is damaged, we
recommend you have it replaced
by an authorised technical
Assistance service centre.
The plug
The dishwasher plug must be
accessible even when the appliance
is installed so that maintenance
can be done safely.
The special
plastic elbow
should be
fastened firmly
onto the wall to
prevent the drain
hose from
moving and
allowing water to
spill outside the
drain.


