Video Label
Easy recognition ot
connected equipment
(e.g. SAT VHS. etc )
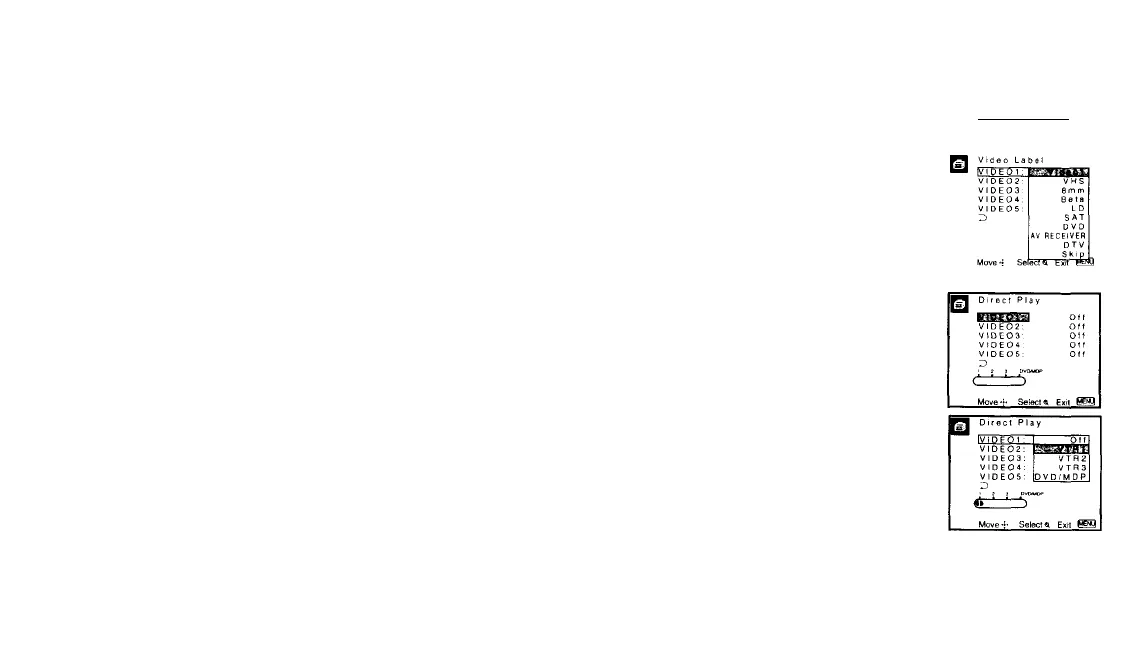
This feature allows you to label each input mode so that you can easily identify the connected equipment
(e.g, you can label VIDEO 1 IN as VHS).
With the Video Label window open:
1 Move the joystick up or down to select the input mode you want to label and press .
2 Move the joystick up or down to select the label and press 0 .
Video Label Options:
VIDEO 1: VIDEO 1, VHS, 8mm, Beta, LD, SAT, DVD, AV RECEIVER, DTV, Skip
VIDEO 2/3: VIDEO 2A/IDEO 3, VHS, 8mm, Beta, LD, SAT, DVD, DTV, Skip
VIDEO 4/5: VIDEO 4A/IDEO 5, SAT, DVD, DTV, Skip
If you select “Skip,” your projection TV will skip this connection when you scan through video sources
using the TVA/IDEO button.
IDE02
IDE03
IDE04
IDE05.
IDEO’
IDE02
I DE 03
I D E 04
I DE 05
Move-!- Select» Exit
Direct Play
Easy operation of a
connected VCR
This feature allows you to switch the input mode from the TV to a Sony VCR (MDP or DVD) and start
playing by only pressing the ► (playback) button on the remote control. You have to set the VTR1/2/3/DVD/
MDP switch on the remote control (e.g., you connect your VCR to the VIDEO 3 IN jacks and set the VTR1/2/
3/DVD/MDP switch to VTR 3).
With the Direct Play window open:
1 Move the joystick up or down to select the input to which your video equipment is connected,
and press © .
2 Move the joystick up or down to select the position of the VTR 1/2/3/DVD/MDP switch, and press © .
Flash Focus
Automatic convergence
adjustment
Select Yes and press © to start Flash Focus adjustment. When the adjustment is completed, the cross pattern on the screen
becomes white, (for details, see page 20)
Select No to cancel Flash Focus.
39


