Insert the anti rat cover firmly from back side or
Front side of washing machine and screw it.
High Base
&
Middle Base
FIXING POSITION
Screws
Anti Rat Cover
Adjustable Leg
Low Base
leaning and Maintenance
C
Wash Inner-tub Leave the lid open after washing to allow moisture
to
evaporate. If you want to clean
the inner-tub use a clean soft cloth dampened
with
liquid
Detergent,
then
rinse.
(Do
not use harsh or gritty cleaners.)
Inlet Hoses Hoses connecting washer to faucet should be replaced every 5 years.
Exterior Immediately wipe off any spills. Wipe with
damp
cloth.
Try
not to hit surface with
sharp objects.
Long Vacations Be sure water supply is shut off at faucets.
Drain
all
water
from
hoses
if
weather
will
be below freezing.
When there is a fear of freezing
If froze
n
• Remove the water supply hose, and immerse it in HOT water at approx.. 40 C.
• Pour approx.. 2 liters of HOT water at approx.. 40 C, into the bowl and let it stand for 10 minutes.
• Connect the water supply hose to the water tap and confirm that the washing machine performs the
supply and drainage of water.
• Close the water taps and remove the Water Supply Hose.
• Remove the water which remains in the water supply.
• Lower the drain hose and drain the water in the bowl and the drain hose by spinning.
Cleaning the Inside of your Washer
If you use fabric softener or do regular COLD water washing, it is very important that you occasionally clean the
inside of your washer.
• Fill your washer with HOT water.
• Add about two cups of a powdered Detergent that contains phosphate.
• Let it operate for several minutes.
• Stop the washer, open the lid and leave it to soak overnight.
• After soaking, drain the washer and run it through a normal cycle.
Products that might damage your washing machine
• Concentrated bleaches and diaper sanitizer will cause damage to the paintwork and components of your washer.
• Hydrocarbon solvents i.e. petrol, paint thinners and lacquer thinners, etc. can dissolve plastic and blister paint
(Be careful when washing garments stained with these solvents as they are flammable DO NOT put them in
washer or dryer.)
• Some pretreatment sprays or liquids can damage your washer’s control panel.
• Use of dyes in your washer may cause staining of the plastic components. The dye will not damage the machine
but we suggest you thoroughly clean your washer afterwards. We do not recommend the use of dye strippers in
your washer.
• Do not use your washer lid as a work surface.
28
18
Time Left
Time LeftTime Left
21
To see the remaining time for each process, first press START/PAUSE button and then press one of the
WASH, RINSE and SPIN buttons.
Press both the SPIN button and the DELAY button simultaneously.
SPIN DELAY
If you want to unlock during wash, press both the SPIN and the DELAY button simultaneously again.
Time Left
22
How to adjust leveling
Turn the adjustable legs to set the washer
horizontal (Both the front legs).
Install the washer on flat and firm surface.
1
Installation area
Adjustable leg
Improper installation of the washer may cause noise and malfunctioning.
1.
2.
More than 2cm
More than 10cm
More than 2cm
Distance between drain hose and the wall
Distance between drain hose and the wall should be more
than 10cm, and the distance between the other part or the
rear part and the wall should be more than 2 cm.
.
2
Checking level
The Basement is not flat, fill the water just touching the
Pulsator and see uniform distribution. If not, adjust the
legs as shown in the figure.
Top View
Press the corners of the machine diagonally
as shown in the figure, If any movement is observed,
adjust the legs for proper leveling.
3
Checking Proper placement
Anti-rat cover installation
The ventilating openings in the base area must not be obstructed by carpeting when the washing machine is
installed on a carpeted floor.
Install the washing machine on a level and firm
surface, any tilt should be less than 4°.
H
Don't add anything under back side legs.
lacing, Leveling and Installation
23
C
onnecting Water Supply Hose
Rubber packing
Rubber packing
Fixed sticker
screw
Guide plate
Connector
Connector
Fixed sticker
Middle
Connector
Middle
Connector
Water Supply Hose
Pressing rod
Pressing handle
Connector
Middle
connector
Fixed Sticker
Pressing Handle
Pressing Rod
Water Supply Hose
Separate Middle connector from Water Supply Hose
Separate Middle connector from the
Water
Supply Hose by pulling the Pressing Rod and the
Pressing Handle that is attached to the
Water
Supply Hose
.
Loosen the fixed nuts to connect the connector to the tap
Untighten the screw of the connector so that the
tap can be placed in the middle.
Fixing Connectors to the Tap
Push the upper connector up till the rubber
packing is in tight contact with the tap. Then
tighten the 4 screws.
Fixing Upper Connector and Middle Connector
Remove the fixed sticker in between the
Upper
and Middle Connectors. Tighten the
connectors
by holding one connector and twist middle
connector to the right.
Connecting Middle Connector and Water Supply Hose
Press down the pressing rod of the Water Supply
Hose which was separated from middle
connector
(refer to Step1) and then join it to the middle
connector.
Normal Type
If the tap diameter is too large or is square,
untighten the 4 screws and remove the guide
plate. Then follow step1
.
In case tap is too large.
NOTE
Check for water leakage
After connecting the hose, open the tap to check
for any water leakage.
If the connection leaks, close the tap and start
again from step 1.
If you skip step 1, water leakage may occur.
(Normal tap without thread & one touch type inlet hose.)
1
2
3
4
5
6
24
19
onnecting Drain Hose
C
Before connecting Drain Hose, check your Drain Hose model and choose the correct
instructions.
Less than 2m
Less than 6cm
Less than 10cm
Less than 3m
How to connect the drain hose
The hose is placed
over a doorsill.
Extension hose is
used.
Make sure that the
hose is not crushed.
Make sure that the hose is
not crushed between the
wall and the washer
.
Avoid submerging
the end of hose.
1 2
Insert the drain hose to the connect-
ing area at the body.
1.
2.
3.
The hose is clogged by
alien substances.
Press the hose clip.
While pressing, push the hose towards
the body.
Release the hose clip after pushing the
hose.
25
Press the RINSE button to
select the desired no. of rinse
cycles.
When you want to only
drain, press SPIN button.
Then press START/PAUSE
button.
Wait until the water in the
washing tub drains completely
and then press POWER button
to finish the activity.
20
Ground terminal
Grounding is
not needed
rounding Method
G
Earth wire should be connected.
If
the earth wire is not connected, there is possible a danger of electric shock caused
by the current leakage.
Grounding Method with Ground insert space Terminal
Other Grounding Metho
d
If the AC current outlet has a ground terminal, then
separate grounding is not required.
Connect the ground Wire to the
socket provided
exclusively for Grounding.
If grounding methods described above are not
possible, a separate circuit breaker should be
employed and installed by a qualified electrician
Ground Wire
Ground Copper Plate
Ground
Wire
Short-circuit
breaker
Using Ground Wire
Using a Short Circuit Breaker
Connect the
Ground Wire to a
Ground Copper
Plate
and bury it more than 75cm in the ground.
Burying Copper Plate
75cm
Concerning the Power Cord
Most appliances recommend they be placed upon a dedicated circuit; that is, a single outlet circuit which powers
only that appliance and has no additional outlets or branch circuits. Check the specification page of this owner's
manual to be certain. Do not overload wall outlets. Overloaded wall outlets, loose or damaged wall outlets,
extension cords, frayed power cords, or damaged or cracked wire insulation are dangerous. Any of these
conditions could result in electric shock or fire. Periodically examine the cord of your appliance, and if its
appearance indicates damage or deterioration, unplug it, discontinue use of the appliance, and have the cord
replaced with an exact replacement part by an authorized servicer. Protect the power cord from physical or
mechanical abuse, such as being twisted, kinked, pinched, closed in a door, or walked upon. Pay particular
attention to plugs, wall outlets, and the point where the cord exits the appliance.
26
ommon washing problems
C
Many washing problems involve poor soil & stain removal, residues of lint and scum, and
fabric damage. For satisfactory washing results, follow these instructions.
WASH PROBLEM
Possible Causes
Problems
Solutions & Preventive Measure
s
•
Use
correct amount of Detergent for load size, amount of
soil and water Hardness.
•
Use
WARM or HOT water for normal soil.
•
Reduce load size.
•
Wash with JEANS or SOAK wash cycle for heavy soiled
laundry.
•
Separate heavily soiled items from lightly soiled ones.
•
Pretreat stain and heavy soil according to directions
shown
on page
9
.
•
Rub the
stain with bar soap. Wash.
•
Do not overfill fabric
softener dispenser and do not pour
liquid fabric
softener directly onto fabric.
See page 12 for more instructions.
•
Keep the recommendations
against Scrud(waxy buildup).
(refer to scrud page12.)
•
Use
correct amount of Detergent for load size, amount of soil
and water Hardness.
•
To restore discolored load of whites, use rust remover safe
for fabric.
•
Install nonprecipitating water softener or an iron filter in
your water supply system for an ongoing problem.
•
Before
washing, run water for a few minutes to clear lines.
•
Wash lint givers
eg towels, flannelette
sheets, separately
from lint collectors
eg synthetic fabrics
and remove tissues in
pockets before
wash. See page 9 for sorting and caring
before loading.
• Do not overload the washer
• Do not overload the washer.
• Some Detergents need to be pre-dissolved, check the Detergent
instructions. Try pre-dissolving the Detergent.
• Increase Water Temperature using HOT water safe for fabric.
• Use proper amount of Detergent.
• Never pour chlorine bleach directly on fabric.
See page 11 for adding liquid bleach.
• Fasten zippers, hooks, and buckles.
• Remove objects in pockets. See page 9 for caring before
loading.
• Do not overload the washer.
Poor soil
removal
• Not enough Detergent
• Wash Water Temperature
too low.
• Overloading the washer
• Incorrect wash cycle
• Incorrect sorting
• Do not pretreat stain
• Undiluted fabric softener
dispensed directly onto
fabric
• A buildup caused by the
interaction of fabric softener
and Detergent can flake off
and mark clothes
• Not enough Detergent
• Iron or manganese in
water supply, water pipes,
or water heater
• Incorrect sorting
• Tissues left in pocket
• Overloading the washer
• Overloading the washer
• Undissolved Detergent
• Use too much Detergent
• Incorrect use of chlorine
bleach.
• Unfastened zippers,
hooks, buckles
• Ribs, tears and broken
threads
• Overloading the washer
• Degradation of fabric
Blue Stains
Holes, tears,
or snags
Black or gray
marks on
clothes
Yellow or
brown rust
stains
Lint
Residue or
Detergent
29
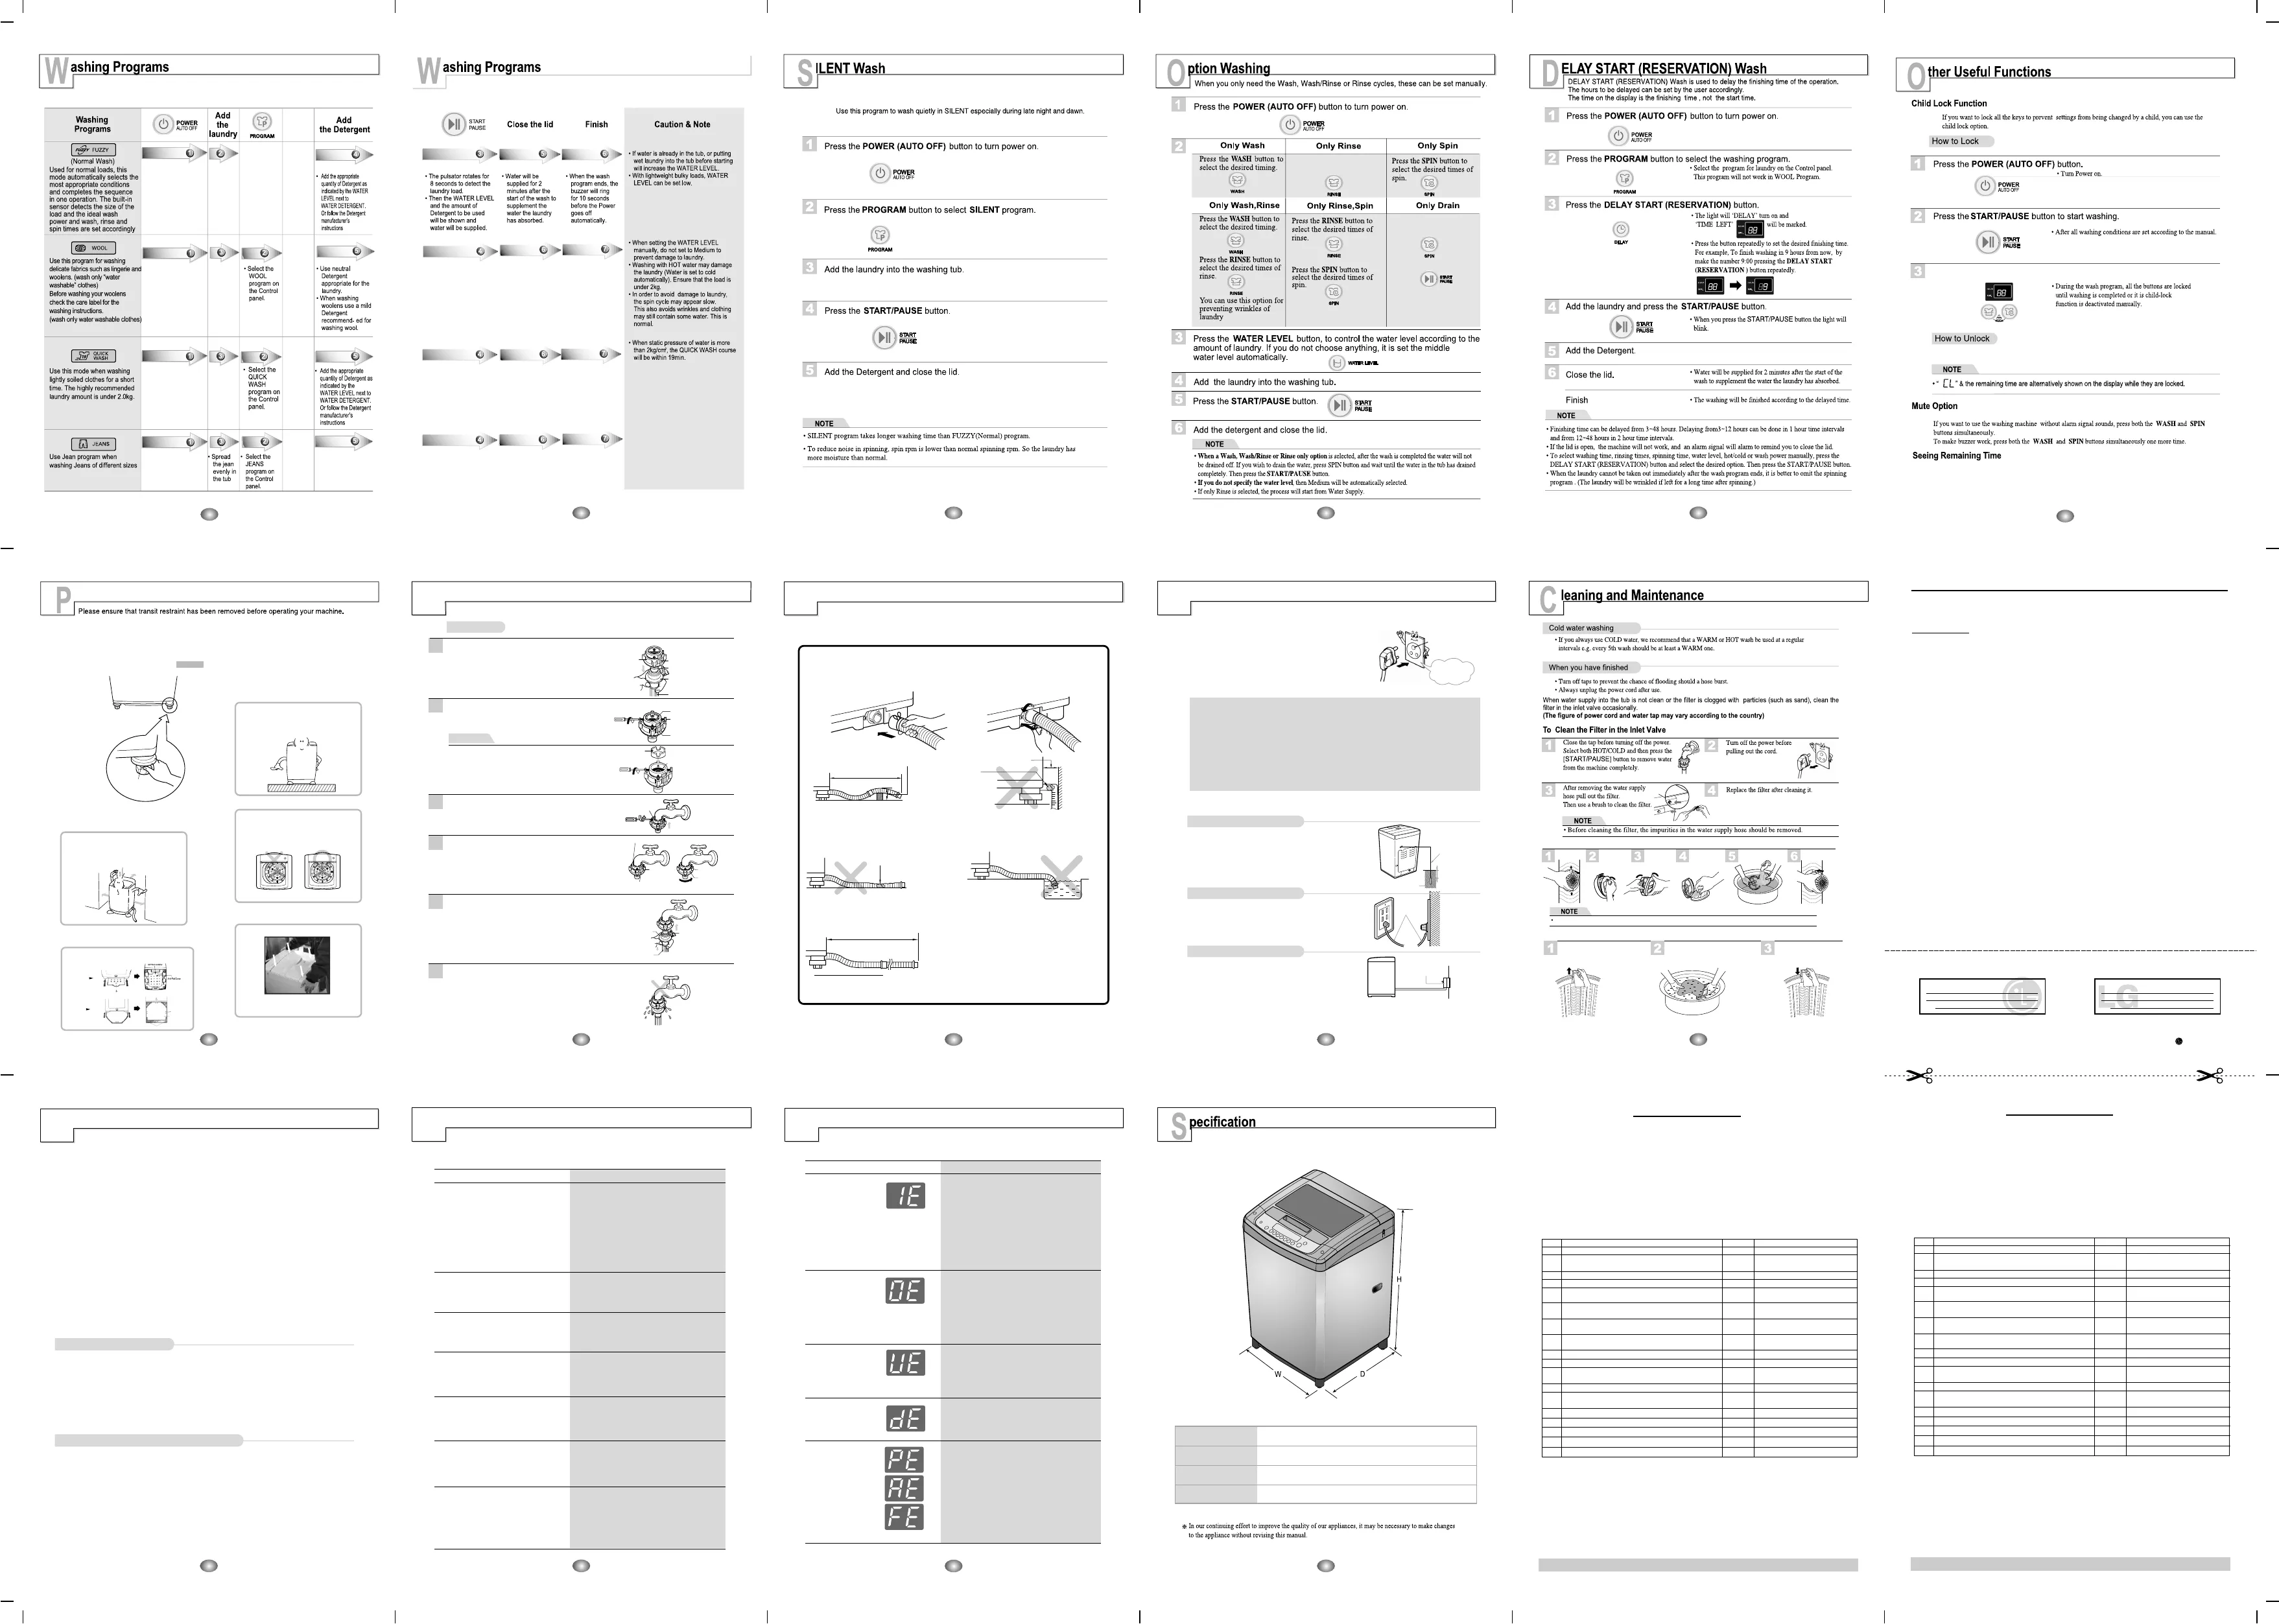
Model
Size
Weight
Water tap pressure
a) 540(W)x540(D)x815(H)
b) 540(W)x540(D)x835(H)
a) 31.5kg
b) 32.5kg
2
30 - 800 kPa (0.3 - 8.0 kgf/cm )
a) WF-N7069NN / WF-N7069NP / WF-N7039NP
b) T70CPD22N / T70CPD22P
31
roubleshooting
T
Before calling for service, check the problem against the list bellows.
Symptom Error Message
Check
up
• Is the
water tap shut off?
• Is the
water supply cut off
?
• Is the tap or water supply hose frozen ?
• Is the
water pressure low or is the filter of the inlet
valve
clogged with impurities
?
• Is the
Hot hose
connected to cold?
• Is the Cold hose
connected to hot?
Drainage Failure
Water Supply
Failure
• Is the drain hose positioned correctly?
• Is the drain hose bent or placed too high?
• Is the internal part of the hose or drain pump
(only pump model) clogged with impurities?
•
Check if electric power has gone off.
Spin Failure
• Is the laundry evenly balanced?
• Is the
washing machine placed on a flat surface?
• Is the lid closed?
Door(Lid) Open
Internal sensing
failure
Power failure
Overflow failure
• Please call your nearest LG Electronics service center
for help.
30
17
l
When the lint filter is worn out, etc., contact a LG Service Center for a new one.
Press and then pull forward
the lint filter from the washing
tub to the arrow direction.
Turn inside out and wash it to
remove dirt.
Insert it back into same
place and push until click
sound heard.
Press & Pull
Push
To Clean the Lint Filter
27
This Card is valid only if it is filled in and stamped by our authorised dealer on the date of purchase.
Customer’s Signature Dealer’s Signature
MODEL No. :
UNIT SERIAL No. :
CUSTOMER’S NAME & ADDRESS
TEL.
DATE OF PURCHASE :
DEALER’S NAME & ADDRESS
TEL.
CUSTOMER’S COPY
LG Electronics
WARRANTY
This LG Washing Machine comes with 2 year warranty, from the date of purchase, that comprises of a 2 year
warranty on all Parts except Lint filter, knobs, inlet/outlet hose & Top Covers, subject to that the warranty card bears
the rubber stamp, date and signature of our Authorized Dealer.
Terms & Condition
1. The warranty is confined to the first purchaser of the Washing Machine only & is non-transferable.
2. Repairs & replacements will be carried out by the dealer from whom the product has been purchased, or
through the Authorized Service Centers of LGEIL. In case the customer shifts the place of residence during
warranty period, it is advised to contact Authorized Service Centre directly or call our help line.
3. Repairs under warranty shall be carried out by an authorized service personnel only. The details of centralized
help lines are attached.
4. For units installed beyond municipal limits of the jurisdiction of company's Authorized Service Center, it is
responsibility of the purchaser to contact the nearest authorized service center and bring the unit to the
authorized service center at its own cost and risk. All expenses incurred in collecting the units or parts thereof
from the company's authorized service center, as well as expenses incurred with deputizing of service
personnel/technicians towards conveyance and other incidentals etc. will be borne by the customer. Local
Charges for transportation and handling charges may vary from location to location. Customers are advised to
verify before. In case the customer desires to bring the unit on its own to the Authorized Service Centre, the
same shall be at its own risks & consequences.
5. The concerned authorized service center will advise the customer whether to effect the repairs at site or at the
authorized service center.
6. Call registered with the centralized helpline/Authorized service center, wherein only cleaning of the unit/parts
in the unit due to dust accumulation on portions of the unit, general explanations/returning, are not to be
considered as defects.
7. In case of repairs or replacement of any part/s of the unit, this warranty will thereafter continue and remain in
force only for the unexpired period of the warranty. Replacement of parts would be purely at the discretion of
LGEIL alone. In case the replacement of the entire unit is being made, (subject to the sole discretion of LGEIL),
the same model shall be replaced and in the event such model has been discontinued, it shall be replaced with
the model of price equivalent at the time of purchase.
8. In case of any damage to the product / customer abuse/ repairs by un-authorised personnel's/ misuse
detected/ by the Authorized Service Center personnel, the warranty conditions are not applicable and repairs
will be done subject to availability of parts and on a chargeable basis only.
9. This warranty shall not cover any consequential or resulting liability, damage or loss to property or life arising
directly or indirectly out of any defect in the Washing Machine. The company's obligation under this warranty
shall be limited to repair or providing replacement of defective parts only under the warranty period.
10. The company or its Authorized Service Center reserves the right to retain any part/s or component replaced at
its discretion, in the event of a defect being noticed in the equipment during warranty period.
11. While the company will make every effort to carry out repairs at the earliest, it however is made expressly clear
that the company is under no obligation to do so in a specified period of time.
12. Warranty does not cover accessories external to the equipment supplied by the dealer.
13. If any coloured internal or external components are replaced, there will be commitment to ensure that the
shades match with the original or other components. The replaced shades, patterns, tints may vary from the
customer's unit due to continuous usage of the unit. Any matching components changed at customer's
request will be on chargeable basis except the component which actually needed
Warranty is not applicable in any of the following cases:
Installation Check sheet
Customer Copy
Machine :_______________ Colour : ________________ Job No.:__________________
Dt. of pur.: _______________ M/C. S.No.:_______________
__
Name Of Customer : ________________________________________________
Address: _______________________________________________________
_________________________________________________________
Tel:_____________(Resi)_____________(Mob). Email :_________________________
Tick Appropriate (by Service Engineer)
Customer Remarks If Any :_________________________________________
________________________________________________________________
I Here by certified by above Checks & Demo have been done to me with full of satisfaction and
I am fully satisfied with the machine installation and performance of washing machine and I
agree to take care of machine, suggestions (If Any) in respect of safety.
Signature Of Customer Date : Time:
S.No. Check Point Yes/No
Remarks
1 Physical condition of the Machine is satisfied?
2
Electrical condition of household wiring / earthing for
washing machine is proper?
3 Advised to turn off machine after use?
4
Explained Fixing of Inlet Hose Adapter to Tap?
Explained Leg Adjustment & Common Conditions
when Levelling Required?
Explained Cleaning of Lint Filter and Required
Cleaning Frequency?
8
Explained Cleaning of Tub and Required Cleaning
Frequency?
10 Anti Rat Cover installed?
11
Inlet Hose and Drain Hose checked for water
leakage after connection?
12 Leveling check & adjusted?
13
Explain Clothes Balancing, Proper Cloth Separation
for best Wash?
14
Explain all Features of the machine to customer?
15 Demo given to customer?
16
Explain Common Errors ( IE,OE,UE,dE,PE,AE,FE etc)
17
Explained unbalance error in Spin Mode?
FATL
FATL
For Best Use, Please Read the User’s Manual Properly.
5
6
Explained Cleaning of Inlet Valve Filter and
Required Cleaning Frequcny?
7
Explained Regular Check Up and Safety Instructions ?
9
Name of ASC :____________ Installation Dt : __________________ Installed by : _____________
18
Warranty terms explained?
Installation Check sheet
Company Copy
Machine :_______________ Colour : ________________ Job No.:__________________
Dt. of pur.: _______________ M/C. S.No.:_______________
__
Name Of Customer : ________________________________________________
Address: _______________________________________________________
_________________________________________________________
Tel:_____________(Resi)_____________(Mob). Email :_________________________
Tick Appropriate (by Service Engineer)
Customer Remarks If Any :_________________________________________
________________________________________________________________
I Here by certified by above Checks & Demo have been done to me with full of satisfaction and
I am fully satisfied with the machine installation and performance of washing machine and I
agree to take care of machine, suggestions (If Any) in respect of safety.
Signature Of Customer Date : Time:
S.No. Check Point Yes/No
Remarks
1 Physical condition of the Machine is satisfied?
2
Electrical condition of household wiring / earthing for
washing machine is proper?
3 Advised to turn off machine after use?
4
Explained Fixing of Inlet Hose Adapter to Tap?
Explained Leg Adjustment & Common Conditions
when Levelling Required?
Explained Cleaning of Lint Filter and Required
Cleaning Frequency?
8
Explained Cleaning of Tub and Required Cleaning
Frequency?
10 Anti Rat Cover installed?
11
Inlet Hose and Drain Hose checked for water
leakage after connection?
12 Leveling check & adjusted?
13
Explain Clothes Balancing, Proper Cloth Separation
for best Wash?
14
Explain all Features of the machine to customer?
15 Demo given to customer?
16
Explain Common Errors ( IE,OE,UE,dE,PE,AE,FE etc)
17
Explained unbalance error in Spin Mode?
FATL
FATL
For Best Use, Please Read the User’s Manual Properly.
5
6
Explained Cleaning of Inlet Valve Filter and
Required Cleaning Frequcny?
7
Explained Regular Check Up and Safety Instructions ?
9
Name of ASC :____________ Installation Dt : __________________ Installed by : _____________
18
Warranty terms explained?
To Clean the Magic Filter
If the magic filter is damaged, purchase a new one from LG Authorised Service Center.
Note :


