• Press the “From USB” button on the touchscreen, then select the folders or titles
you would like to copy, and then press the “SAVE” button on the touchscreen to
start the copy process.
NOTE:
The copy progress is shown in the lower
left corner of the screen.
Copying Pictures To The HDD
•
Insert either a CD or a USB device con-
taining your pictures in .jpg/JPEG format.
• Push the MENU button on the face-
plate to access the Settings Menu,
then press the “My Files” button on
the touchscreen.
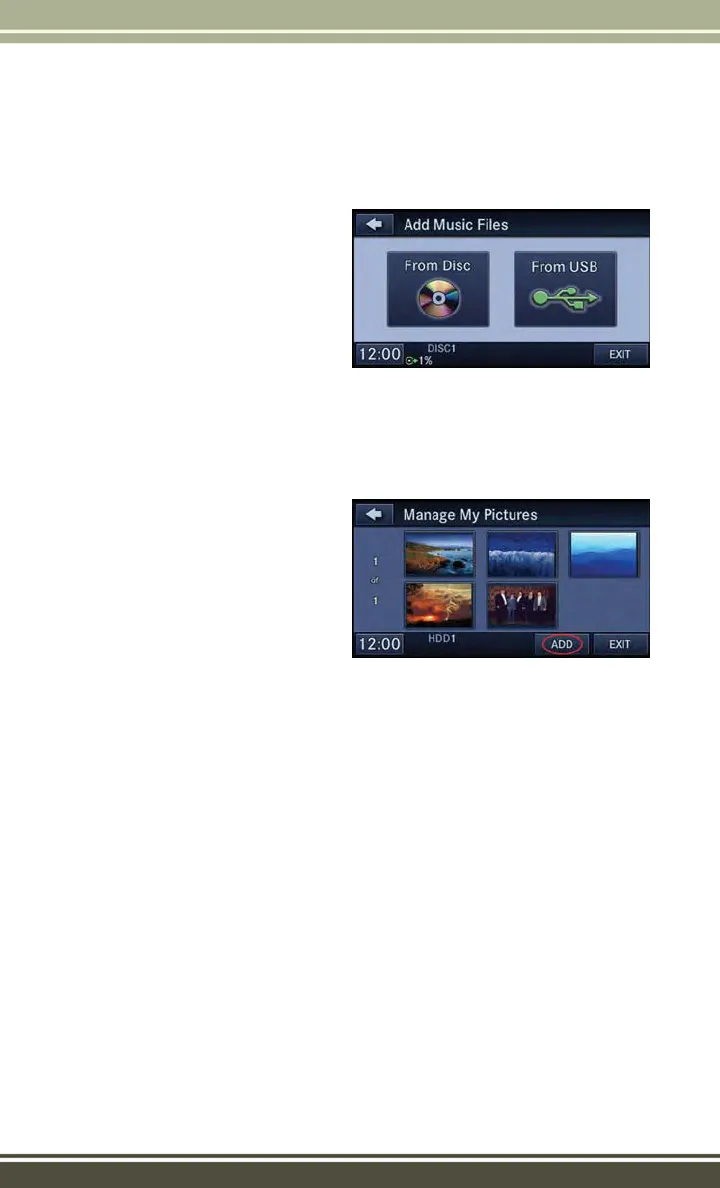
• Press the “My Pictures” button on the touchscreen to get an overview of the
currently stored images, then press the “Add” button on the touchscreen.
• Press the “From Disc” or “From USB”
button on the touchscreen, then select
the folders or pictures you wish to copy
to the HDD. Use the “PAGE” buttons
on the touchscreen to page through the
list of pictures.
• Press the desired pictures or press the
“All” button on the touchscreen for all
pictures. Confirm your selections by
pressing the “SAVE” button on the
touchscreen.
NOTE:
The copy progress is shown in the lower left corner of the screen.
Display A Picture On The Radio Screen
• Once the import is complete, the pictures will then be available in the “MY
PICTURES” screen.
• Push the MENU button on the faceplate to access the Settings Menu.
• From the Settings menu, press the “My Files” button on the touchscreen and then
press the “My Pictures” button on the touchscreen.
• Press the desired picture, press the “Set as Picture View” button on the
touchscreen and then press the “Exit” button on the touchscreen.
• To display the chosen picture on the radio screen, push the MENU button on the
faceplate and press the “Picture View” button on the touchscreen.
NOTE:
• A check mark in the My Pictures screen indicates the currently used picture.
• You can also delete pictures by pressing the “Delete” button on the touchscreen.
Add Music Files
Manage My Pictures
ELECTRONICS
76


