Software Operation Manual 4
2. The Control Center
2-1. Get the Control Center from CD
1. Insert the included CD into the personal computer.
2. Go to "Control Center" folder and double click the "Setup Control Center.exe" icon to install the program
to your personal computer.
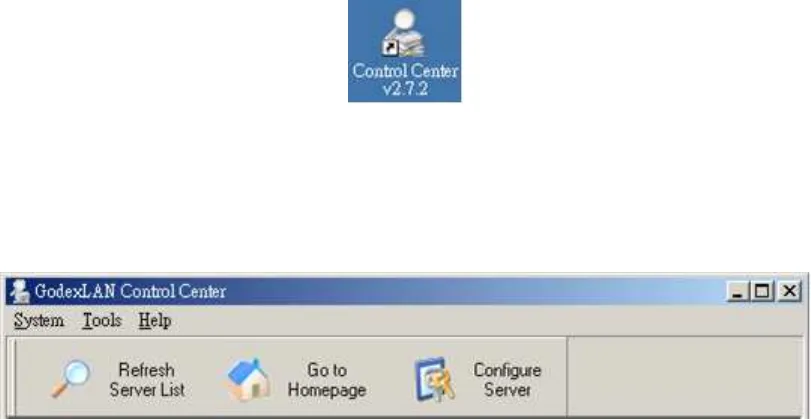
3. After the installation is completed, please click the "Control Center" icon to start the program.
2-2. Using the Control Center
You can use the following tools to help you use the server:
Refresh Server List: renew to auto search the existing servers on the network.
Go to Homepage: go to the web pages of the highlighted print server.
Configure Server: configure the highlighted printer server.
*Note 1: You can also right-click the mouse button on the highlighted print server to get the “Configure
Server” and “Go to Homepage” functions.
*Note2: You can also double-click on the highlighted server to get the “Configure Server” function.
Displaying Server Status
You can start the Control Center and click on a server to see its status which includes Printer Information,
Server Information, TCP/IP status, and Supported Protocols.
Setting up Server Configuration
Click the “Configure Server” button to setup the highlighted print server. Then type the administrator ID and
password to login.
TCP/IP: You have to set the Server’s TCP/IP configuration to connect TCP/IP network. Please see the
chapter of Network Configuration for more details.
Wireless: Set the wireless connection configurations. Please see the Wireless Connection section in
the chapter of Network Configuration for more details.


