Fig. 2
Note: Please use the AC Adaptor to re-charge your battery pack and press the power-on key to activate the charging.
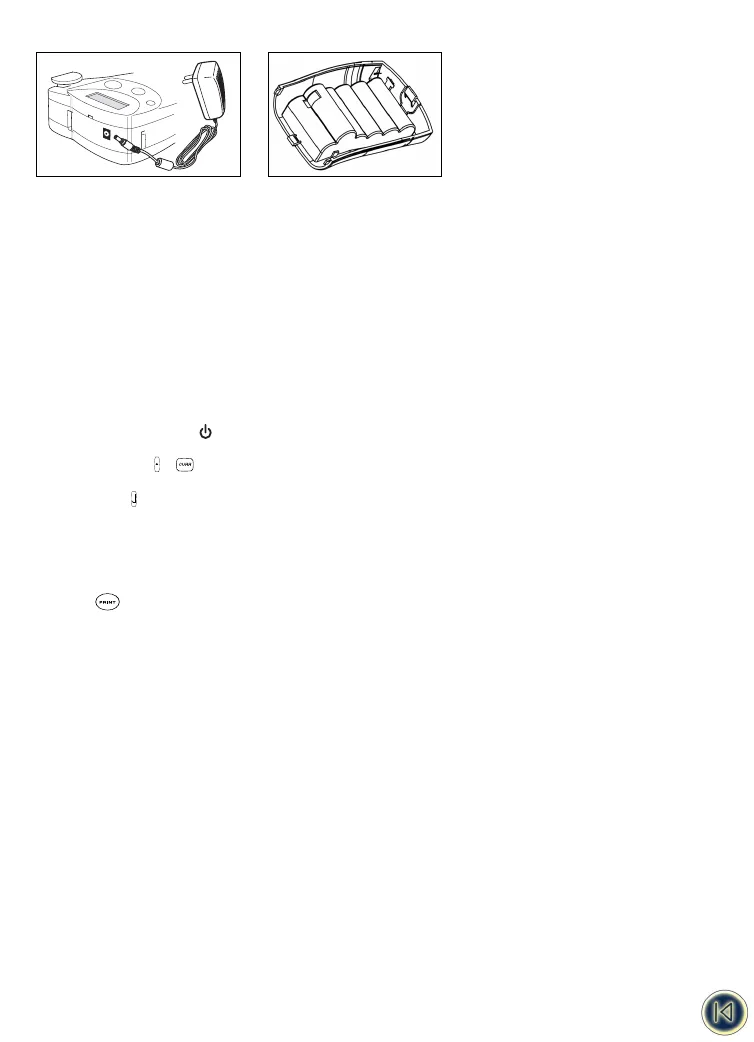
3. Installing/Changing the cassette
• Press catch in and open access door (fig B1).
• Hold cassette as shown, then lift cassette B2 straight up and out.
• Ensure tape and ribbon B3 are taut across mouth of cassette and tape passes between guideposts before installing as
shown. If necessary, turn spool B4 clockwise to tighten ribbon.
• Check that cassette switch B5 is set for the cassette type -see fig. A notch in the cassette will fit over the switch when it is
set correctly.
• Insert cassette with tape and ribbon positioned as shown between print head C2 and pinch roller C1.
• Push firmly C3 until cassette clicks into place. Ensure tape and ribbon are positioned correctly.
• Close door B1 until it clicks shut.
IMPORTANT: Please slide the protective bumper back over the printer.
4. Printing your first label
• Press the red power-on key . The display will light up and an empty screen will be shown.
• Set your language (default setting is " OFF") :
• Press the + keys. You’re now in the language selection list.
• Use the arrows H and P to scroll through the list.
• Press to make your selection.
Note: This is very important as this setting will have an implication on all language related features to the machine such as
special characters, currency, unit of measure ( See also page 5)
• Type your name using the ABC keypad
• Press the key twice ( = current settings -see page 17)
• Your name label is now printed.
• Cut label - slide the cut lever downwards.
4