Chapter 2
Advanced Configuration
17
Broadband Firewall Router with 4-Port Switch/VPN Endpoint
Log
The Log screen provides you with options for email
alerts and a log of all incoming and outgoing URLs or IP
addresses for your Internet connection.
Email alerts To enable the Router to send email alerts in
the event of Denial of Service attacks and the like, click
the radio button beside Enable. If you do not wish to have
email alerts, click the radio button beside Disable.
Denial of Service Thresholds This limit, from 20 to 100,
is the amount of Denial of Service (DOS) attacks the Router
detects before sending an email alert.
SMTP Mail Server This is the IP Address or full mail server
name (e.g. mail.domain.com) of your mail server.
Email address for alert logs This is the email address
where you would like the email alerts sent.
Return email address Your mail server may require a
return email address. Enter that here. If you’re unsure as
to what address to enter, enter the same email address for
Email address for alert logs.
Log To disable the Log function, keep the default setting,
No. To monitor traffic between the network and the
Internet, select Yes. With logging enabled, you can choose
to view temporary logs or keep a permanent record using
the Logviewer software.
Logviewer IP Address For a permanent record of these
logs, the Logviewer software must be used. Download
this software from the Linksys website, www.linksys.com.
The Logviewer software saves all incoming and outgoing
activity in a permanent file on your computer’s hard drive.
Enter the fixed IP address of the computer running the
Logviewer software. The Router will now send updated
logs to that computer.
On the All screen, select the log you wish to view: All,
System Log, or Access Log.
Log > View Log
Click Save Settings to apply your changes, or click Cancel
Changes to cancel your changes.
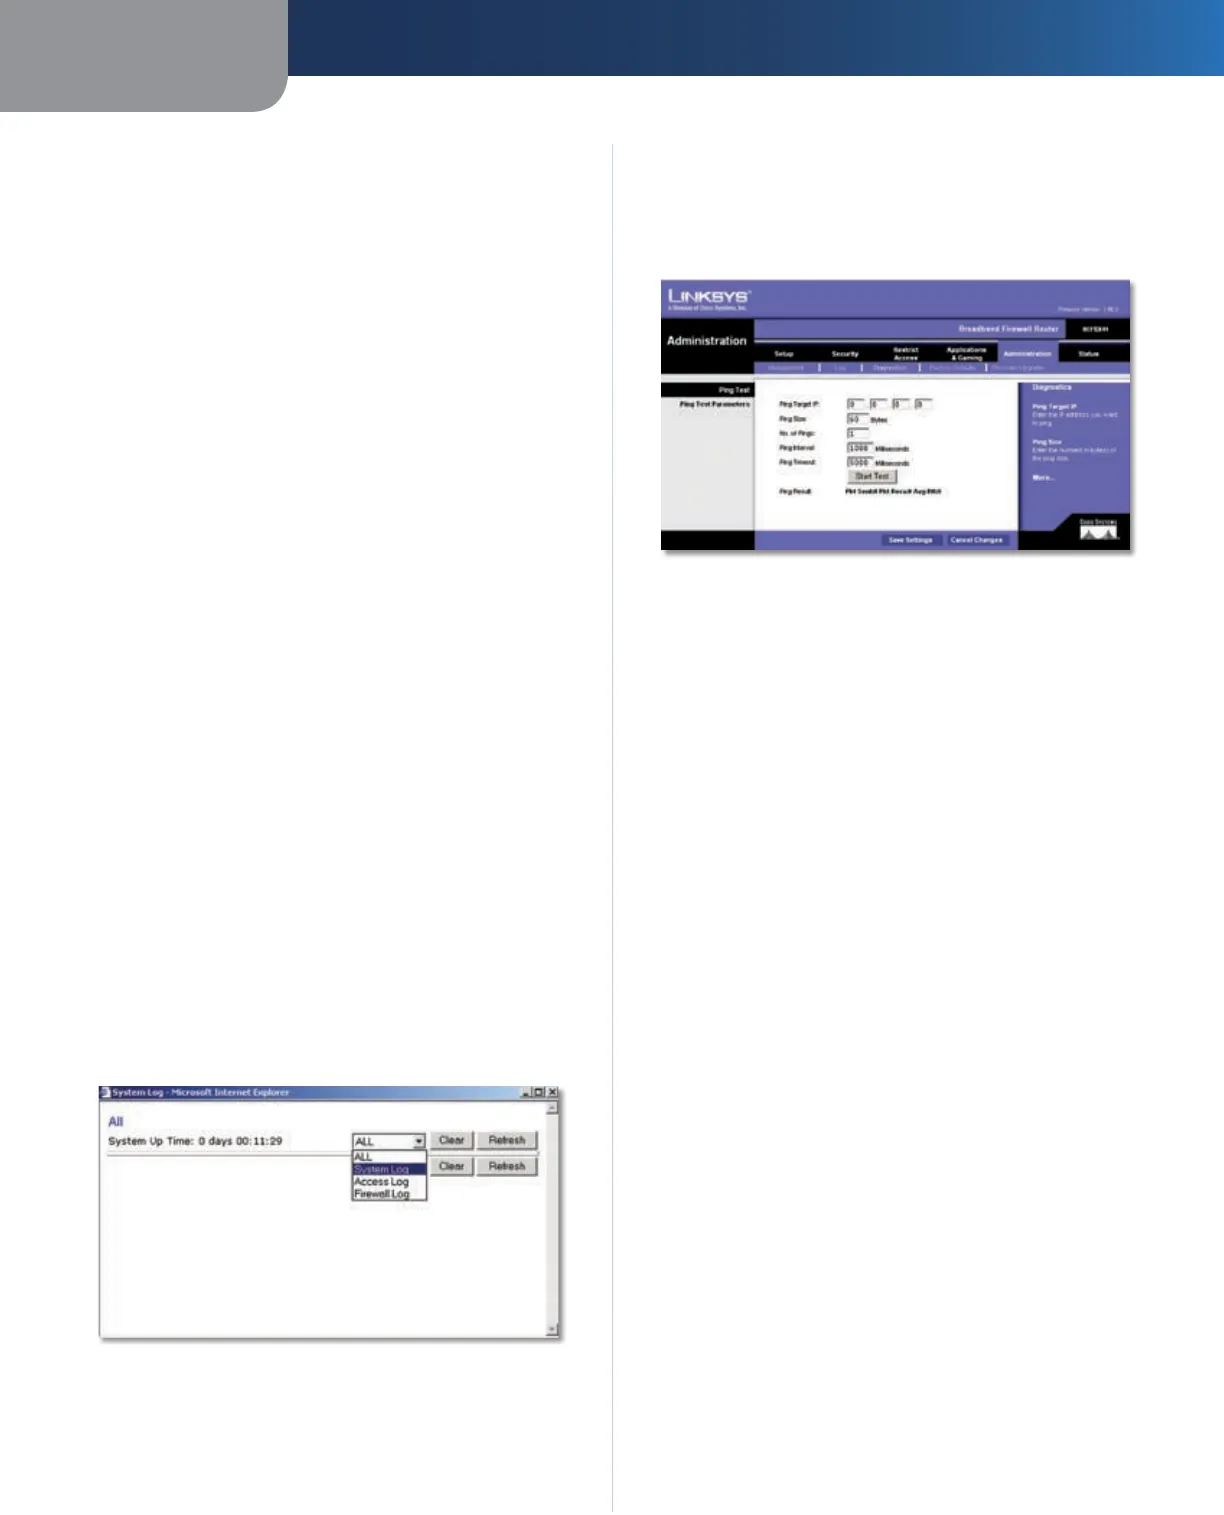
Administration > Diagnostics
Diagnostics allow you to check the connections of your
network components as well as locations outside your
network via the Internet.
Ping Target IP This is the IP Address of the PC or network
component, or location outside of your network, that you
wish to test.
Ping Size Enter the amount of data, measured in bytes,
sent in the ping test here. This number can be between
60 and 1514 bytes, more data being sent with a higher
number.
No. of Pings How many times in this test do you want the
Router to ping the location? This number can be between
1 and 4 and should be entered here.
Ping Interval How long, in milliseconds, would you like
the Router to wait between pings? This number can be
between 0 and 9999 milliseconds.
Ping Timeout How long should the Router wait before it
times out after an unsuccessful test? An unsuccessful test
is determined when a location does not respond to a ping.
This number can be between 0 and 9999 milliseconds.
Start Test Click the Start Test button to begin the
diagnostic tests.
The results of the test will be listed below the Start Test
button.
When you are finished running your tests, click the Save
Settings button to save these settings for future tests, or
click the Cancel Changes button to return the settings to
their previous state.
Administration > Factory Defaults
The Administration > Factory Defaults screen allows you
to restore the Router’s configuration to its factory default
settings.


