5. To add cover sheet notes, press the Cover Sheet Note button
to display the device’s input keyboard and enter the note text,
then press OK.
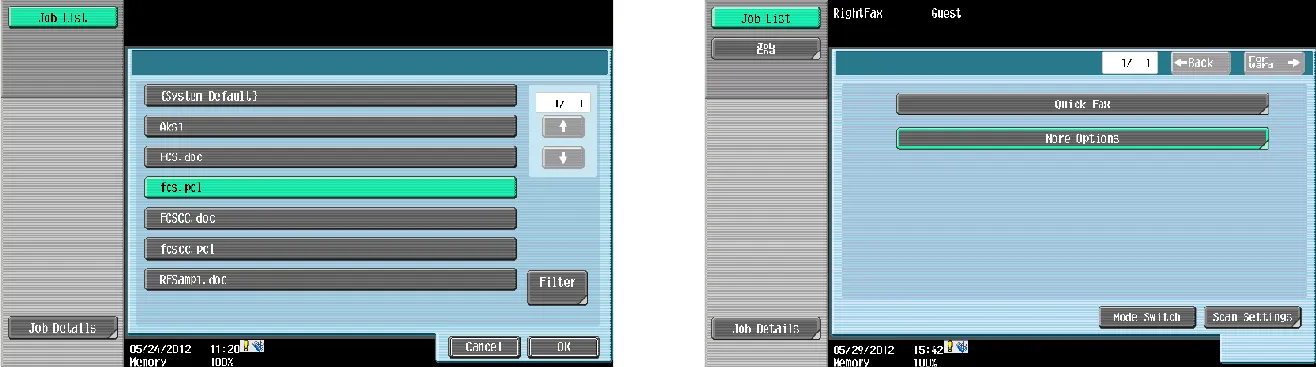
6. After all the fields on the More Options page have been filled
in, press OK. The Fax Options page re-appears with More
Options selected and the Scan Settings button enabled.
7. (optional) Press Scan Settings to open the device’s native scan
settings screen and change scan settings. If you don’t change
scan settings, then the document will be scanned using the
device defaults.
5. Press the physical Start button on the device to initiate the scan. To
exit the application, press Job End (A3 MFP) or Reset (A4
MFP).
Mode Switch (A3 MFPs only)
With the Konica Minolta A3 MFPs, you can store scanned images
in a User Box for later printing or faxing. See the Konica Minolta
documentation for more information on this feature. To fax a
stored image with RightFax,
1. Sign on as a RightFax user. See “Logging in to the RightFax
Native Connector for Konica Minolta MFP” on page 5.
2. On the Fax Options page, select the Mode Switch button to
switch to stored image mode.
3. Send the image as either a Quick Fax (see“Sending a Quick
Fax” on page 6) or send the image using RightFax features
such as billing codes and cover sheet notes (see “Sending a
Fax using RightFax Features” on page 7).


