Security
The following illustration and table describe how to use the Security screen.
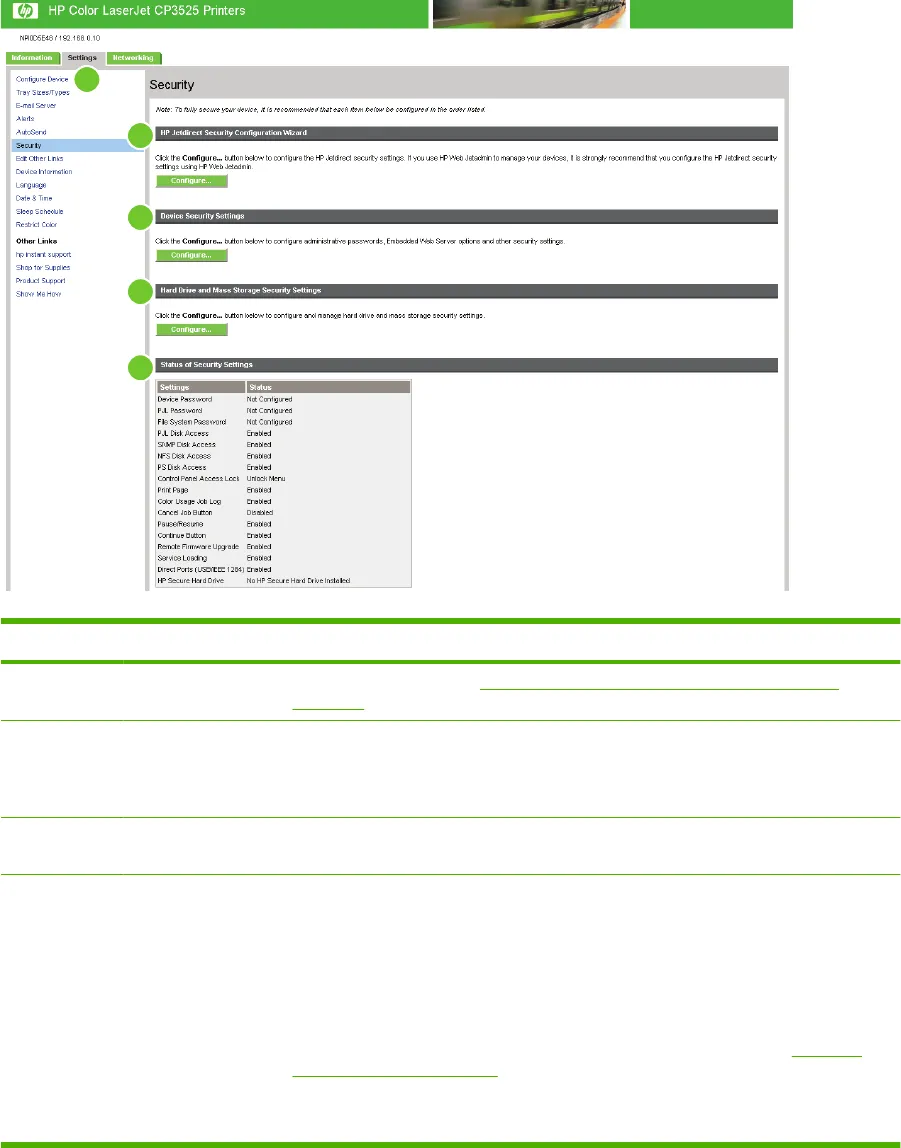
Figure 3-8 Security screen
1
2
3
4
5
Table 3-6 Security
Callout Area on the screen Information or capability that the area provides
1 HP EWS tabs and
menus
For more information, see Navigating through the HP Embedded Web Server
on page 4.
2 HP Jetdirect
Security
Configuration
Wizard button
The HP Jetdirect Security Configuration Wizard button allows you to configure
security settings for the device's HP Jetdirect print server.
3 Configure Security
Settings button
The Configure Device Security Settings button allows you to configure
administrative passwords, Embedded Web Server options and other security settings.
4 Hard Drive and
Mass Storage
Security Settings
button
The Perform Secure Storage Erase button allows you to perform disk wipes that will
remove all data that has been stored on any mass storage unit attached to the device.
NOTE: The settings for the type of Secure Storage Erase to be performed can be
configured in the File Erase Mode section of the device's security settings page.
NOTE: The device's file system password must be set before a Secure Storage
Erase operation can be performed. The file system password can be set in the File
System Password section of the device's security settings page. See
Configure
Security Settings on page 38.
NOTE: This button does not appear if the device does not have a mass storage
device installed.
ENWW Security 37


