ENGLISH
11
3. Connect the female end of a modular power cord to the male power input connec-
tor on the rear panel of the receiver. Then plug the power cord into a suitable AC
power source.
NOTE: If the receiver is rack-mounted, or if using front–mounted antennas, the
antennas should extend above the rack cabinet or be remotely located. Improved
diversity performance may be obtained by installing one or both antennas at a
remote location and separating them by 1.5 meters (60 inches) or more. Anten-
nas at remote locations should be connected to the receiver via UA825 or UA850
Extension Cable Kit(s) or other suitable low-loss cable (RG8 or equivalent) and
used in conjunction with a UA830 Active Remote Antenna Kit.
VIEWING CURRENT RECEIVER SETTINGS
To view current settings on the receiver display, proceed as follows:
1. Turn the receiver on by pressing upper half of the POWER switch.
2. Press either the “+” button or the “–” button on the receiver front panel to scroll
through the current settings.
PROGRAMMING THE RECEIVER
You can change the receiver Group/Channel setting, the operating frequency,
squelch level, and receiver name through the programmable display. The display
can then be locked to prevent accidental changes. The following paragraphs present
instructions for programming each display function.
Changing Receiver Group/Channel Settings
The receiver display identifies frequencies by Group and Channel, allowing con-
venient setup of compatible systems. A complete list of compatible frequency
Groups and Channels is included in the separate UHF Frequency Compatibility
Guide. To change the receiver Group and Channel settings, proceed as follows:
1. Turn the receiver on by pressing upper half of the POWER switch.
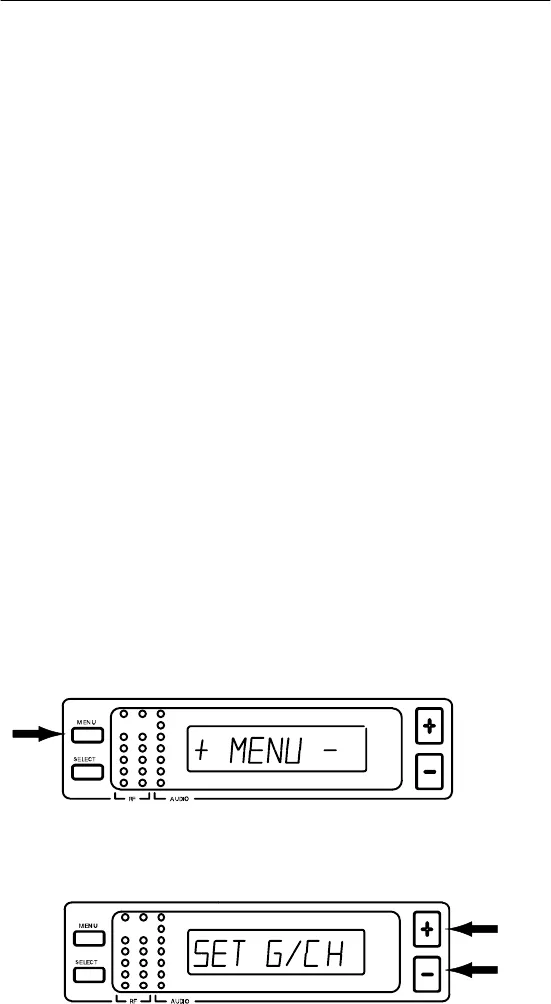
2. Press the MENU button. The “+ MENU –” display appears, as shown in Figure 11.
FIGURE 11
3. Press either the + or – button to reach the SET G/CH display, shown in Figure 12.
FIGURE 12


