Replacing the Secondary Hard Drive
1. Follow the instructions in Before You Begin.
2. Check the documentation that shipped with the drive to verify that it is configured for your computer.
3. Slide the secondary hard drive into the hard drive cage.
4. Align the screw holes on the hard drive with the screw holes on the hard drive cage.
5. Replace the four screws that secure the secondary hard drive to the hard drive cage.
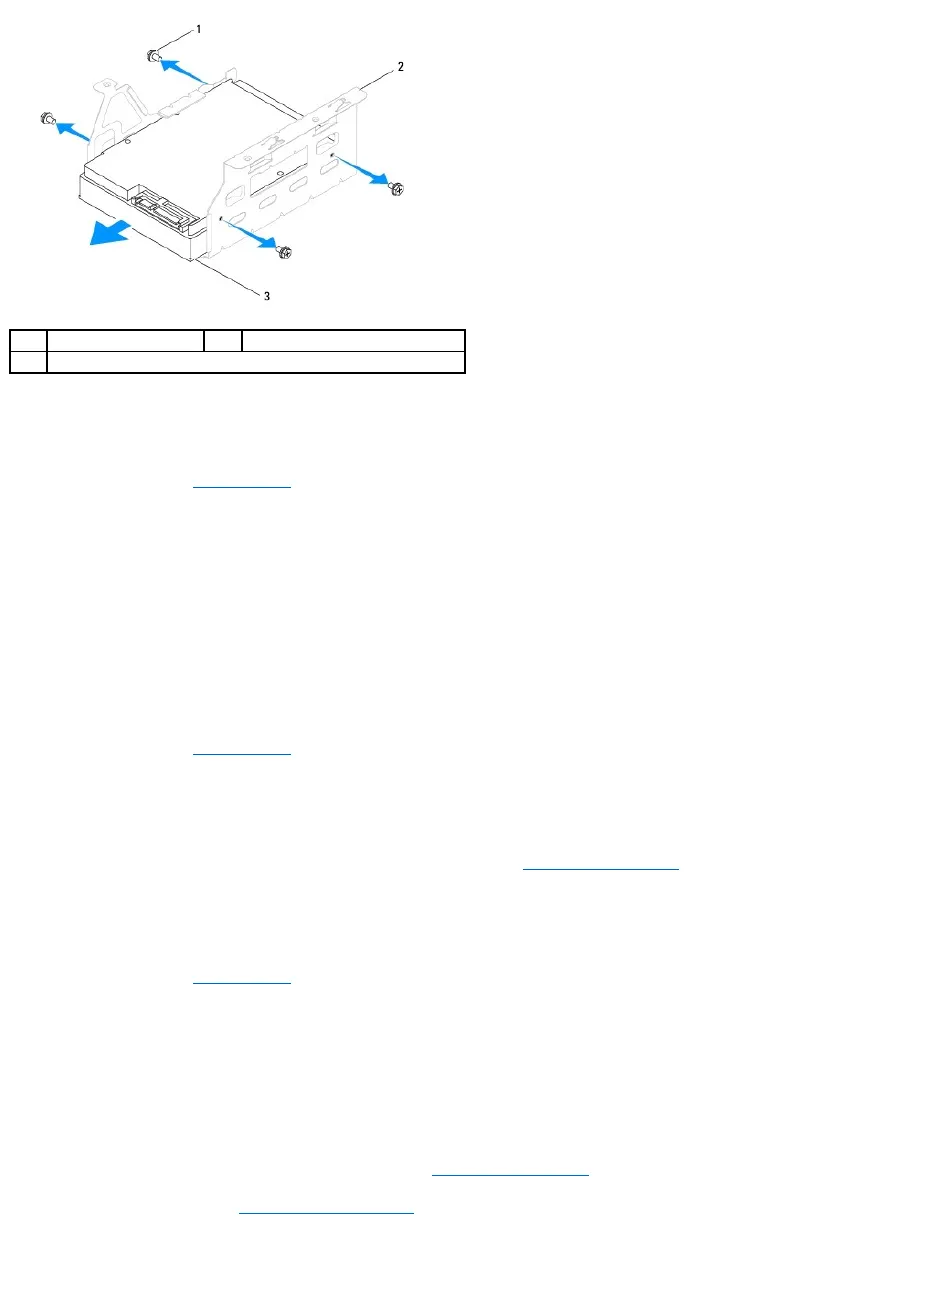
Replacing the Hard Drive Cage
1. Follow the instructions in Before You Begin.
2. Align the screw holes on the hard drive cage with the screw holes on the chassis.
3. Replace the three screws that secure the hard drive cage to the chassis.
4. If applicable, connect the power and data cables to the secondary hard drive (see System Board Components).
Replacing the Primary Hard Drive
1. Follow the instructions in Before You Begin.
2. Check the documentation that shipped with the drive to verify that it is configured for your computer.
3. Slide the primary hard drive into the hard drive cage.
4. Align the screw holes on the primary hard drive with the screw holes on the chassis.
5. Replace the four screws that secure the primary hard drive to the chassis.
6. Connect the power and data cables to the primary hard drive (see System Board Components).
7. Replace the computer cover (see Replacing the Computer Cover).
8. Connect your computer and devices to electrical outlets, and then turn them on.
9. See the documentation that shipped with the drive for instructions on installing any software required for drive operation.