6. Grasp the card by its outside corners, and ease it out of its connector.
7. If you are removing the card permanently, install a metal filler bracket over the empty card-slot opening.
8. Replace the expansion-card cage in the chassis as instructed in "Replacing the Expansion-Card Cage."
9. Replace the computer cover, and reconnect your computer and peripherals to their electrical outlets and turn them on.
Adding Memory
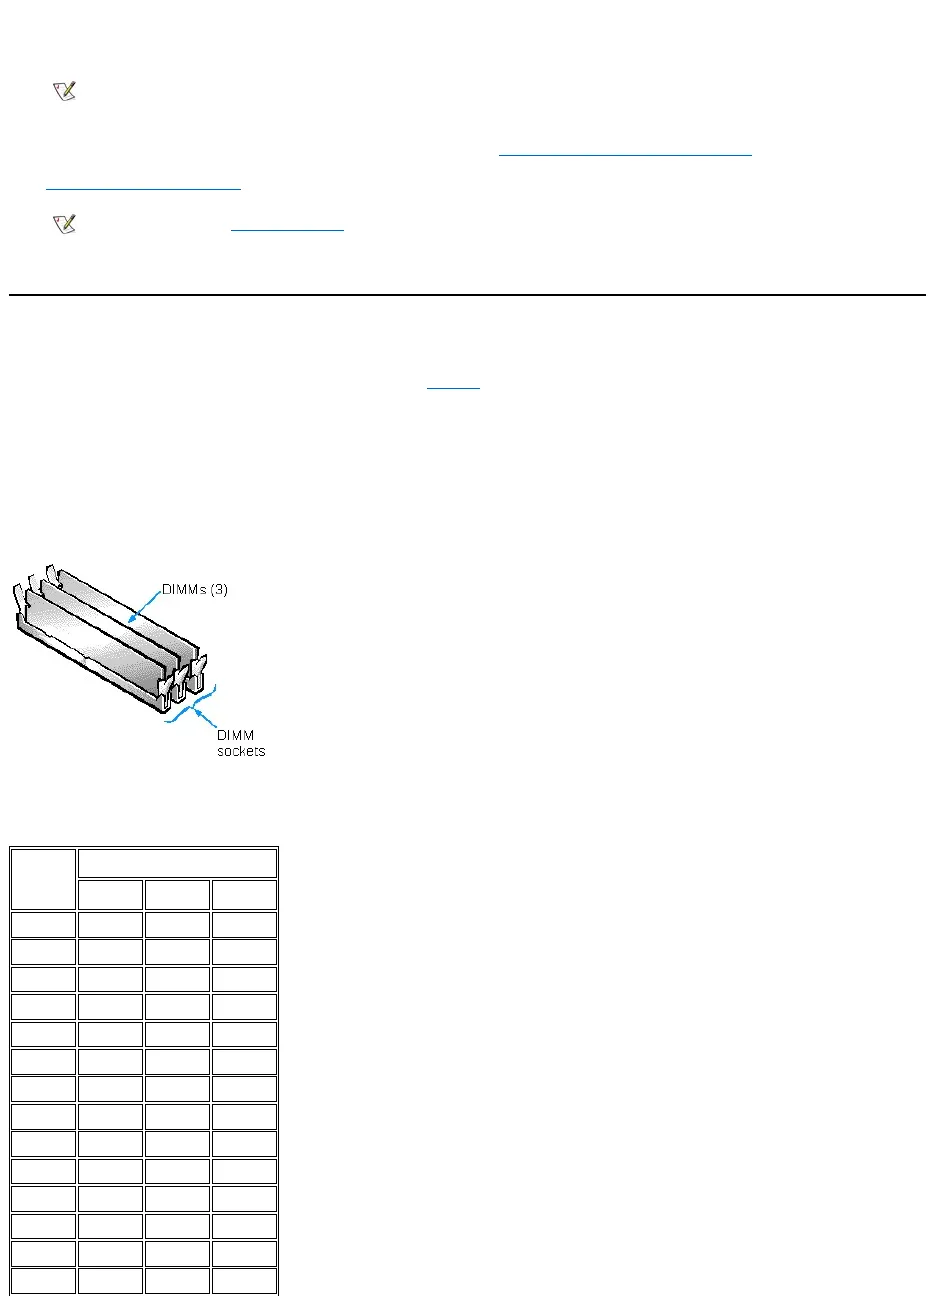
Memory can be increased to a maximum of 768 megabytes (MB) by installing combinations of 32-, 64-, 128-, or 256-MB dual in-line memory
modules (DIMMs) in the three DIMM sockets on the system board. Figure 6 shows the DIMMs and DIMM sockets.
Your system can support both error checking and correction (ECC) and nonparity synchronous dynamic random-access memory (SDRAM)
DIMMs. However, ECC support is available only if all DIMMs are ECC DIMMs. ECC DIMMs enable your system to correct all single-bit memory
errors and detect multibit memory errors.
When you add system memory, you may install DIMMs in any socket. For optimum operation, Dell recommends that you install a DIMM in socket A
first (closest to the processor) before installing a DIMM in another socket.
Figure 6. DIMMs and DIMM Sockets
Table 1 lists sample memory configurations and shows valid DIMM combinations and socket placements for each configuration.
Table 1. Sample DIMM Configuration Options
NOTE: Installing filler brackets over empty card-slot openings is necessary to maintain Federal Communications Commission
(FCC) certification of the system. The brackets also keep dust and dirt out of your computer.
NOTE: If Enabled, the Chassis Intrusion option will cause the following message to be displayed at the next system start-up:
ALERT! Cover was previously removed.