4. Attach the power and data cables to the floppy drive.
5. Replace the computer cover (see Replacing the Computer Cover).
6. Enter system setup (see Entering System Setup), and use the Diskette Drive option to enable your new floppy drive.
7. Verify that your computer works correctly by running the Dell Diagnostics (see Dell Diagnostics).
Optical Drive
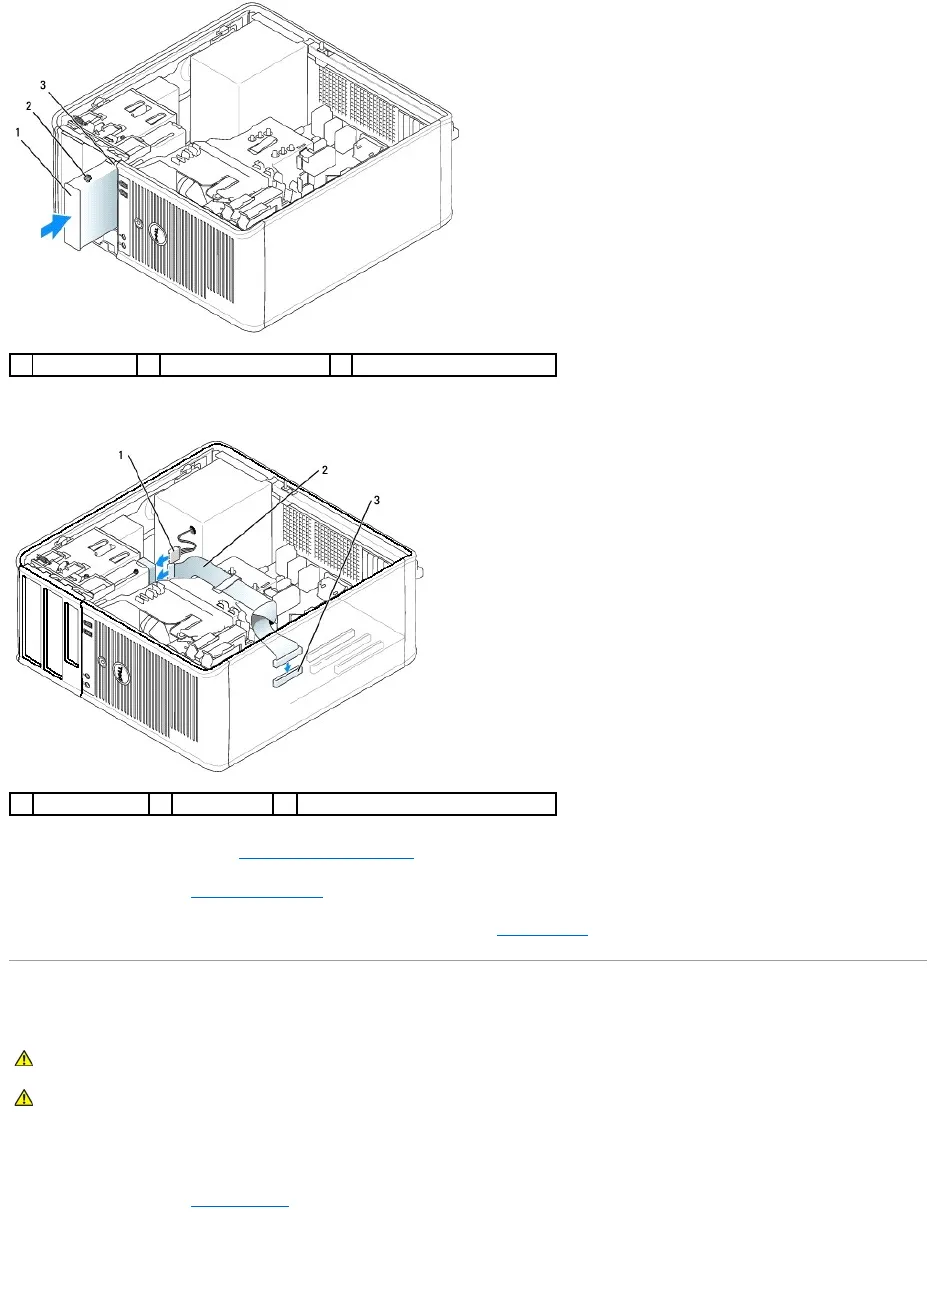
Removing an Optical Drive
1. Follow the procedures in Before You Begin.
2. Disconnect the power and data cables from the back of the drive.
3. Grasp the sliding plate lever and slide it towards the top of the computer until the drive panel snaps open; while holding the lever in place, slide the
drive out of the computer.