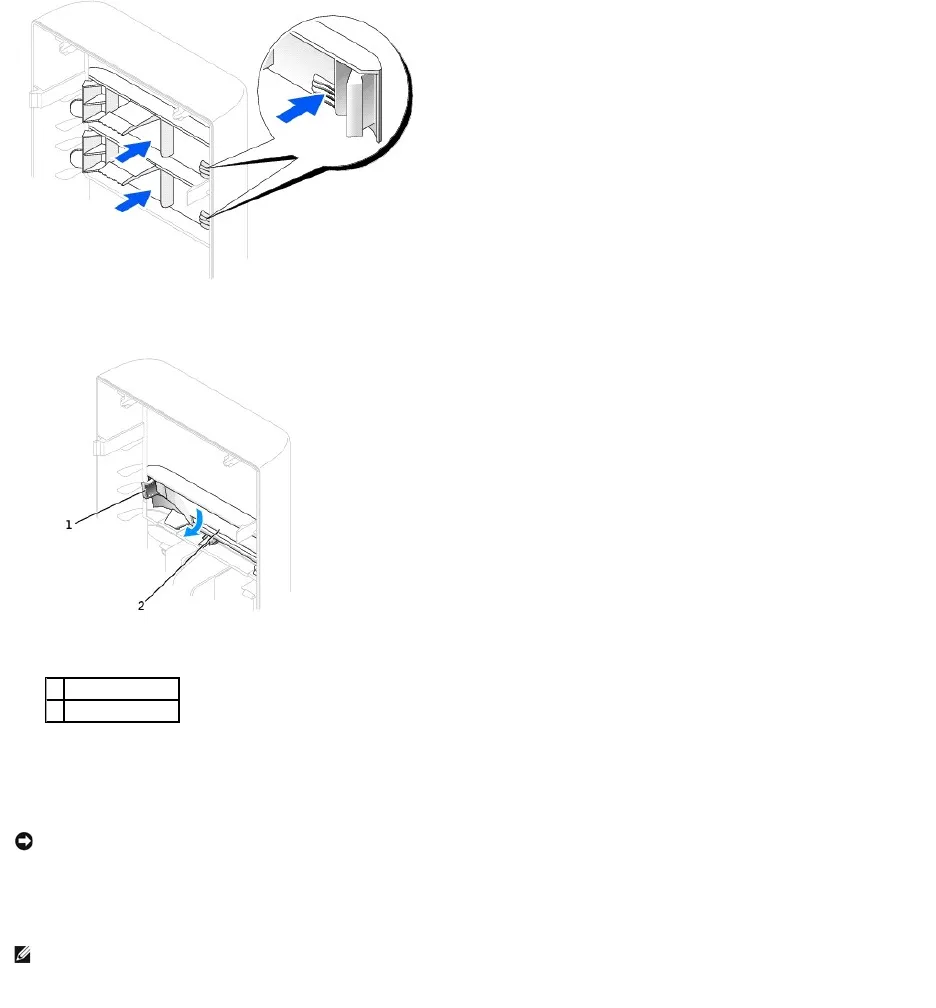
8. Insert the floppy drive panel along the panel opening hinges.
9. Rotate the floppy drive panel to secure it in place.
10. If the second CD/DVD drive bay is empty, replace the middle CD/DVD drive insert.
11. Connect the floppy-drive power cable to the back of the drive.
12. Connect the data cable to the back of the drive and to the floppy drive connector on the system board.
13. Position the top of the floppy drive bracket so that it is completely flush with the bottom of the second CD/DVD drive bay, and then slide the floppy drive
bracket forward into place.
NOTE: The top of the floppy drive bracket has two slots that fit into two clips on the bottom of the second CD/DVD drive bay. When the floppy drive
bracket is properly mounted, it remains in place without support.