Back to Contents Page
Cards
Dell™OptiPlex™160LUser'sGuide
Installing Cards
Removing Cards
Installing Cards
1. Shut down the computer through the Start menu.
2. Ensure that your computer and attached devices are turned off. If your computer and attached devices did not automatically turn off when you shut
down your computer, turn them off now.
3. Disconnect any telephone or telecommunication lines from the computer.
4. Disconnect your computer and all attached devices from their electrical outlets, and then press the power button to ground the system board.
5. Remove the computer cover.
6. Lay the computer on its side so that the system board is on the bottom of the inside of the computer.
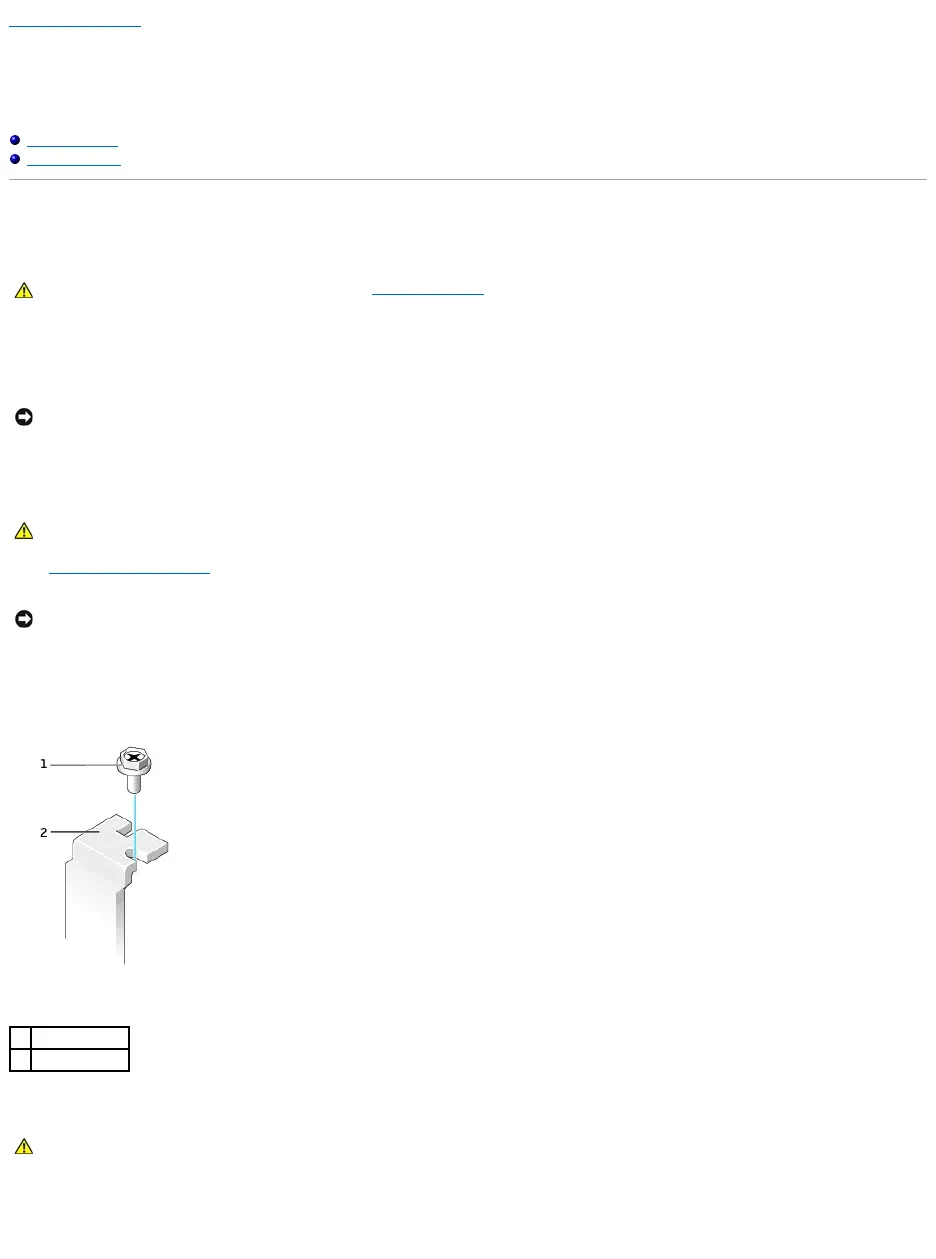
7. Remove the securing screw and remove the filler bracket for the card slot you want to use.
8. Align the cutout on the bottom of the card with the crossbar in the system board connector. Gently rock the card into the connector until it is fully
seated.
NOTICE: Before touching anything inside your computer, ground yourself by touching an unpainted metal surface, such as the metal at the back of the
computer. While you work, periodically touch an unpainted metal surface to dissipate any static electricity that could harm internal components.
CAUTION: Some network adapters automatically start the computer when they are connected to a network. To guard against electrical shock, be
sure to unplug your computer from its electrical outlet before installing any cards.