Replacing the System Board
1. Follow the procedures in Before You Begin.
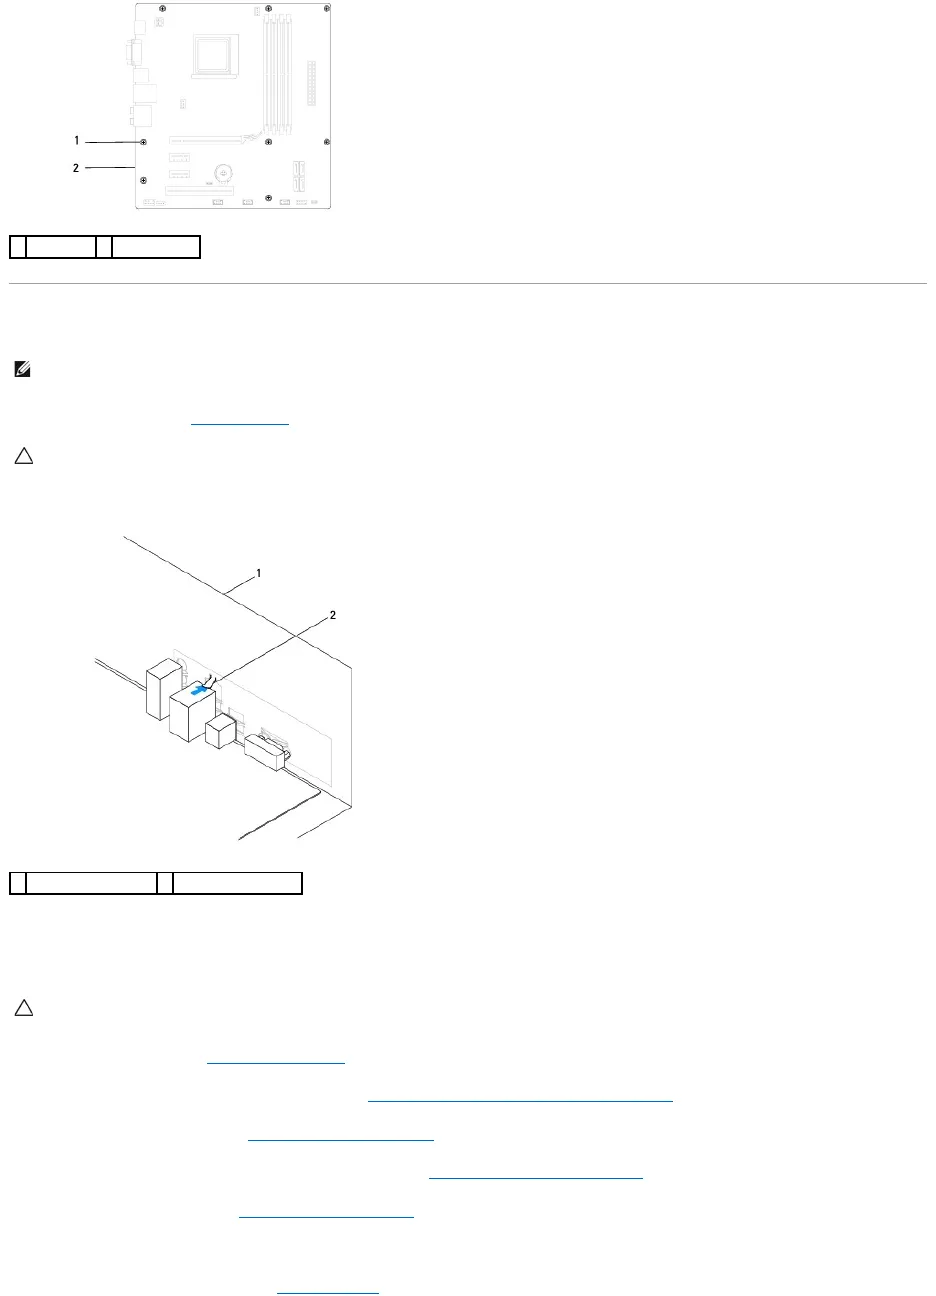
2. Gently align the system board into the chassis and slide it towards the back of the computer.
3. Replace the eight screws that secure the system board to the chassis.
4. Route and connect the cables that you disconnected from the system board.
5. Replace the processor (see Replacing the Processor).
6. Replace the processor fan and heat sink assembly (see Replacing the Processor Fan and Heat Sink Assembly).
7. Replace the memory modules (see Replacing the Memory Module(s)).
8. Replace any PCI and PCI Express cards on the system board (see Replacing PCI and PCI Express Cards).
9. Replace the computer cover (see Replacing the Computer Cover).
10. Connect your computer and devices to electrical outlets, and turn them on.
11. Flash the system BIOS, as needed (see Flashing the BIOS).