Using Your Classic II
Before Using Your Microphone
Connecting Your Microphone
Ensure that your Classic II has been set to the correct voltage, as used in your country. e Classic II can
be used with mains supply voltages of between either 100-120V 50/60Hz or 220-240V 50/60Hz.
• To select for 100-120V use, set the voltage selector to 120V and use a 250mA slow blow fuse.
• To select for 220-240V use, set the voltage selector to 240V and use a 160mA slow blow fuse.
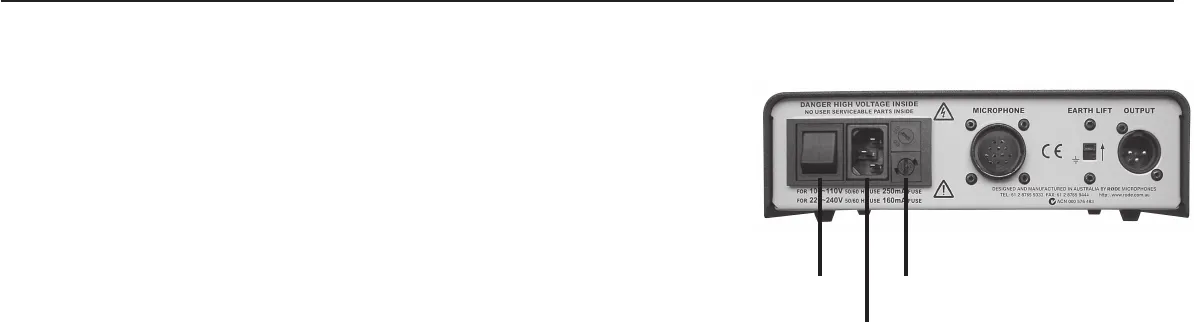
e back panel of the Classic II power supply has a microphone output socket, a ground (earth) li , a
microphone input socket, a voltage selector, and a mains power socket which also incorporates a fuse.
Having ensured that the power supply is set to the correct voltage you can begin to connect the Classic II to the power supply. Do not connect the power to the mains or
switch on the microphone before connecting it to the power supply.
• Connect the male multicore plug of the Classic II cable to the input socket on the rear of the power supply.
e white dot on the cable indicates the top side, to be facing upwards.
• Place the Classic II into the shock mount, ensuring it is rmly connected to a microphone stand capable of supporting the microphone’s weight.
• Connect the female multicore plug of the Classic II cable to the microphone. e white dot on the cable should align with the front of the microphone,
indicated by its gold dot. Ensure that both plugs are correctly aligned and pushed rmly into their respective sockets. By screwing the threaded locking nut of
the cable to the base of the microphone, the Classic II should now be seated rmly in the mount.
Fuse & Voltage Selector
Mains Input Socket
Mains Switch


