All Information, Including Photos And Illustrations, In These Pages Is Believed To Be Correct And Reliable. The Information Contained In These Pages Is Given As General Information For The Installation Of Audio, Video, Security,
Communications, And Other Accessory Products Into Mobile And/Or Vehicle Applications. The Install Doctor, Any Subsidiaries Or Divisions Thereof, Or Any Member Of These Companies Shall Not Be Held Liable For Any Damages And/Or Injuries
Resulting From The Use Of Information Contained In These Pages. All Information Contained In These Pages Should Be Checked And Verified With Appropriate Test Equipment To Assure The Safety And Proper Operation Of Equipment Installed
And The Vehicle Itself. Careful Attention Should Be Given To All Electronic/Electric Circuits. High Voltages And Currents Can Cause Bodily Injury, Skin Damage, And Even Death. Installs Are Taken At The Risk Of Each Installer, And/Or Individual.
1995
thru 1999
Click on a link
tab to jump to
that page
I
Radio Replacement
Document #: 356041
Publication, Duplication, or Retransmission Of This Document Not Expressly Authorized In Writing By The Install Doctor Is Prohibited. Protected By U.S. Copyright Laws. © 1997,1998,1999,2000.
www.installdr.com
TM
Contour - Ford
Mystique - Mercury
Mount
New Radio
Wire
New Radio
Cover
Page
Before
You Begin
Remove
& Install
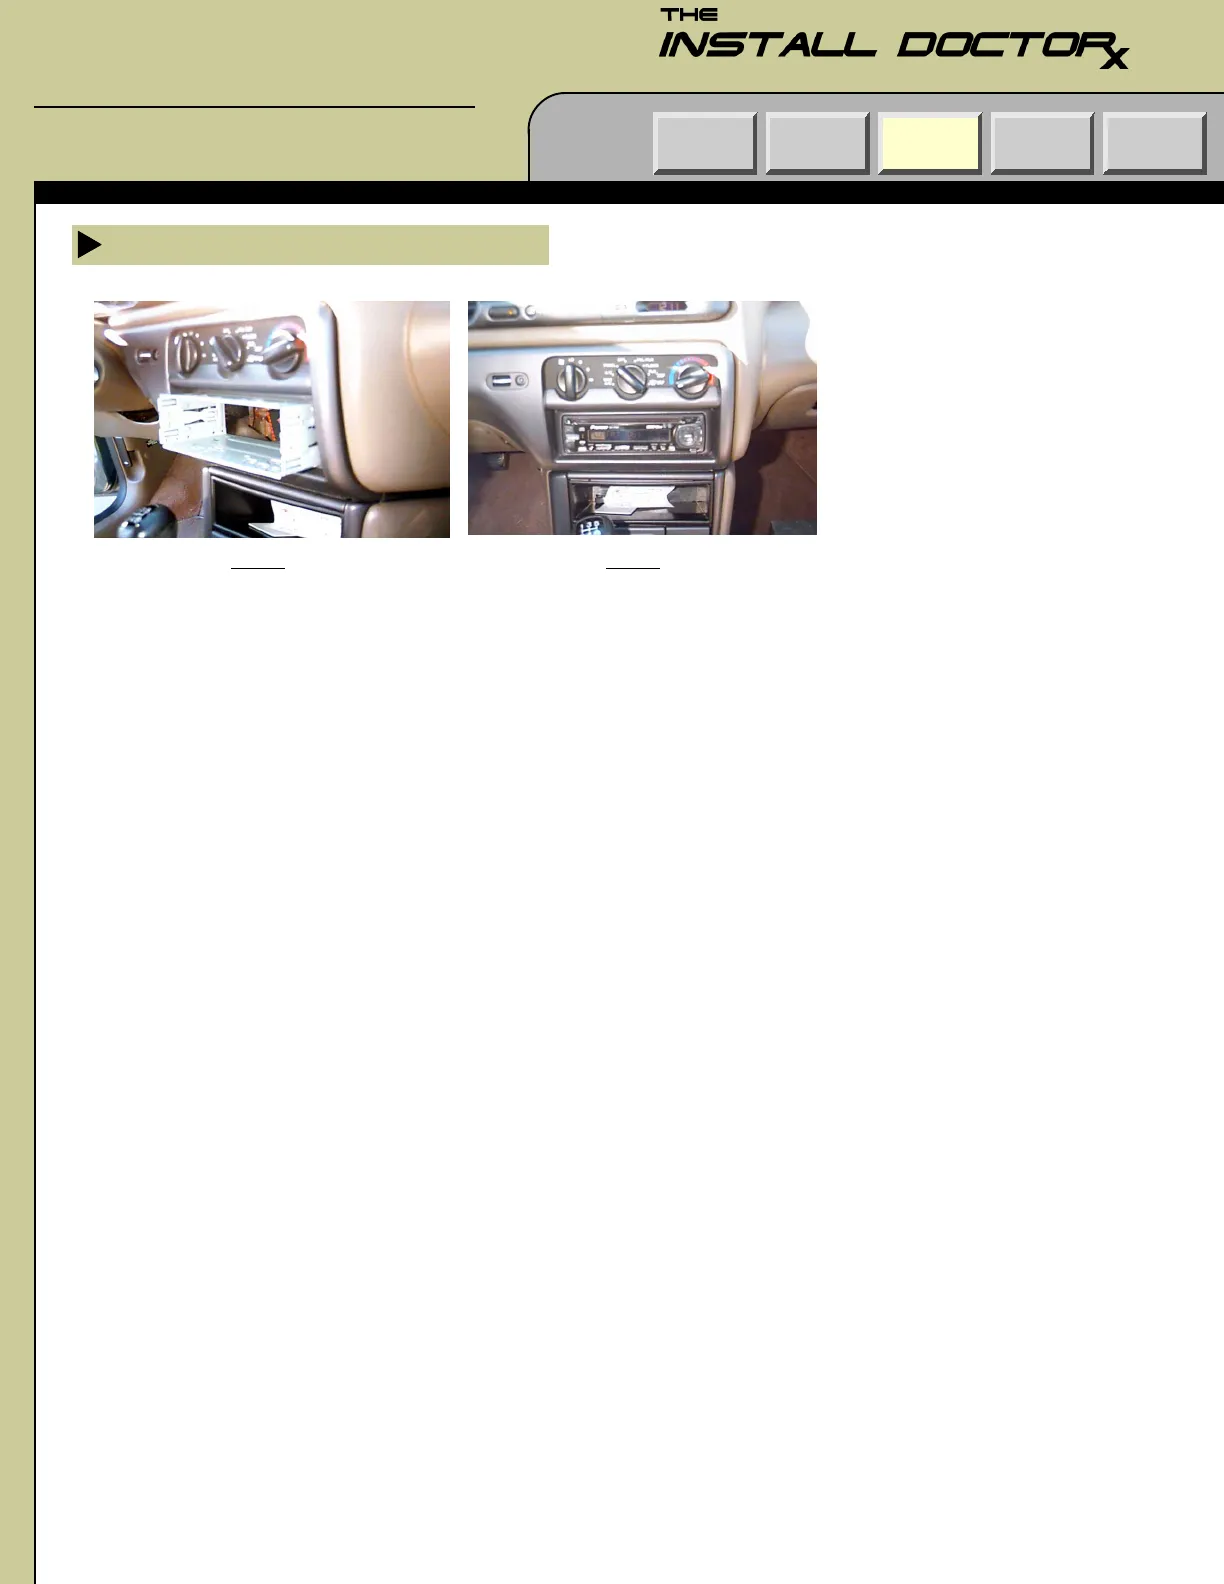
Completing The Radio Installation
STEP 1:
Slide the new radios installation sleeve into
the opening in the dash. Secure the sleeve.
More information can be found in the “Mount
New Radio” section.
STEP 2:
Plug the antenna cable into the new radio.
Make sure all power and speaker wires for
the new radio have been properly connected
and plug in any connectors to the rear of the
new radio. Slide the new radio into the
installation sleeve.
The Installation Is Now Complete


