Setting up the HX2040
To set up the HX2040 :
•
Fit the battery.
•
Switch on by pressing and holding the grey On button
below the infra-red port for one second.
•
Check or select the operating frequency.
•
Check or set the gain.
•
Check or set the low frequency cut filter.
•
Check the battery status.
These steps are explained below:
Fitting the battery
•
Open the battery compartment by gripping the cover and
sliding it gently away from the body of the HX2040.
•
Fit the battery with the positive terminal uppermost and
close the battery cover until it clicks shut.
Do not twist or turn the battery cover.
Removing the battery
The battery can easily be removed by pushing a small coin
into the slot in the compartment beneath the battery.
Switching on
•
Press and hold the grey ON button below the infra-
red port for one second until the ring above the battery
compartment glows red.
•
To turn HX2040 off press and hold the grey ON button for
4 seconds.
The transmitter can also be switched off using the
Switch
iR
, as described below. Alternatively the HX2040
can be switched off by opening the battery compartment
and briefly disconnecting the battery.
Selecting the operating frequency
You can check or change the operating frequency of the
HX2040 via infra-red control using the Switch
iR
.
To check the frequency:
•
Press MENU. The display shows:
•
Align the front of the Switch
iR
with the infra-red port on
the HX2040 and press OK. The display shows the current
frequency; for example:
To change the frequency:
•
Press OK. The display will alternately flash between
showing the frequency and channel number. For
example:
•
Press
or
to scroll through the 32 frequencies read
from the transmitter until the desired frequency or channel
is displayed. For example:
•
Point the Switch
iR
at the infra-red port on the HX2040 and
press OK. If the command was received successfully the
display will show the new set frequency. For example:
Otherwise it will show:
•
Repeat the above steps if an error message is displayed,
moving the Switch
iR
closer to the infra-red port.
Setting the gain
The steps between 0-9 gain settings are approximately 3
to 4dB. Set the gain position so that the Overload indicator
does not flash off during normal operation. A typical setting
is 6 or 7.
To check the gain setting:
•
Press MENU followed by . The display will indicate:
•
Align the front of the Switch
iR
with the infra-red port
of the HX2040 and press OK. The display will show the
current transmitter gain setting:
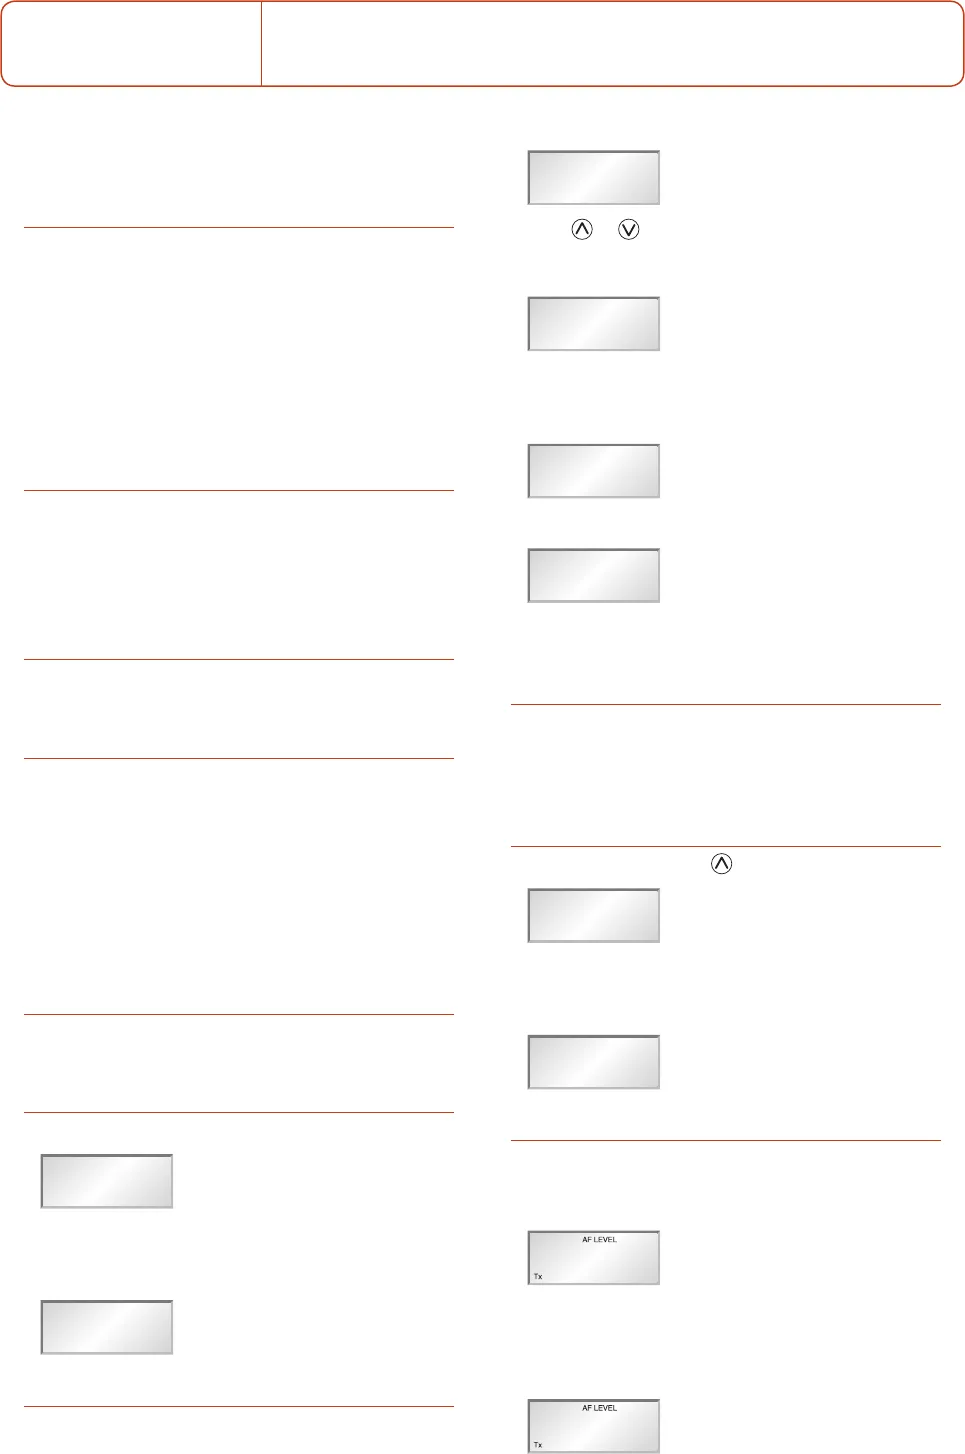
To change the gain setting:
•
Press OK again. The display will flash the level setting.
• Press a or v to step between gain settings 0-9 until the
required gain setting is displayed. For example:
•
Align the front of the Switch
iR
with the infra-red port
on the transmitter and press OK. If the command was
received correctly the display will show the new gain
setting. For example:
User Guide HX2040 handheld wireless transmitter


