Before starting.
l
.
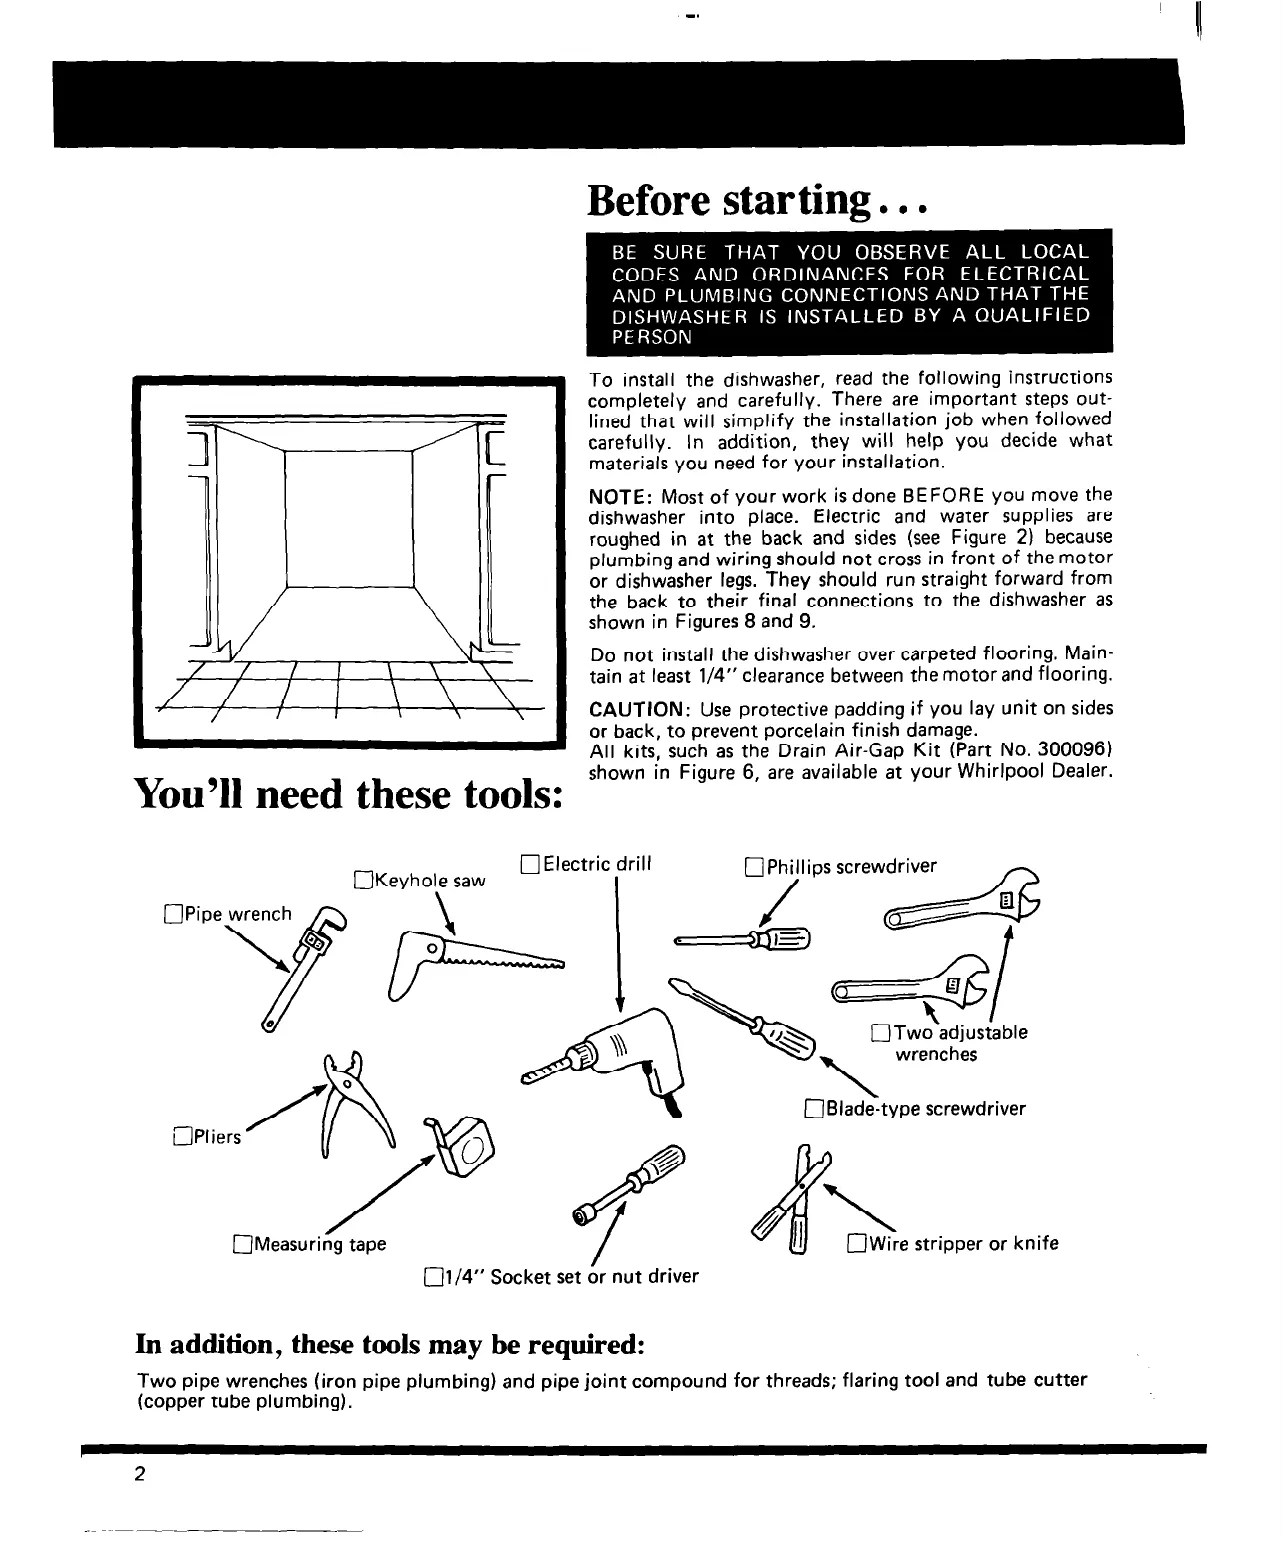
You’ll need these tools:
q
Pipe wrench
\
Qj
f
0
To install the dishwasher, read the following instructions
completely and carefully. There are important steps out-
lined that will simplify the installation job when followed
carefully. In addition, they will help you decide what
materials you need for your installation.
NOTE: Most of your work is done BEFORE you move the
dishwasher into place. Electric and water supplies are
roughed in at the back and sides (see Figure 2) because
plumbing and wiring should not cross in front of the motor
or dishwasher legs. They should run straight forward from
the back to their final connections to the dishwasher as
shown in Figures 8 and 9.
Do not install the dishwasher over carpeted flooring. Main-
tain at least l/4” clearance between the motor and flooring.
CAUTION: Use protective padding if you lay unit on sides
or back, to prevent porcelain finish damage.
All kits, such as the Drain Air-Gap Kit (Part No. 300096)
shown in Figure 6, are available at your Whirlpool Dealer.
[3Keyhole saw
0 Electric drill
q
Phi!lips screwdriver
-
,
J
q
Two-adjustable
\
wrenches
q
1/4” Socket set & nut driver
O8ladztype screwdriver
OWire stripper or knife
In addition, these tools may be required:
Two pipe wrenches (iron pipe plumbing) and pipe joint compound for threads; flaring tool and tube cutter
(copper tube plumbing).
2


