Devices_ 53
History Summary/ Configure
The History Summary/ Configure panel displays the status of the configuration with a progress bar.
In the History Summary/ Configure panel you can:
• view t
he status of the configuration task,
- view t
he number of configured devices,
- view t
he number of failed devices,
- view t
he number of properties, and
- view t
he date.
• stop the configuration task by clicking the
button.
• pause or r
esume the configuration task by clicking the button.
• modify th
e configuration task by clicking the button.
Configured Device List
You can see details of the selected configuration task here. You can choose to see only tasks that have succeeded or
jobs that have failed by filtering the list.
If you want to check the status of each item, click the Details button from the list. A window will pop-up giving you
detailed results of the items. If configuration of some items fails, you can see the reason for the failure.
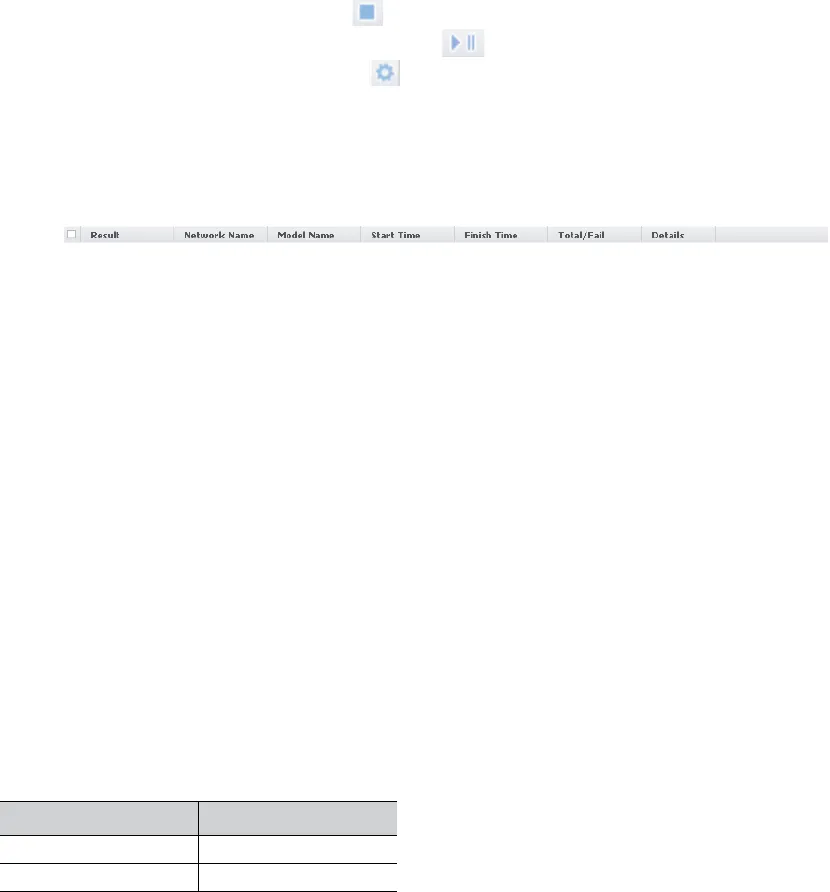
Understanding the column headers:
• Result : Shows the result of your configuration task (Success or Failed).
• Net
work Name : Shows the network name of the device.
• Model Name : Model name of the device.
• Start Time : Shows the started time of the configuration task.
• F
inish Time : Shows the finished time of the configuration task.
• To
tal/Fail : Shows [total number of configuration task/failed configuration task].
• Details : Click the Details button,
a window with detailed device information pops up.
Detailed information includes:
- Status : Success or Failed
- Prope
rty Name
- Prope
rty Value
- Details : If a job has failed, you can see the detailed reason in here.
In the Configured Device list panel you can:
• view d
etails of the task.
• retry t
he specific task.
Related settings
You can set configuration related settings in the Settings menu.
From SyncThru™ Admin 5, click the Settings menu > Settings > Device Management > Connection Settings .
Values you set in the Default Connection Settings panel must be the same as the SNMP setting values in the device in
order for configuration to work properly. Especially, SNMP Write Community value has to be exactly the same. If you are
using a discovered device, use the Connection Settings button in the Device List to set the SNMP Write Community
value.
Example of practical Configuration usage
After discovering devices and grouping them, you may want to configure specific options for the devices. The following is
an example of grouping devices and configuring them:
There are two customized groups: ‘1F’ and ‘2F’.
Let’s manage them by marking the devices as per the group using Location and Contact, which refers to the public MIB.
(i.e. these values can be configured for all the other vendors’ devices if the devices support public MIB.)
1. From SyncThru™ Admin 5, click the Devices menu > Configuration > Configuration Settings.
2. Select 1F group and select all the devices.
3. Open the configuration category: Network > General. Then you can see Location and Contact items.
4. Type in 1st floor in Location, and 1st floor administrator in Contact.
5. Click OK/Apply.
By doing this, if someone finds any errors or faces a problem with the device, he or she can contact the specific person.
GROUP DEVICE
1F Printer #1, MFP #1~3
2F Printer #2~#5, MFP #1~3


