Automatic Ice and Water Dispenser
ICE AND WATER DISPENSER FEATURES
The ice and water dispenser convenientiy dispenses chiiled water, and ice cubes or crushed ice, depending on the model.
To operate the ice dispenser, select the ice option desired using the touchpad. Press a glass against the dispensing paddie
as far up as possible to catch ai! ice. To stop dispensing ice. pull giass away from dispensing paddie. Do not remove the
glass untii the ice has completely dispensed. (Compiete instructions for the dispenser operation are attached to the inside
of the freezer door.)
How the Water Dispenser Works
The water tank, located behind the drawers in the refrigerator compartment, automatically fills as water is dispensed. For
proper dispenser operation, the recommended supply water pressure should fall between 20 psi and 100 psi.
ik CAUTION
: Wàtoér
pressure must not exceed 100 lbs. Excessive pressure may cause water filter to malfvinction.
After the refrigerator is connected to the water supply, fill the water tank by drawing one giass of water. It may take about
VA minutes after activating the dispenser paddle before water begins to fill this first giass. Continue flushing the system
for 3 minutes to rid the tank and plumbing connections of any impurities. The water dispenser has a built in shutoff device
that will stop the water flow after 3 minutes of continuous use. Simply release the dispenser paddle to reset the shutoff
mechanism.
UJ
Acaution
GKéitiitíiáis fhim íá íhtálfüHíjtíbhíhg sÓttéhéf Mn dártiág&^№
to soft water, ensure that the softener is maintained and working properly.
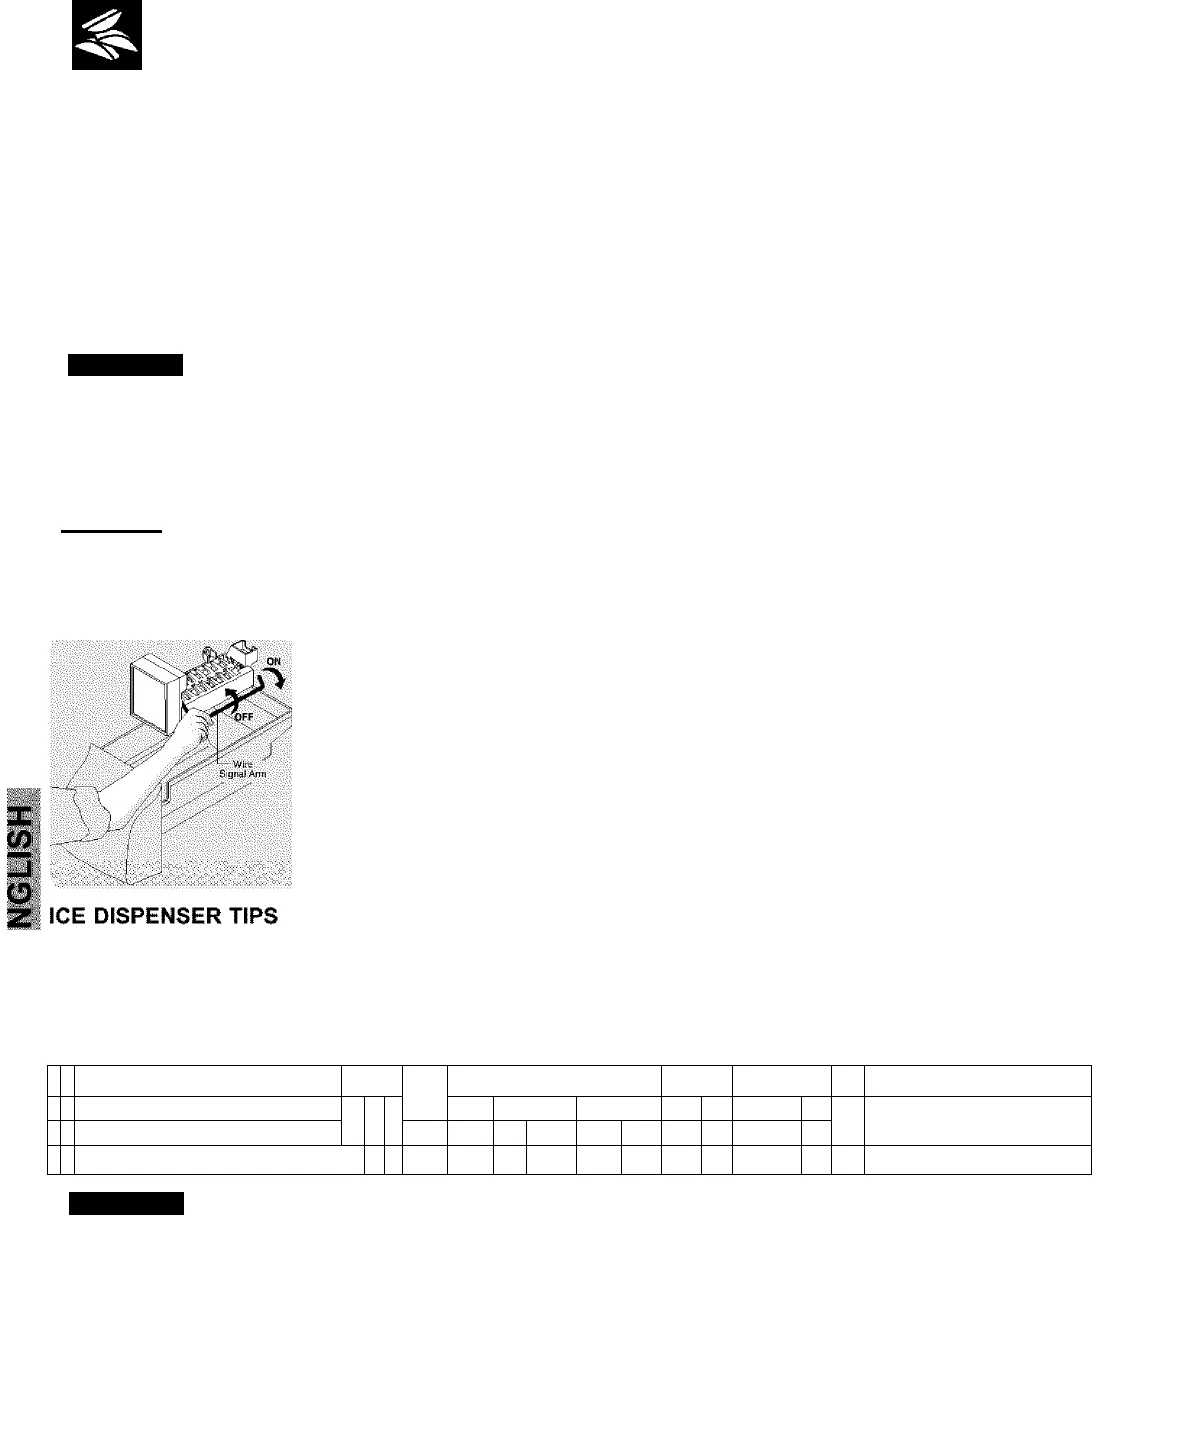
How the Ice Dispenser Works
The ice maker and container are located in the top of the freezer compartment. After the
refrigerator is installed properly and has cooled for several hours, the ice maker can begin
making ice within 24 hours. Air in new plumbing lines may cause the ice maker to cycle two
or three times before making a full tray of ice. To begin ice production, lower the wire signal
arm to the "down" or ON position. With no usage it will take approximately 2 days to fill the
ice container. The ice maker turns off automatically when the ice container becomes full. To
stop the ice maker, lift the wire signal arm until it clicks, and locks in the "up" or OFF
position.
Because of new plumbing connections, the first production of ice cubes may be discolored
or have an odd flavor. These should be discarded until the cubes made are free of discoloration
and taste.
Ice cubes stored too long may develop an odd flavor. Empty the ice container and ensure that the wire signal arm is
in its “down” or ON position. The ice maker will then produce more ice.
Occasionally shake the ice container to keep ice separated.
Keep the wire signal arm in its “up” or OFF position until the refrigerator is connected to the water supply or whenever the
water supply is turned off.
IMPORTANT: Your ice makerIS shipf
immi
fith the wire signal arm inthe ONposition. Tcen'
jpfe proper ftinction of :
your ice maker, hook up water
su
fïiÉ
PP
tic
:et
3diate>ly or turnico makerOFF
■by
lifting th
bivi/
ires
:onr
linai arm until it clicks: V :
iècted,:the water valve :
and locks in the UP position. If
lïpkëris nc)ttu jithie
rSL
ipplyisr ioti
will make a loud chattering noise
Acaution
If the dispensing paddie is pushed for more than 4 minutes, the dispenser:
and stop. The overload protector will reset automatically after 3 or 4 minutet<
overload
If a large quantity of ice is needed at one time, it is best to remove cubes directly from the ice container.
The following sounds are normal when the ice maker is operating:
• Motor running • Running water
• Ice dropping into ice container • Stop the ice maker when cleaning the freezer and during vacations.
• Water valve opening or closing • If the ice maker will be turned off for a long period of time, turn the
• Ice loosening from tray water supply valve to the closed position.
14


