1.
From the Home screen on the product control panel, touch the Setup
button.
2. Touch the Fax Setup menu.
3. Touch the Advanced Setup menu.
4. Open the Fax Resolution menu.
Optimize for text or pictures
The following copy-quality settings are available:
●
Auto Select: Use this setting when you are not concerned about the quality of the copy. This is the
default setting.
●
Mixed: Use this setting for documents that contain a mixture of text and graphics.
●
Text: Use this setting for documents that contain mostly text.
●
Picture: Use this setting for documents that contain mostly graphics.
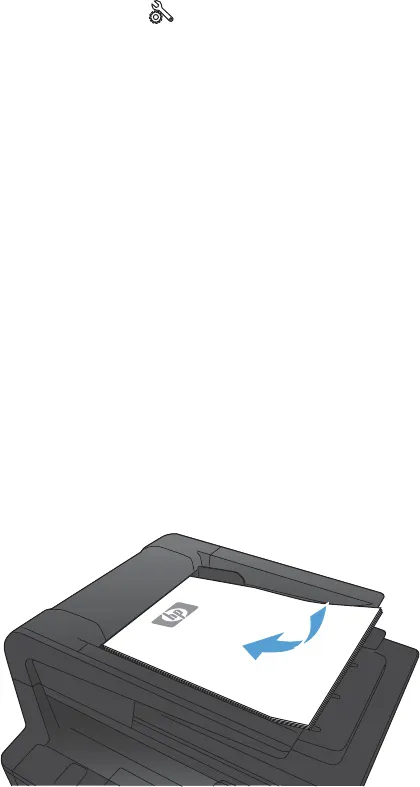
1. Load the document onto the scanner glass or into
the document feeder.
2. From the Home screen on the product control
panel, touch the Copy button.
3. Touch the Settings button, and then scroll to and
touch the Optimize button. Touch the arrow
buttons to scroll through the options, and then
touch an option to select it.
4. Touch the Start Copy button to start copying.
Check the error correction setting
Usually, the product monitors the signals on the telephone line while it is sending or receiving a fax. If the
product detects an error during the transmission and the error-correction setting is On, the product can
request that the portion of the fax be resent. The factory-set default for error correction is On.
You should turn off error correction only if you are having trouble sending or receiving a fax, and you are
willing to accept the errors in the transmission. Turning off the setting might be useful when you are trying to
send a fax overseas or receive one from overseas, or if you are using a satellite telephone connection.
ENWW Solve fax quality problems 185


