Warranty
The Company warrants that Datamax-O’Neil products are free
from defects in manufacturing materials and workmanship for one
(1) year from date of original purchase to Buyer/Distributor (OEMs
90 days from the date of purchase). Batteries, cables, power
supplies, and other accessories will be warranted for ninety (90)
days. Datamax-O’Neil makes no other warranties, expressed or
implied, including implied warranties of merchantability and fitness
of purpose.
If you try to repair, disassemble, or change the product in any way,
or use parts not provided by Datamax-O’Neil without prior, written
authorization, all warranties are void.
For complete warranty and service information, see the Warranty
Card included in your printer's original packaging.
No Liability for Negligent Use
In no event shall Datamax-O’Neil be held liable for any damages
whatsoever (including, without limitations, damages for loss of
profits, business interruption, loss of information, or other
pecuniary loss) arising out of negligence in use and care of the
product.
COPYRIGHT © 2010, DATAMAX-O’NEIL
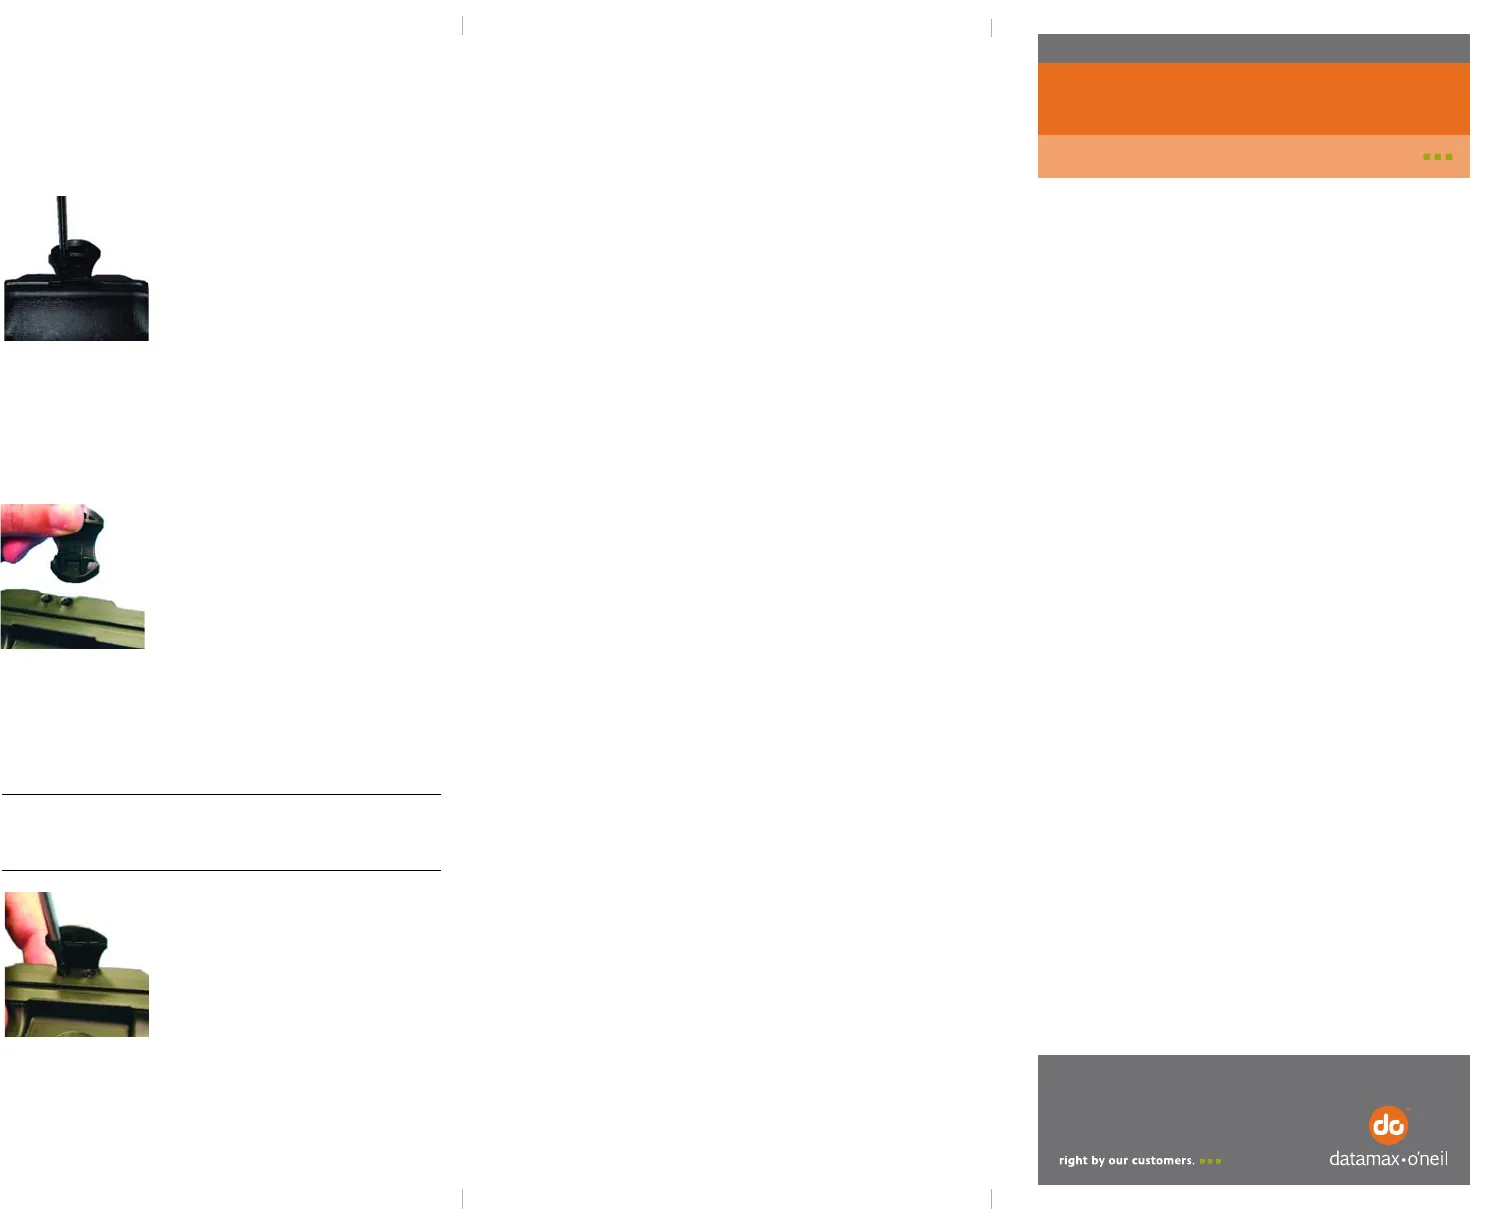
Replacing a Latch
1. Place the printer on a flat surface and open the
printer cover.
2. Using a #1 Phillips screwdriver, unscrew and
remove the existing latch screws (Figure 5).
3. Remove the existing latch.
4. Place the new latch in the latch recess. Use
Figure 6 as a guide to verify the latch is aligned
correctly.
5. Carefully tighten the latch to the printer cover
using the included #2 screws (Figure 7).The
screws are tightened when the screws are flush
with the latch.
Warning: Do not overtighten the screws. Once
the screws are tightened and flush with the
latch case, do not rotate past another 1/4 turn.
Hinge and/or Latch Replacement Kit
110136-003
Instruction Sheet


