Receiver Installation
3
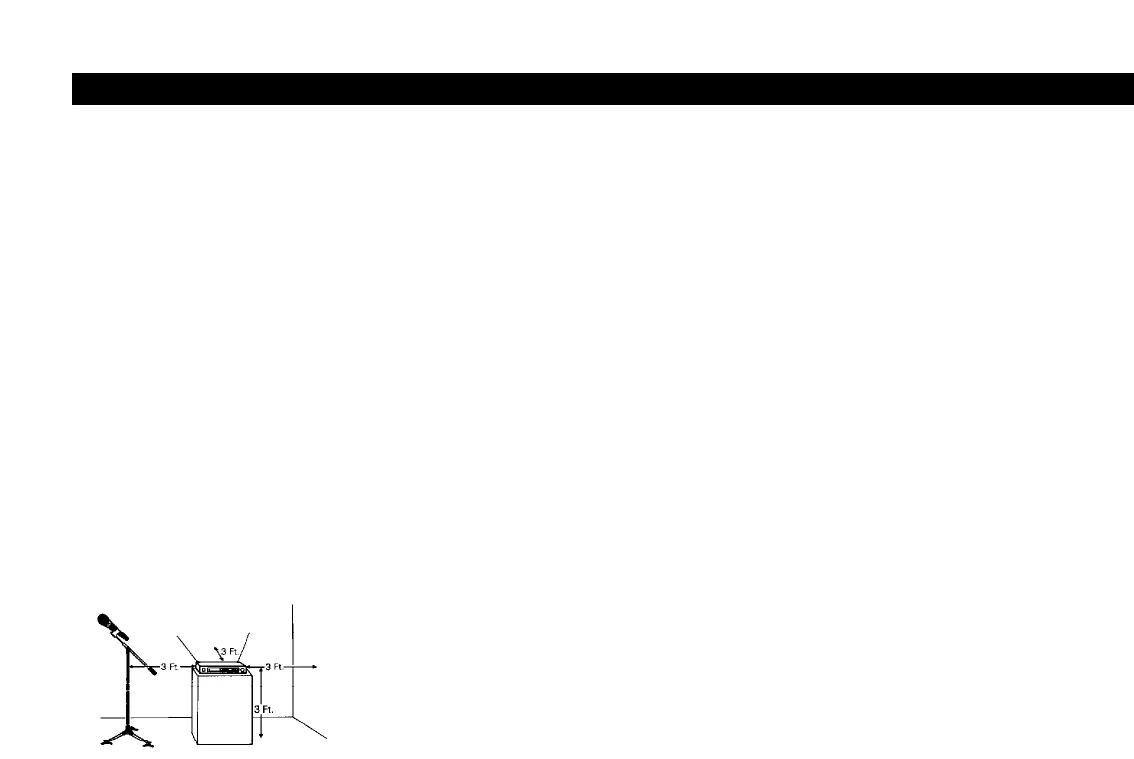
Location
For best operation the receiver should be at least 3 ft. (1 m)
above the gr
ound and at least 3 ft. away from a wall or metal
sur
face to minimize reflections. The transmitter should be at
least 3 ft. fr
om the receiver, as shown in Figure A. Keep
antennas away from noise sources such as digital equipment,
motors, automobiles and neon lights, as well as away from
large metal objects.
Output Connections
Ther
e are two audio outputs on the back panel: balanced
(32 mV) and unbalanced (50 mV). Use shielded audio cable for
the connection between the receiver and the mixer. If the
input of the mixer is a
1
/
4
" jack, connect a cable from the
1
/
4
"
unbalanced audio output on the back of the receiver housing
to the mixer. If the input of the mixer is an XLR-type input,
connect a cable from the balanced XLR-type audio output on
the back panel to the mixer. The two isolated audio outputs
permit simultaneous feeds to both unbalanced and balanced
inputs. For example, both a guitar amp and a mixer can be
driven by the receiver.
Antennas
Attach the included pair of UHF antennas to the antenna input
jacks. The antennas are normally positioned in the shape of a
“V” (both 45
° from vertical) for best reception.
Antennas can be remotely located from the receiver. However,
due to signal loss in cables at UHF fr
equencies, use the
lowest-loss RF cables practical for any cable runs over 25 feet.
RG8-type is a good choice. Use only copper-shielded cable,
not CATV-type foil-shielded wire. Audio-Technica offers quality
RF cables in four lengths, as well as remote antennas; see the
Optional System Accessories section on page 11.
Power Connections
Connect the included AD1205AA in-line AC adapter to the DC
power input on the back of the receiver. Loop the small cord
from the DC plug over the cord hook above the jack, to keep
the plug from being detached by an accidental tug on the cord.
Then plug the larger cord from the in-line adapter into a
standard 120 Volt 60 Hz AC power outlet. Operation of the
receiver is controlled by the front-panel Power switch.
(Note: Units supplied to countries with 230V mains should
include an in-line AC adapter appropriate for that country.
Use the AD1205AA adapter only with 120V 60 Hz AC
power sources.)
See pages 16-17 for illustrations.
Figure A


