294 Faxing
When a fax is received in the secure receiving mode, your printer stores it into memory and the
Job Status
screen displays
Secure Receive
to let you know that there is a fax stored.
NOTE: If you change the password while Secure Receive Set is Enable, perform steps 1 to 5. Press the
button until Change Password is highlighted, and then press the (Set) button. Enter the new password, and then
press the (Set) button.
To print received documents:
1
Press the
(Menu)
button.
2
Press the button until
Job Status
is highlighted, and then press the
(Set)
button.
3
Press the button until
Secure Receive
is highlighted, and then press the
(Set)
button.
4
Enter the password, and then press the
(Set)
button.
The faxes stored in memory are printed.
To turn the secure receiving mode off:
1
Access the
Secure Receive Set
menu by following steps 1 to 6 in "To turn the secure receiving mode on:".
2
Press the button until
Disable
is highlighted, and then press the
(Set)
button.
3
To return to the previous screen, press the
(Back)
button.
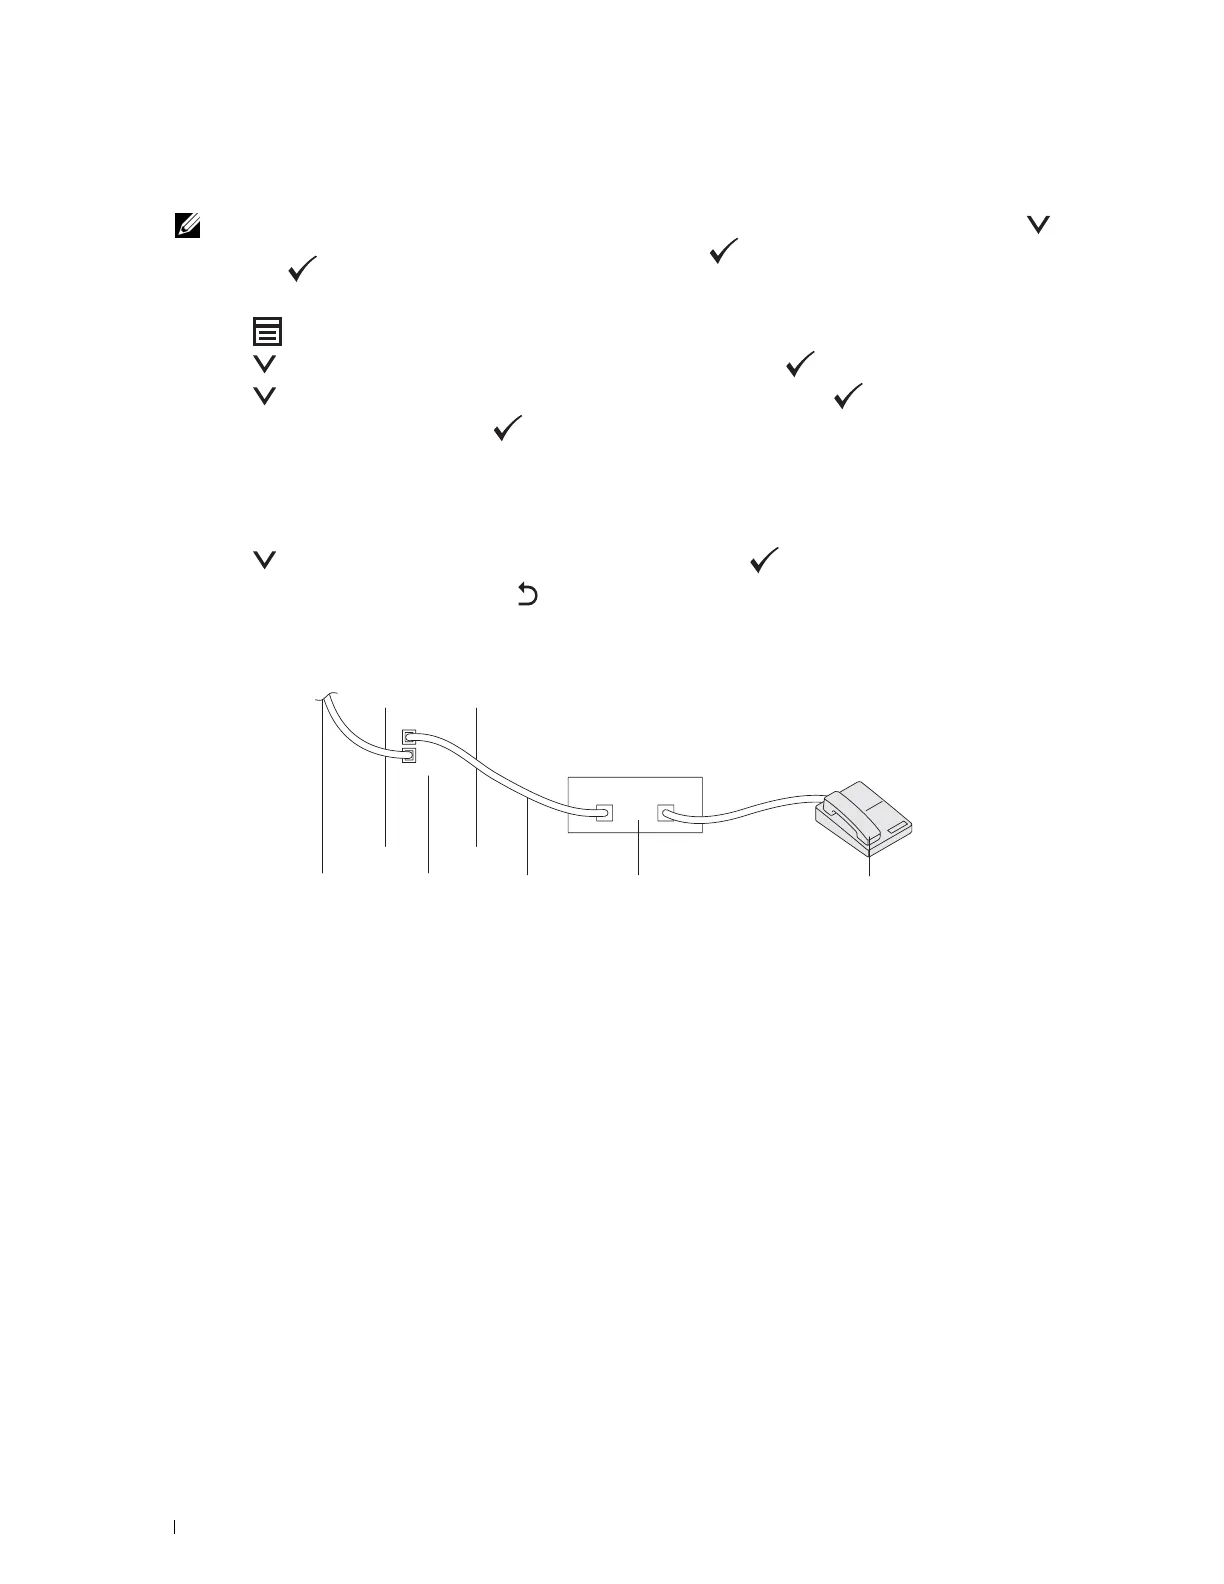
Using an Answering Machine
You can connect a telephone answering device (TAD) directly to the back of your printer as shown above.
• Set your printer to the
Ans Machine/Fax
mode and set
Auto Rec Ans/FAX
to specify the time for the
TAD.
• When the TAD picks up the call, the printer monitors and takes the line if fax tones are received and then starts
receiving the fax.
• If the answering device is off, the printer automatically goes into the fax receive mode after the ring tone sounds
for a predefined time.
To the wall
jack
Printer Line Telephone Answering Device Phone


