1. Select Options from the Tools menu.
2. Click Network in the Options dialog box.
3. Click Connection ® Settings.
4. Do one of the following:
l Select the Direct connection to the Internet check box.
l Select the Auto-detect proxy settings for this network check box.
l Select the Manual proxy configuration check box, and then enter the printer's IP address in the No Proxy for edit box.
l Select the Automatic proxy configuration URL check box.
After setting the language and proxy, type <http://nnn.nnn.nnn.nnn/> (the printer's IP address) in the URL entry field of the browser to activate the Dell
Printer Configuration Web Tool.
Page Display Format
The layout of the page is divided into three sections listed below:
Top Frame
The top frame is located at the top of all pages. When the Dell Printer Configuration Web Tool is activated, the current status and specifications of the
printer are displayed in the top frame on every page.
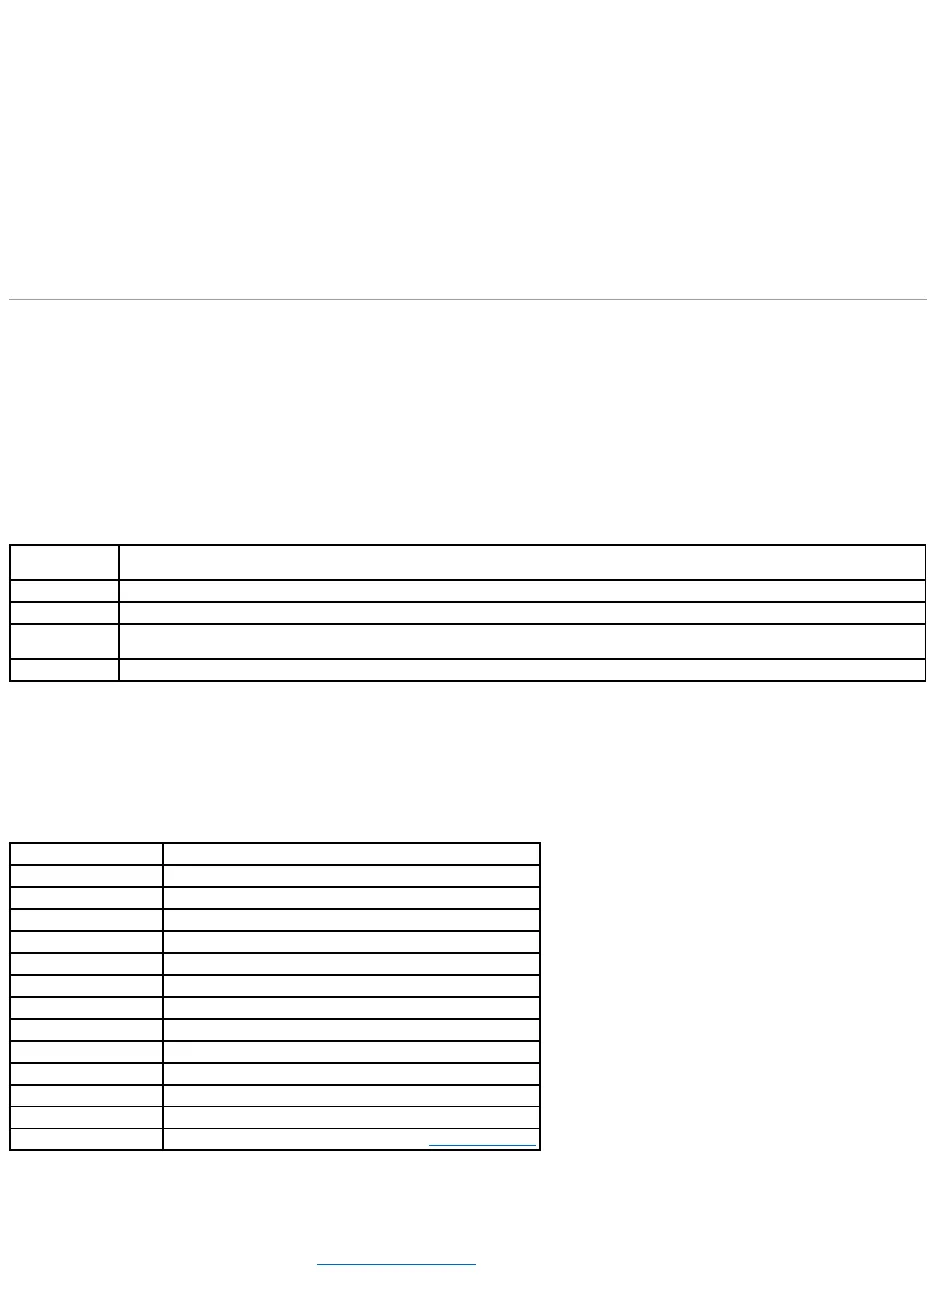
The following items are displayed in the top frame.
Left Frame
The left frame is located on the left side of all the pages. The menu titles displayed in the left frame are linked to corresponding menus and pages. You can go
to the corresponding page by clicking their characters.
The following menus are displayed in the left frame.
Right Frame
The right frame is located on the right side of all the pages. The contents of the right frame correspond to the menu that you select in the left frame. For
details on the items displayed in the right frame, see "Details of the Menu Items".