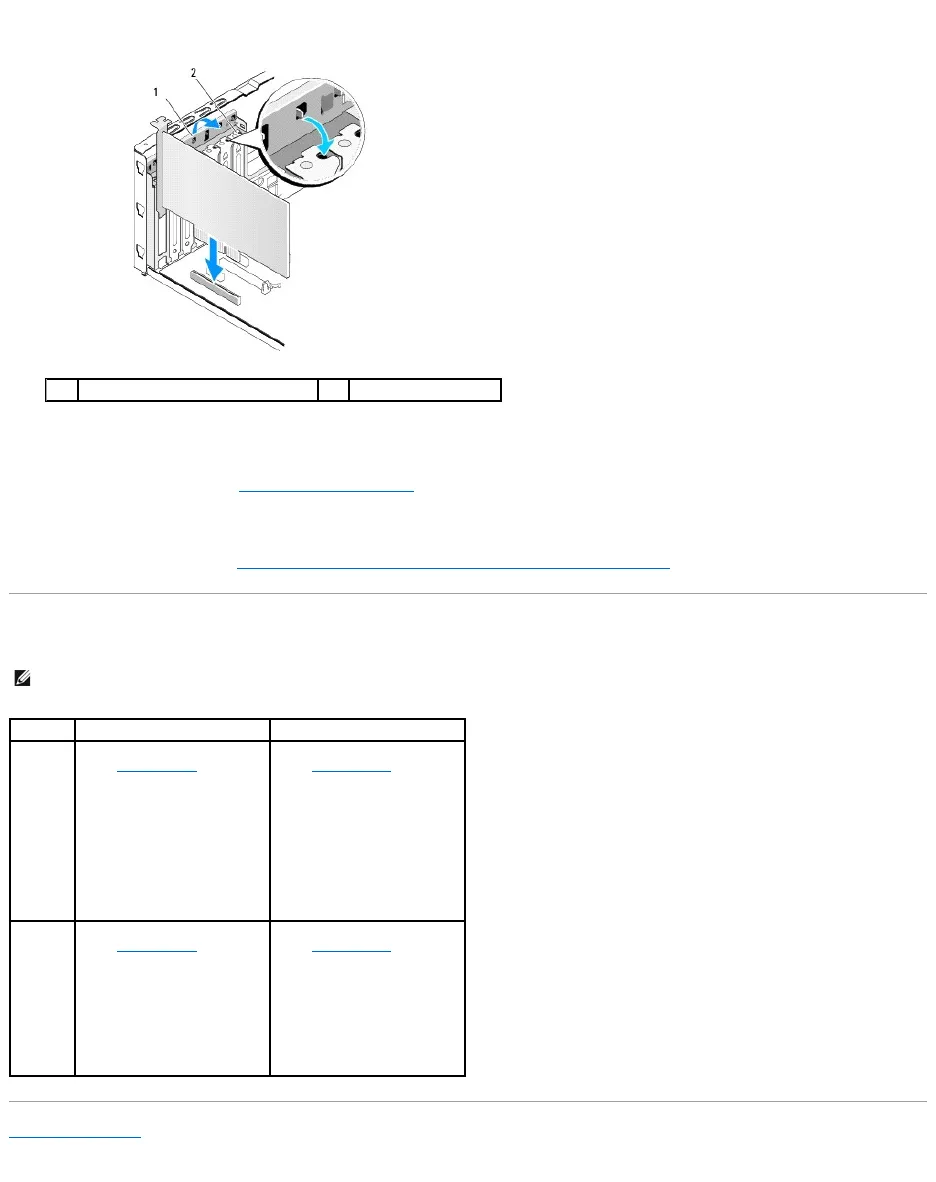
14. Press and push the tabs of the PCI support bracket until its clicks into the filler brackets.
15. Press the tabs and push the expansion card retainer until it clicks into place.
16. Replace the computer cover (see Replacing the Computer Cover).
17. Connect the computer and devices to electrical outlets, and then turn them on.
18. To complete the installation, see Configuring Your Computer After Removing or Installing a PCI Express Card.
Configuring Your Computer After Removing or Installing a PCI Express Card
Back to Contents Page
NOTE: For information on location of connectors, see the Setup Guide. For information on installing drivers and software for your card, see the
documentation that shipped with the card.
1. Enter system setup (see
System Setup).
2. Go to Advanced Chipset
Features and select
Onboard Audio
Controller, and then
change the setting to
Disabled.
3. Connect the external
audio devices to the
sound card's connectors.
1. Enter system setup (see
System Setup).
2. Go to Advanced Chipset
Features and select
Onboard Audio
Controller, and then
change the setting to
Enabled.
3. Connect the external
audio devices to the
computer's back panel
connectors.
1. Enter system setup (see
System Setup).
2. Go to Advanced Chipset
Features and select
Onboard LAN Controller,
and then change the
setting to Disabled.
3. Connect the network
cable to the network
card's connector.
1. Enter system setup (see
System Setup).
2. Go to Advanced Chipset
Features and select
Onboard LAN Controller,
and then change the
setting to Enabled.
3. Connect the network
cable to the integrated
network connector.


